

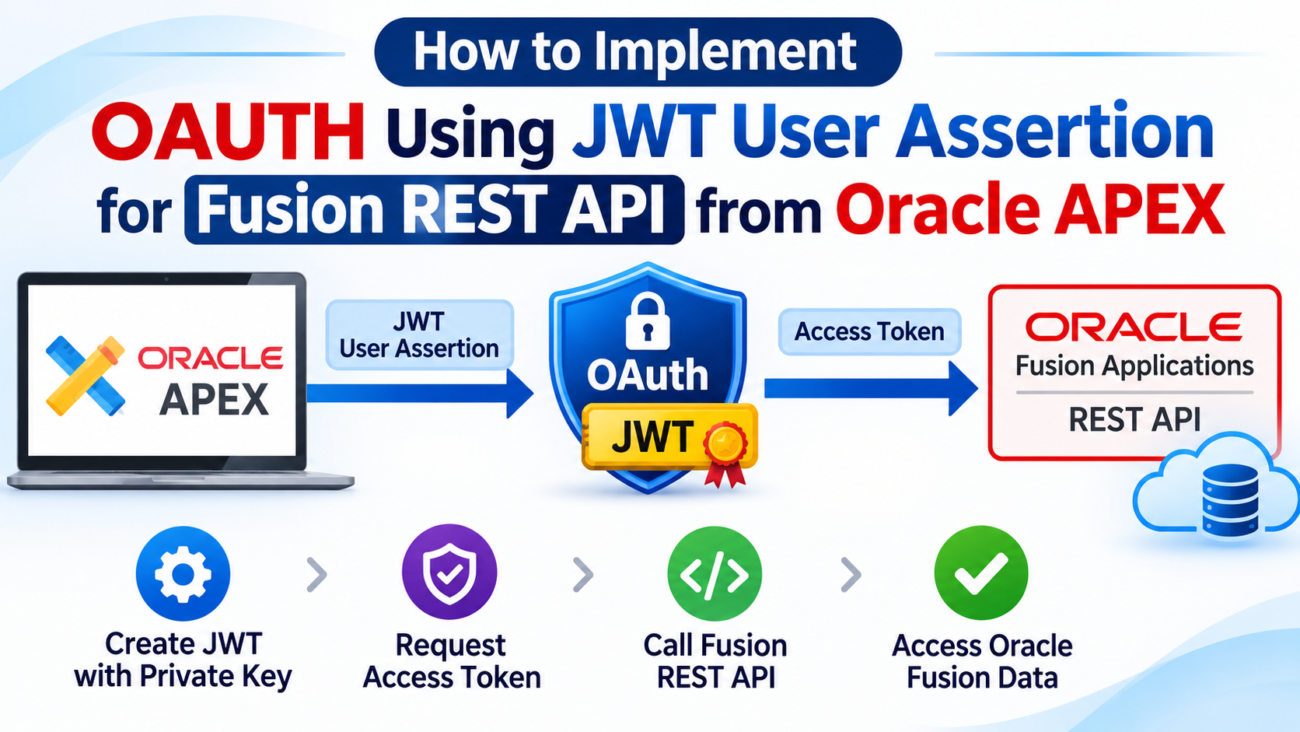
This article will demonstrate how to use OAUTH using JWT User Assertion in APEX for Fusion REST APIs.
What is JWT User Assertion?
- JWT User Assertion is a security token that represents a user’s identity and is issued by a trusted identity provider.
- It is digitally signed and includes claims such as User ID (sub), issuer (iss), audience(aud) and expiration(exp)
- Used in Oauth2.0 flows. It allows security identity propagation and token exchange without direct user interaction.
Step1: Generate the key
- Generate the self-Signed key pair
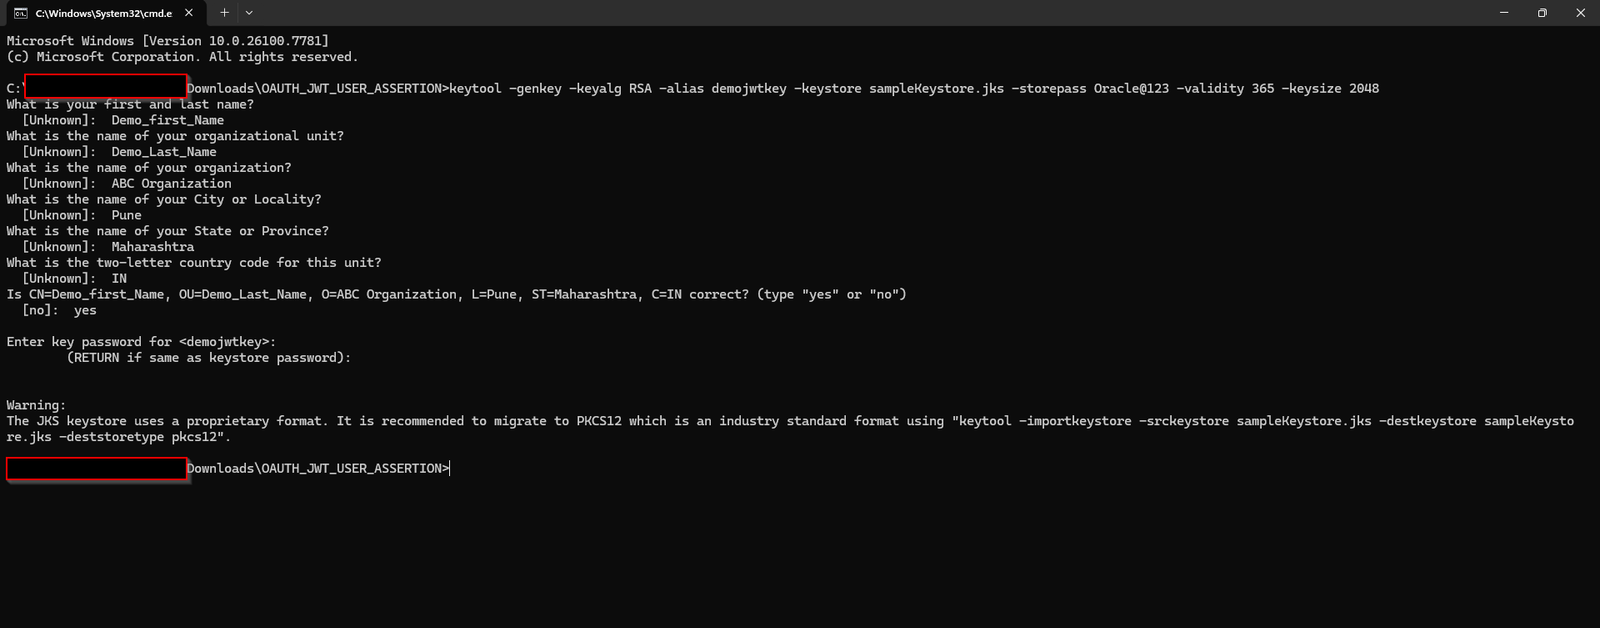
Open command prompt and run below command to generate self-signed key pair
- keytool -genkey -keyalg RSA -alias demojwtkey -keystore sampleKeystore.jks -storepass Oracle@123 -validity 365 -keysize 2048
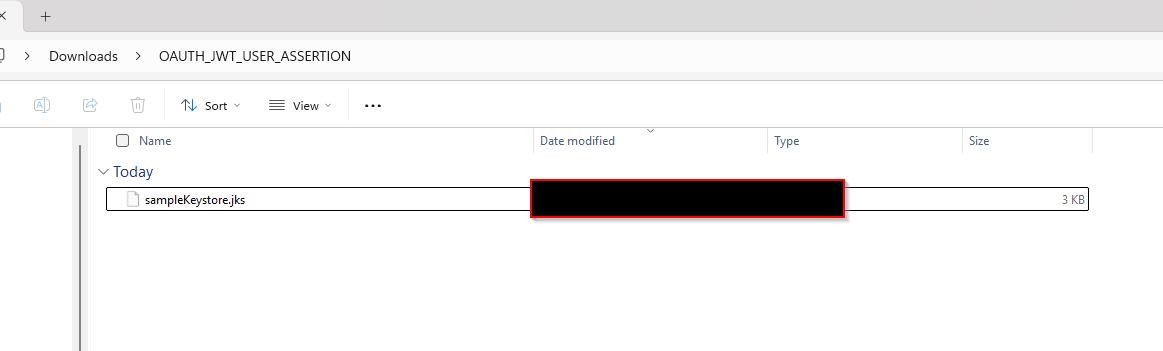
This will generate sampleKeystore.jks file as shown below:
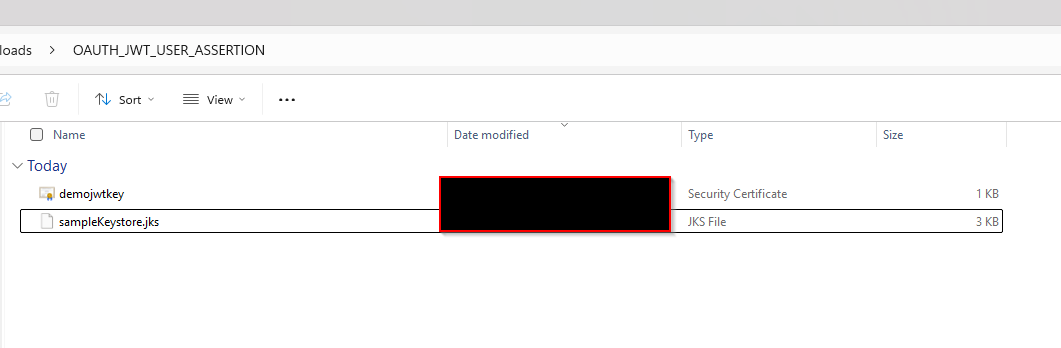
2. Export the public key for signing the JWT assertion:
- keytool -exportcert -alias demojwtkey -file demojwtkey.cer -keystore sampleKeystore.jks -storepass Oracle@123

3. Convert the keystore to P12 format:
- keytool -importkeystore -srckeystore sampleKeystore.jks -srcstorepass Oracle@123 -srckeypass Oracle@123 -srcalias demojwtkey -destalias demojwtkey -destkeystore demojwtkey.p12 -deststoretype PKCS12 -deststorepass Oracle@123 -destkeypass Oracle@123

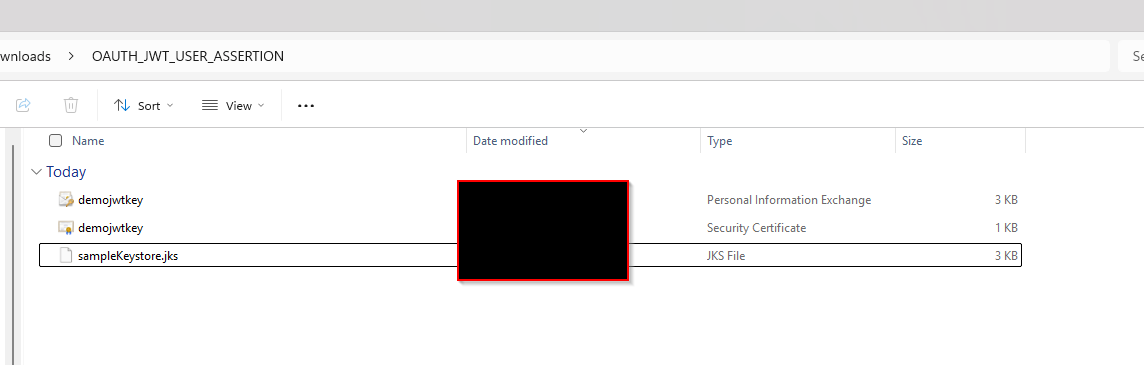
4.Export the private key from the P12 key store:
- openssl pkcs12 -in demojwtkey.p12 -nodes -nocerts -out private_key.pem
***** Install open ssl before running this command.
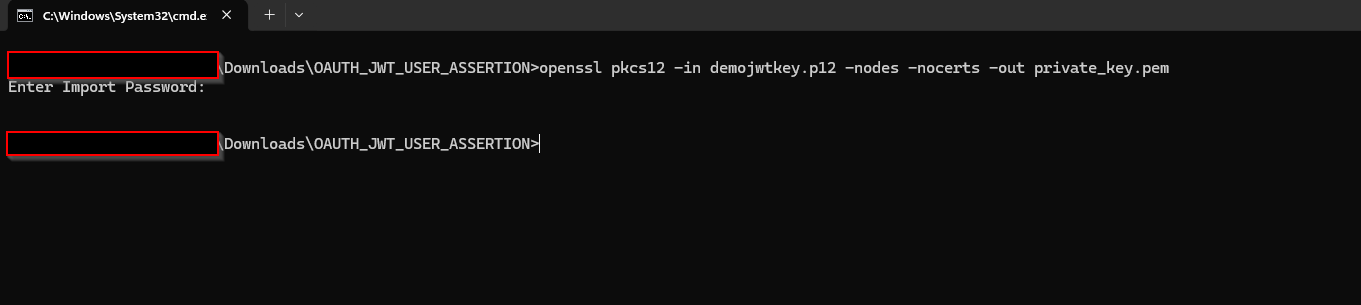
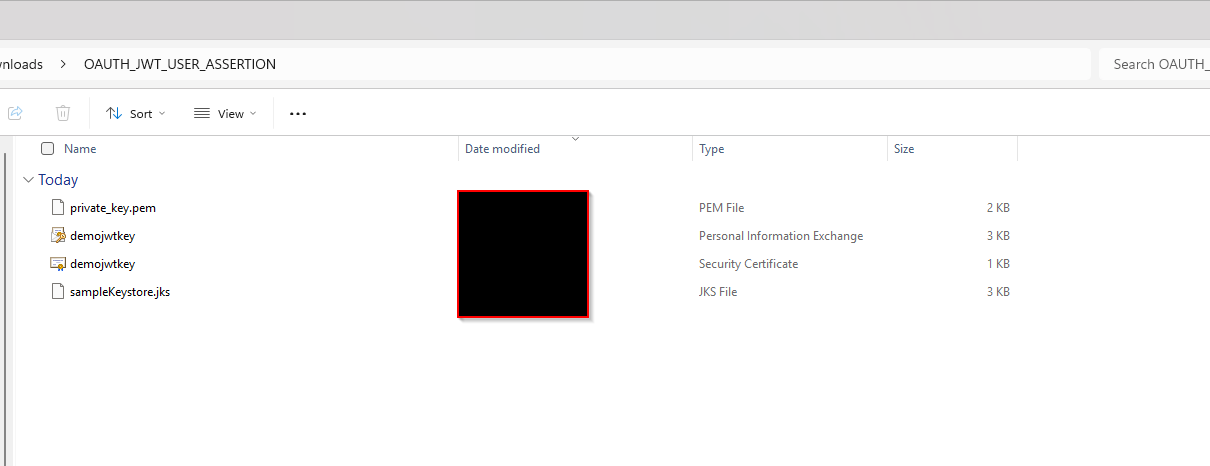
5.Convert cert file to P12 format:
- openssl x509 -inform DER -in demojwtkey.cer -out demojwtkey_cert.pem
Step2: Crate Confidential Application in IDCS under Fusion domain.
Login to OCI console.
Navigate to Identity & Security —>Domains
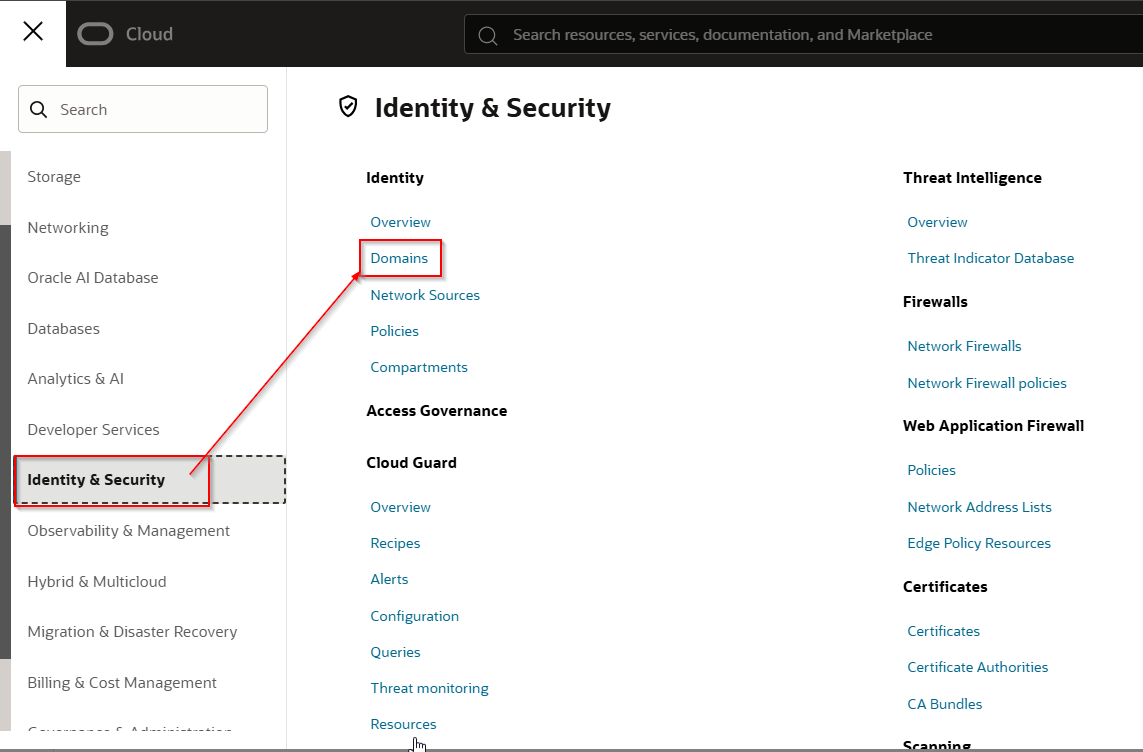
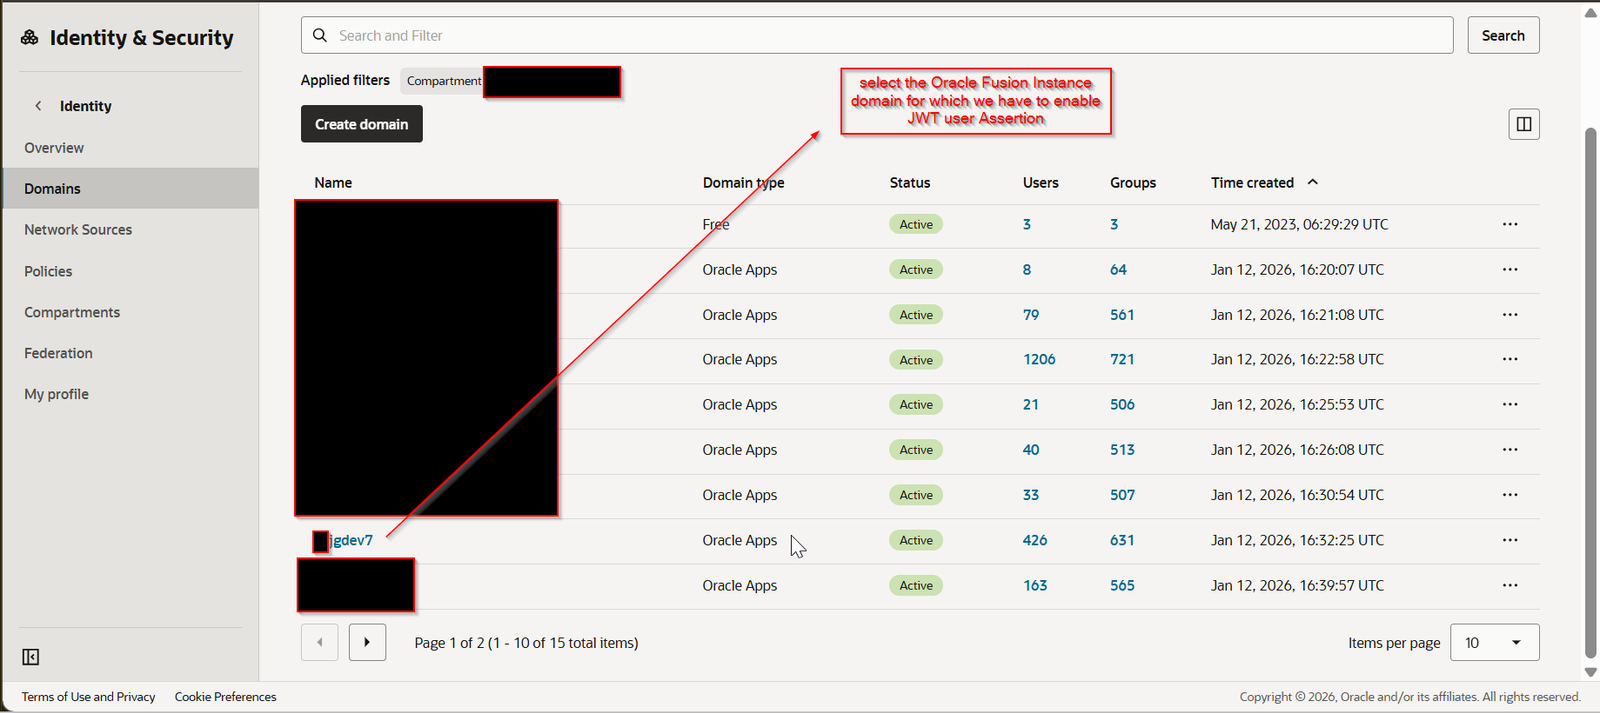
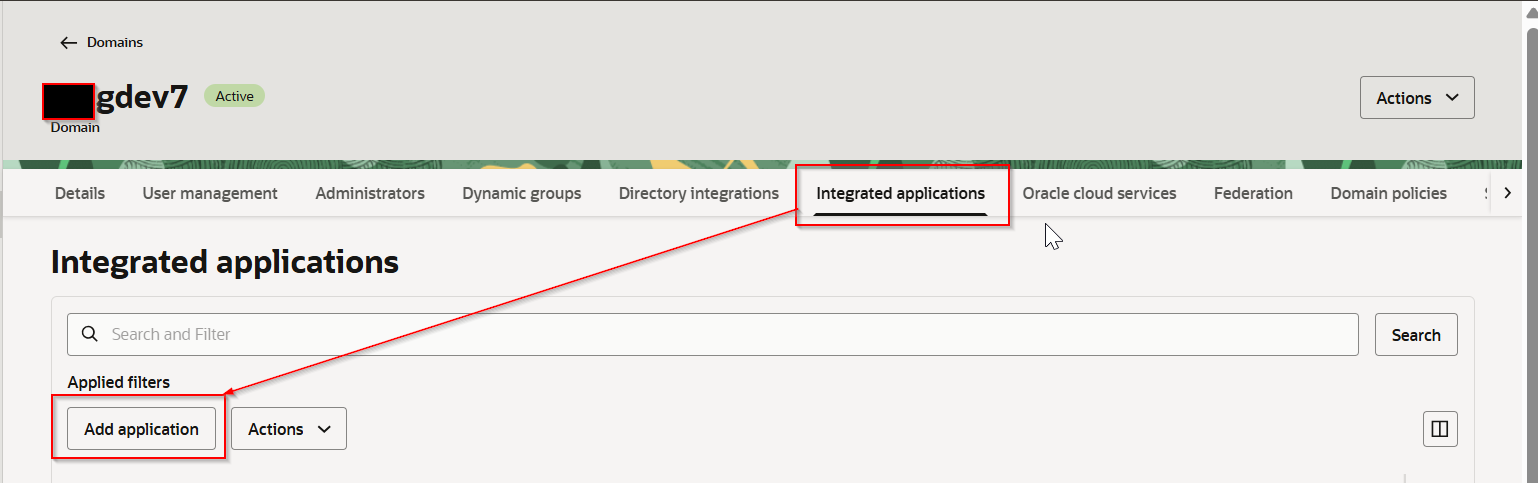
Navigate to Integrated applications —>Add application.
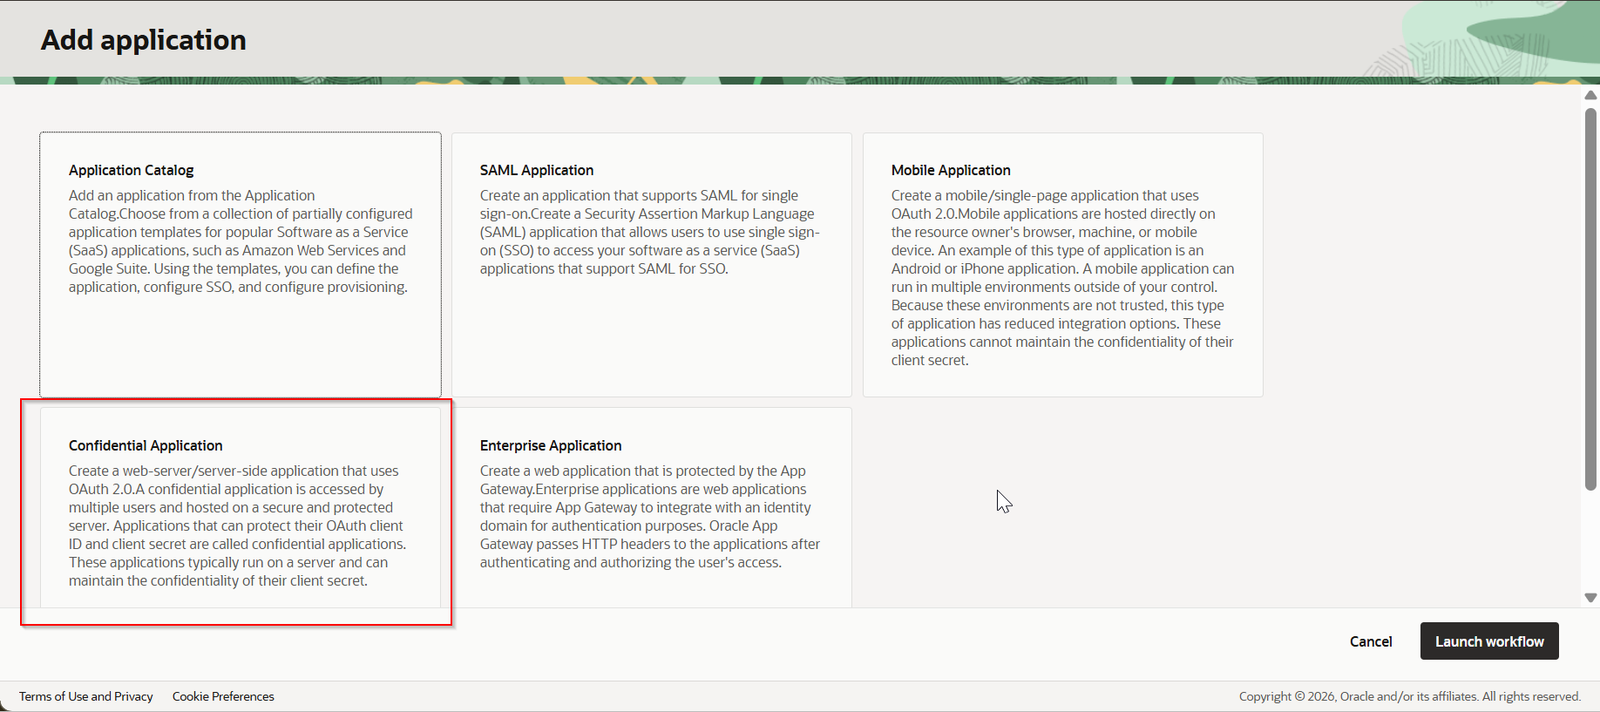
Select Confidential application and click on Launch Workflow.
Provide the name and description to application and click Submit.
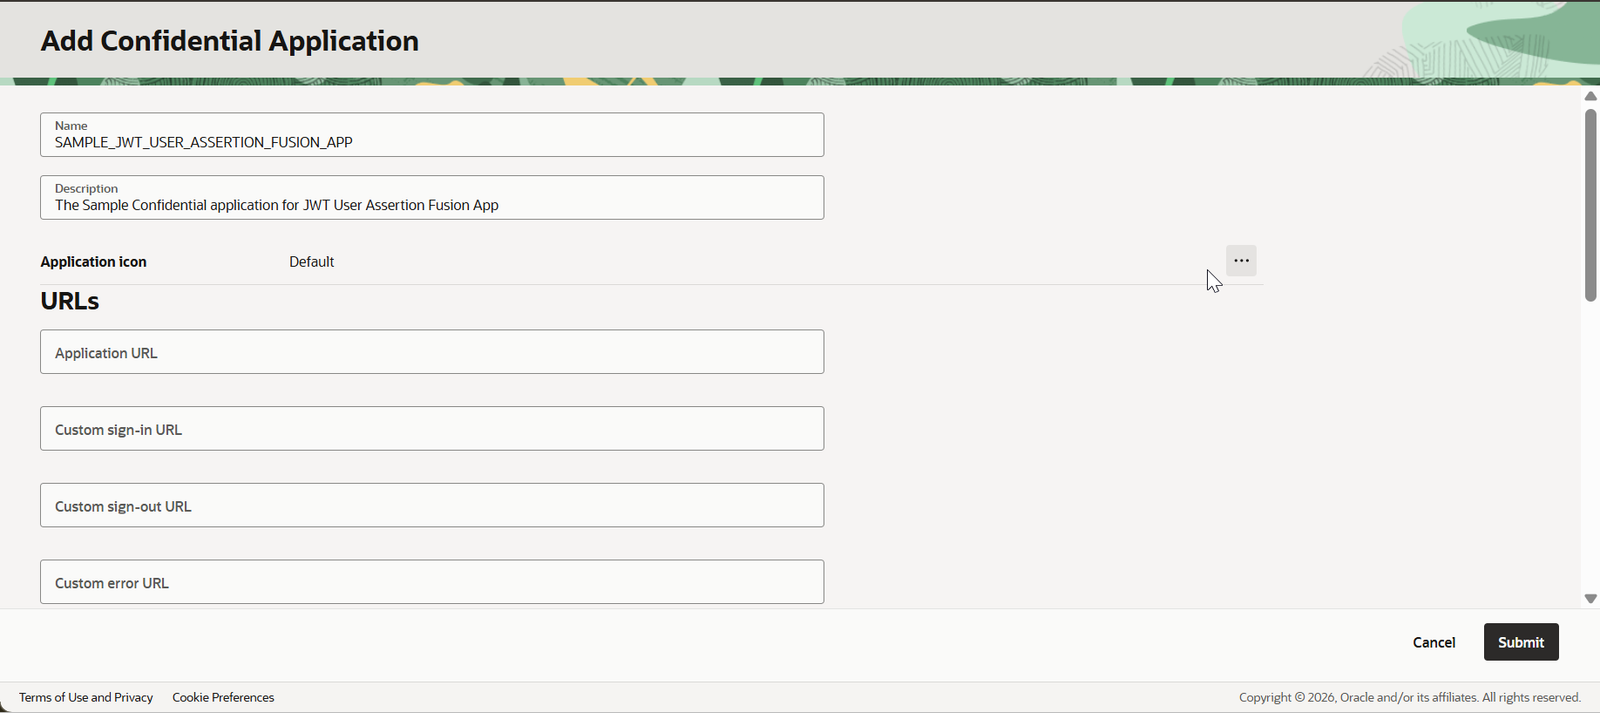
Navigate to OAuth configuration —>Edit OAuth configuration
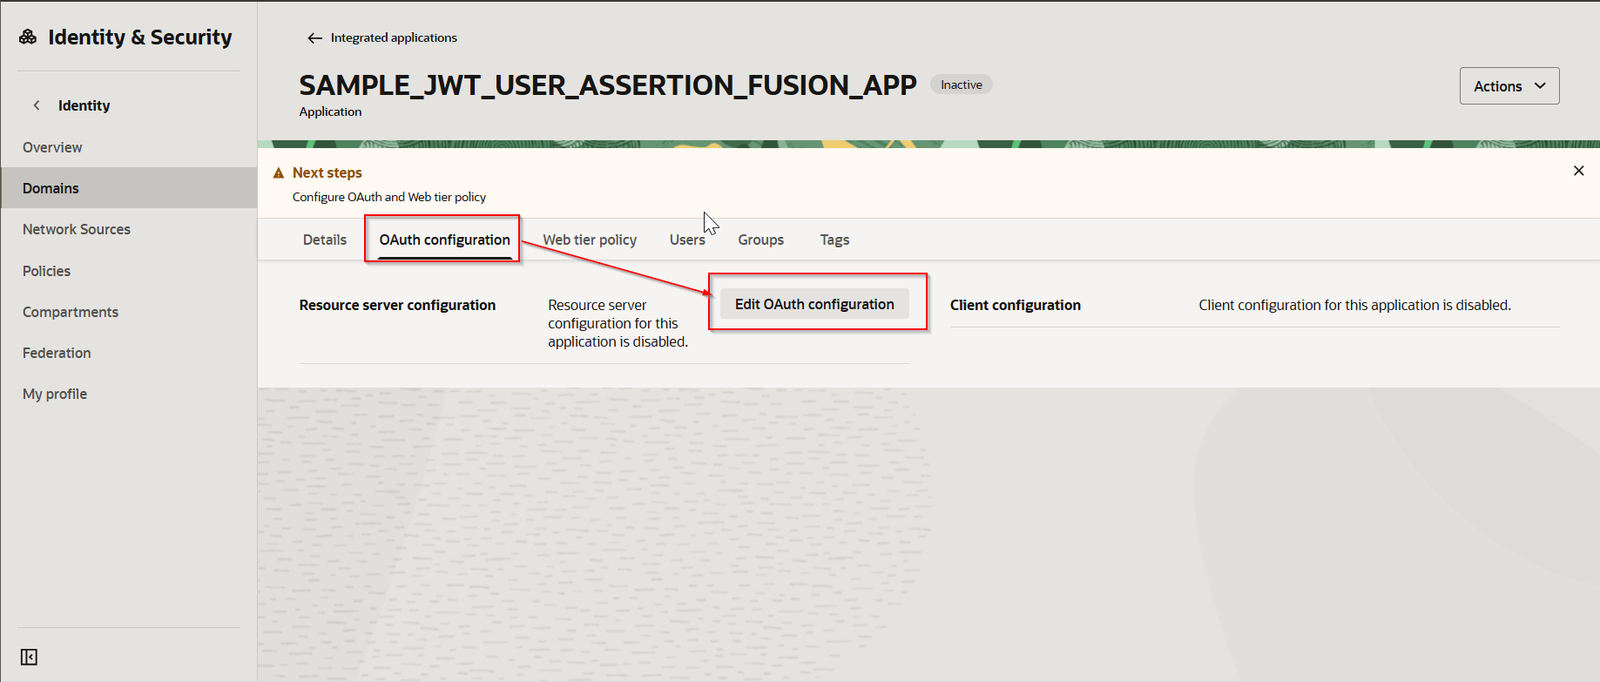
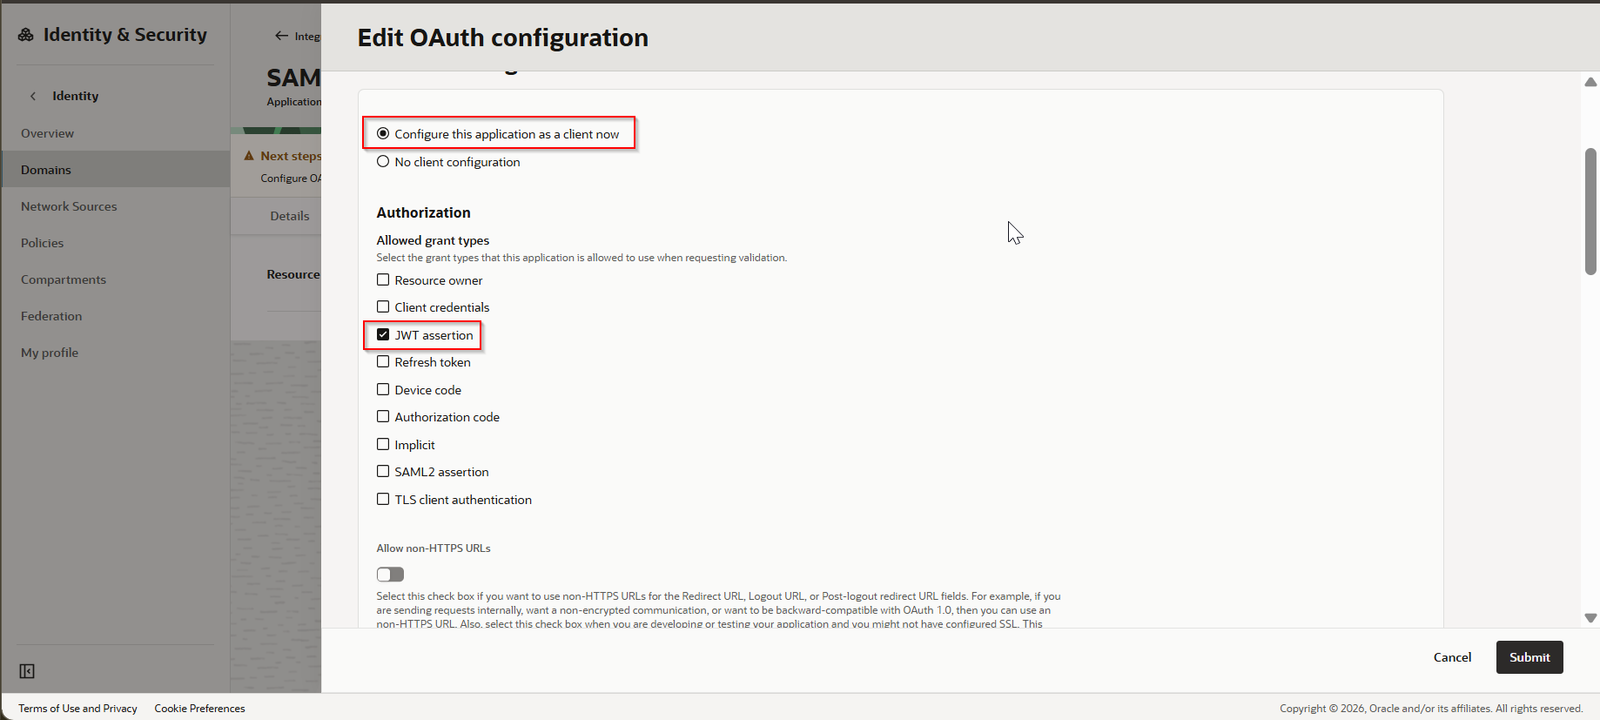
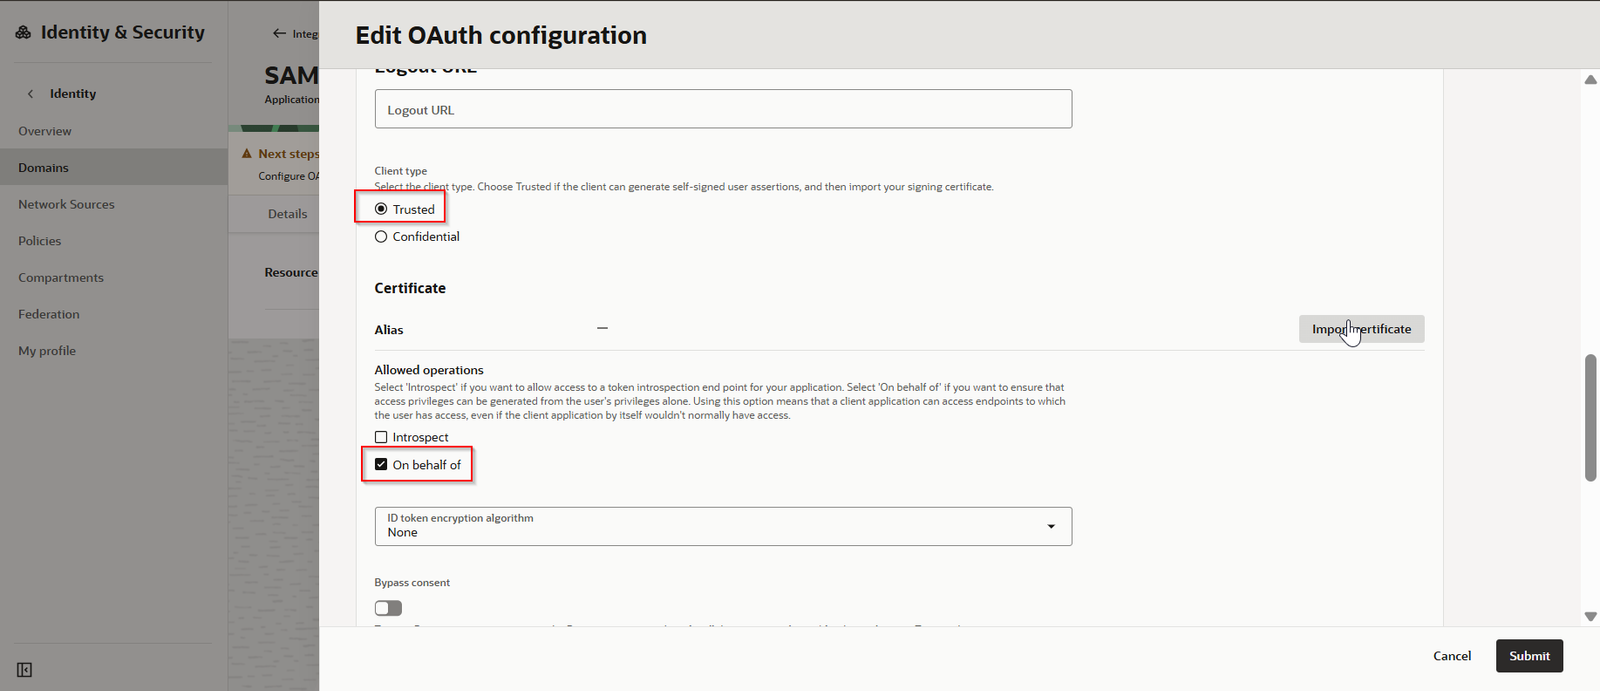
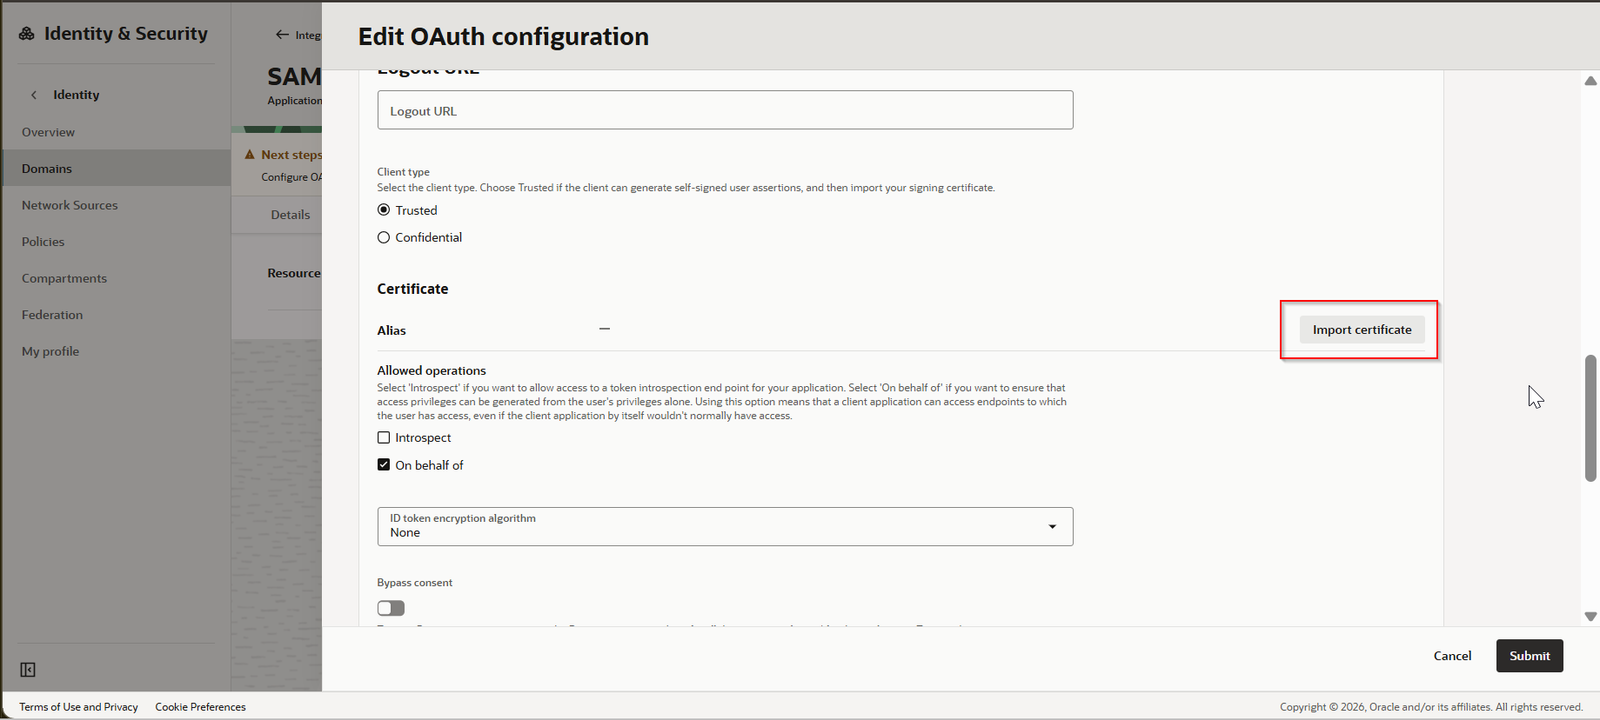
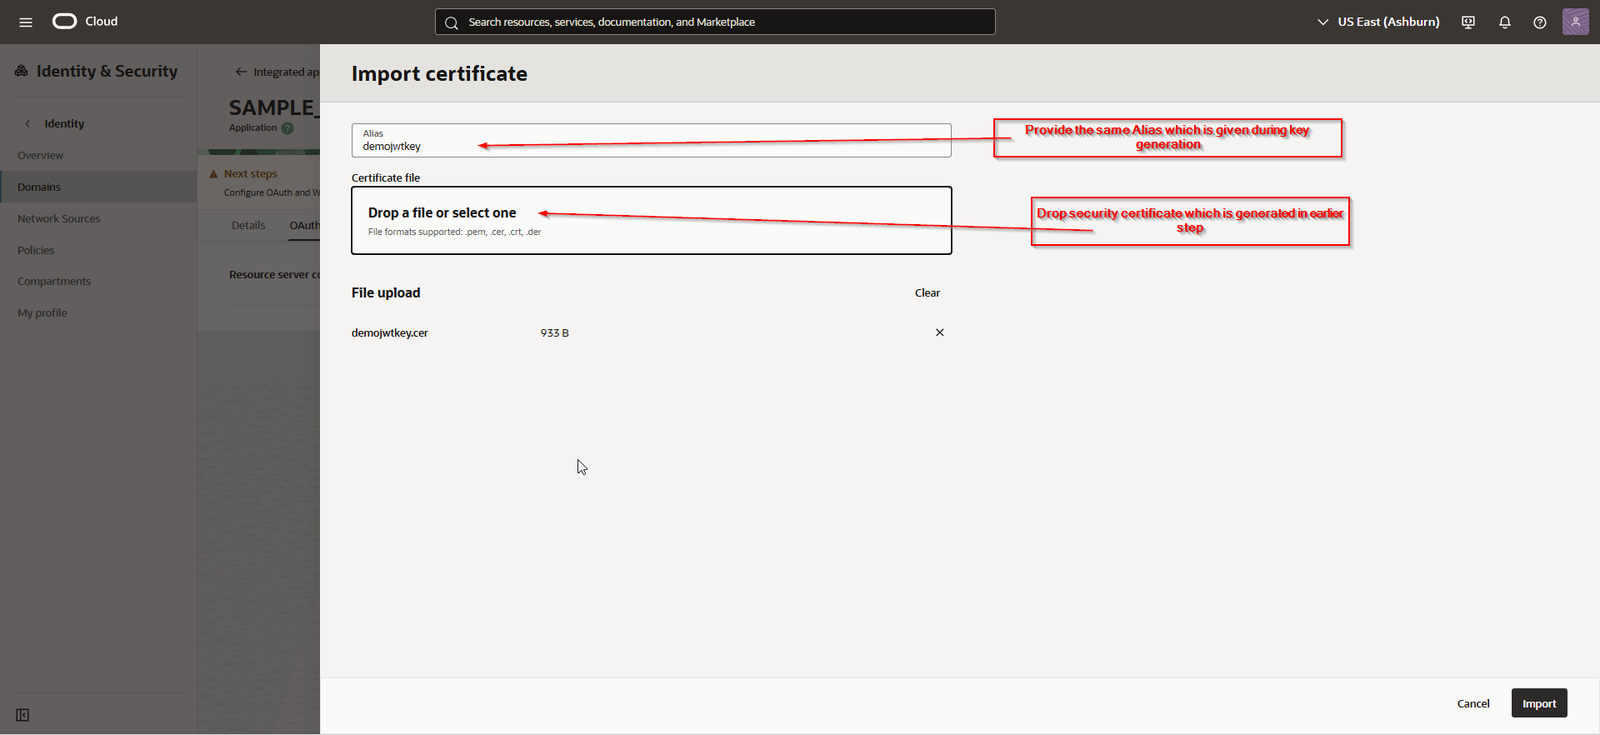
Click on Import.
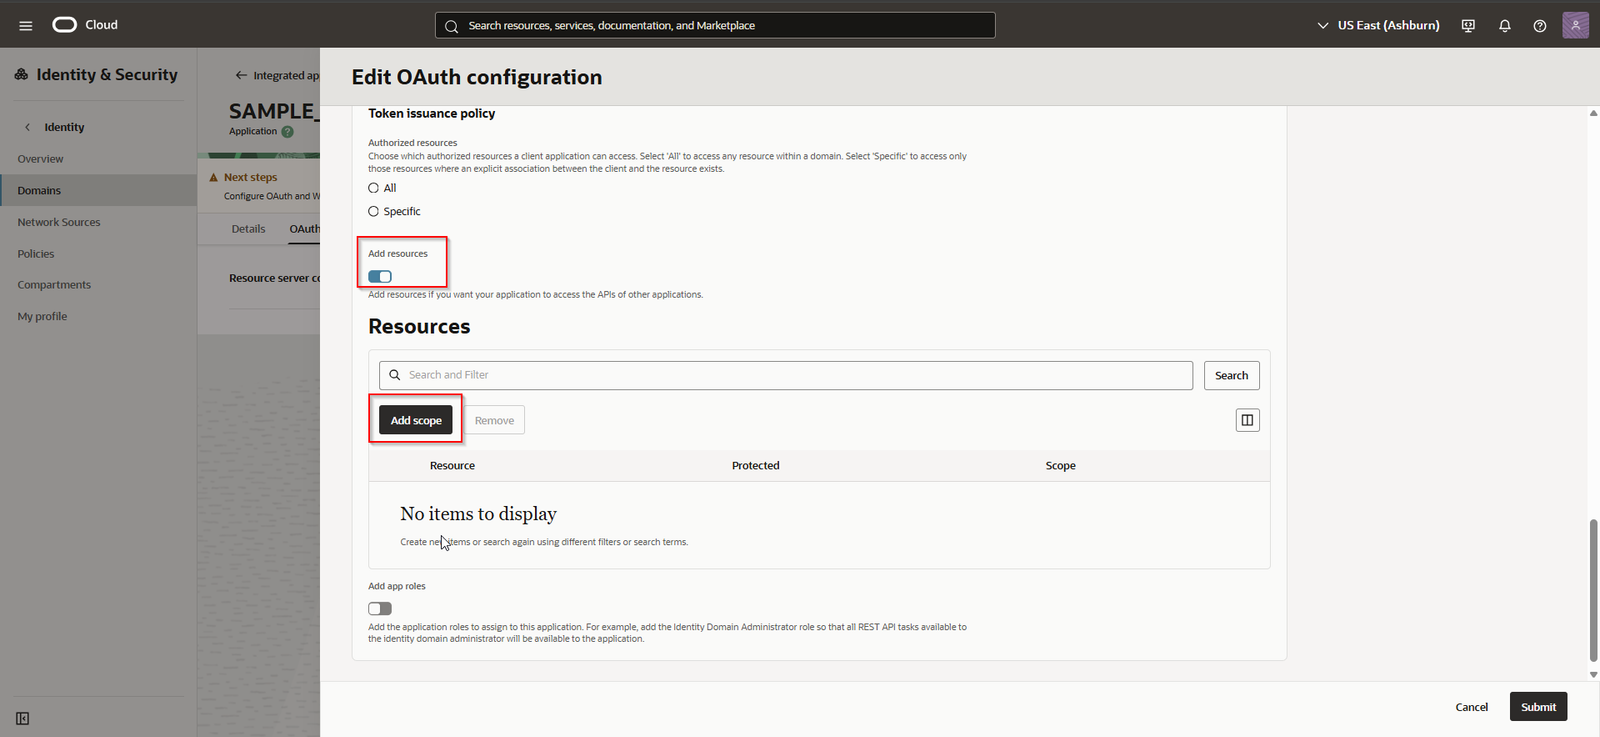
Click on Add Scope.
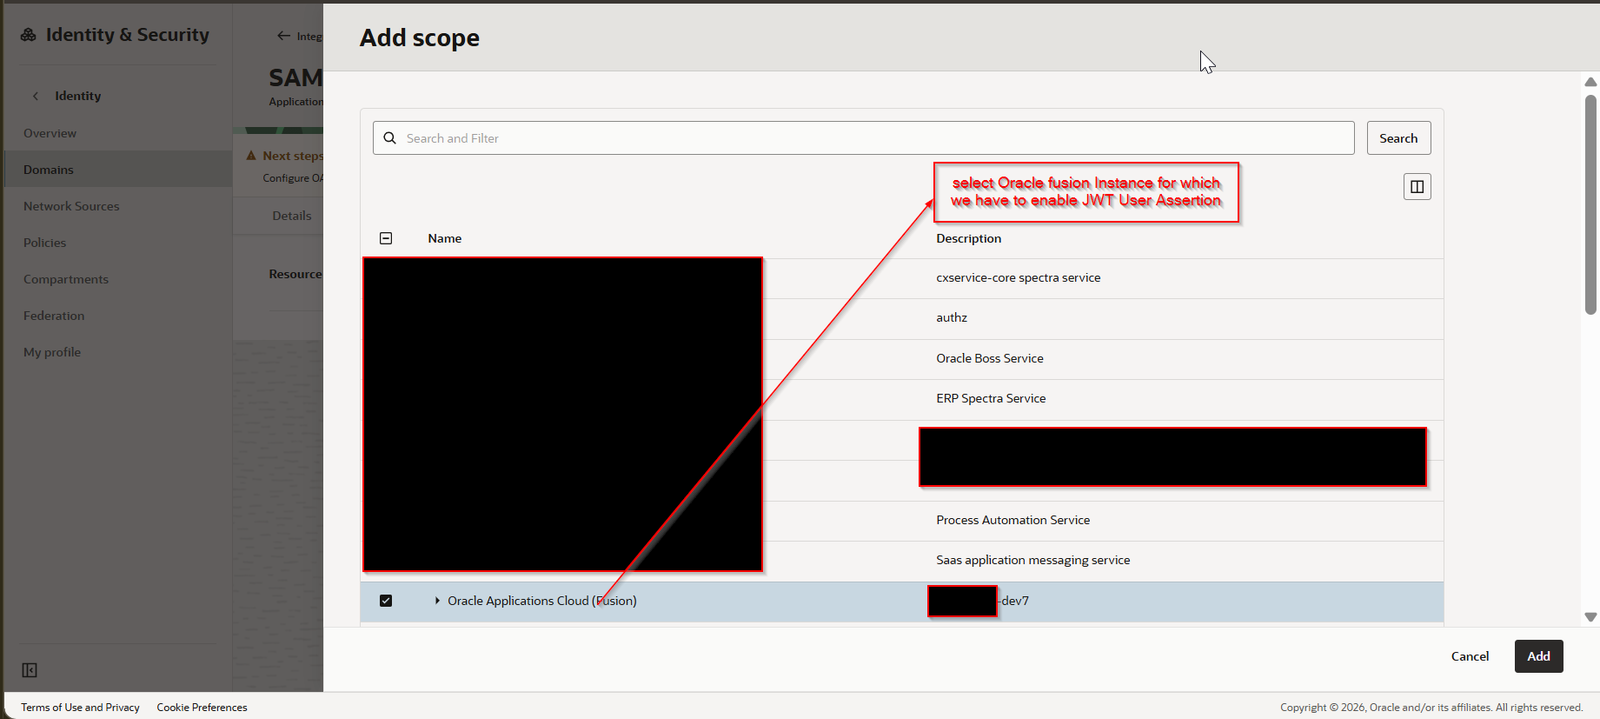
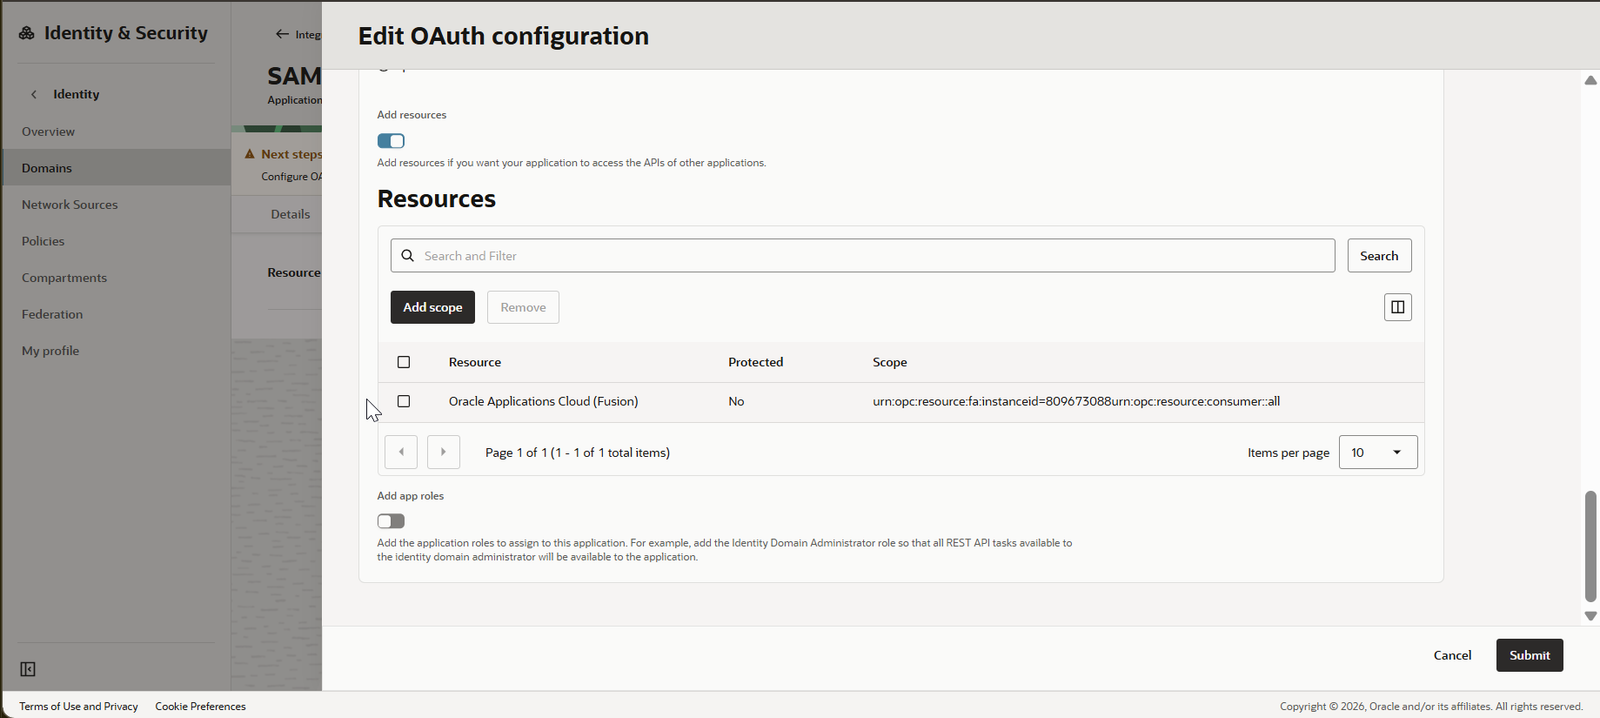
Click on Submit.
Activate the application.
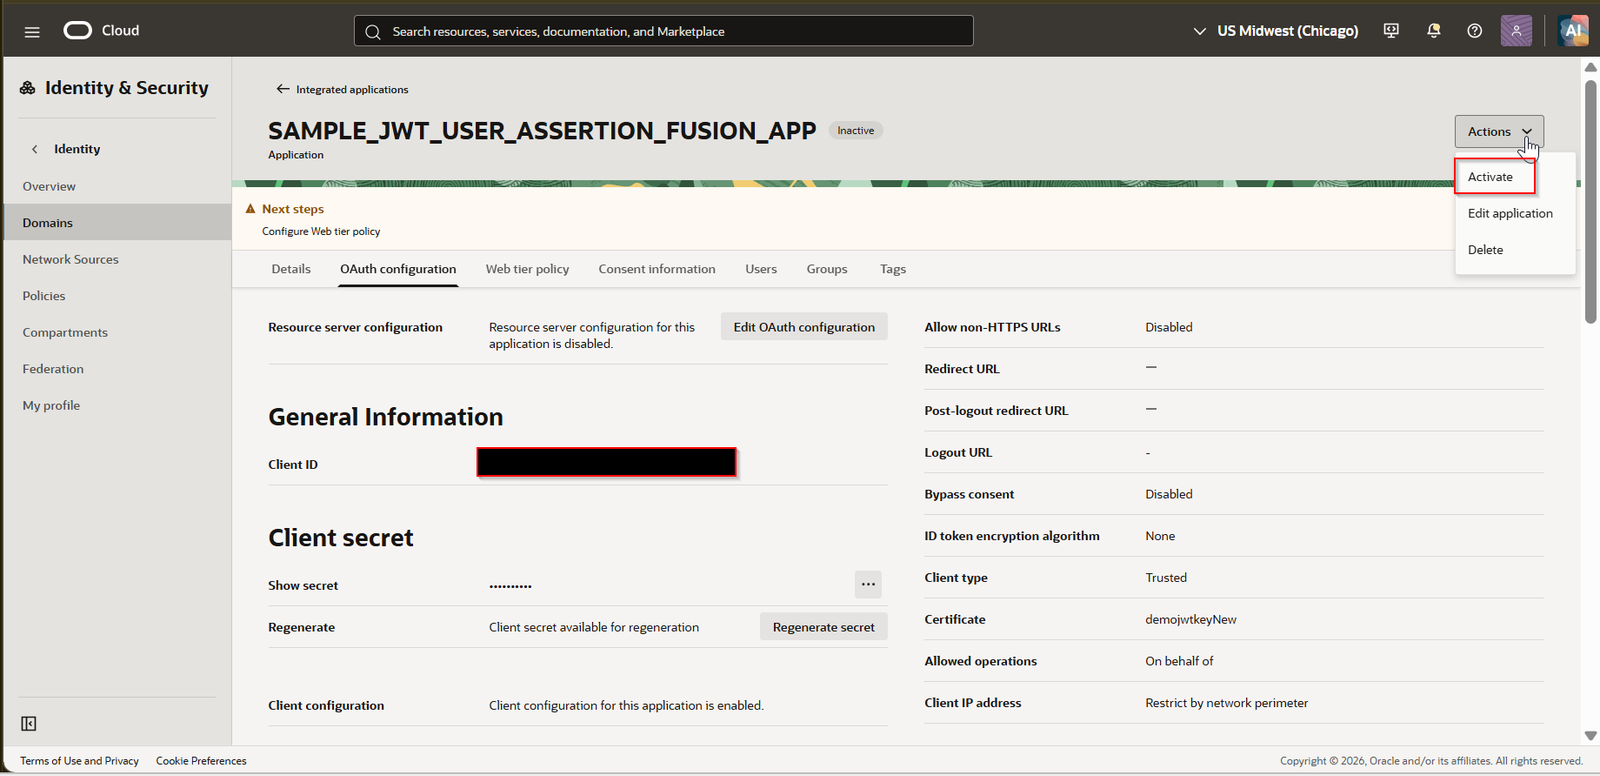
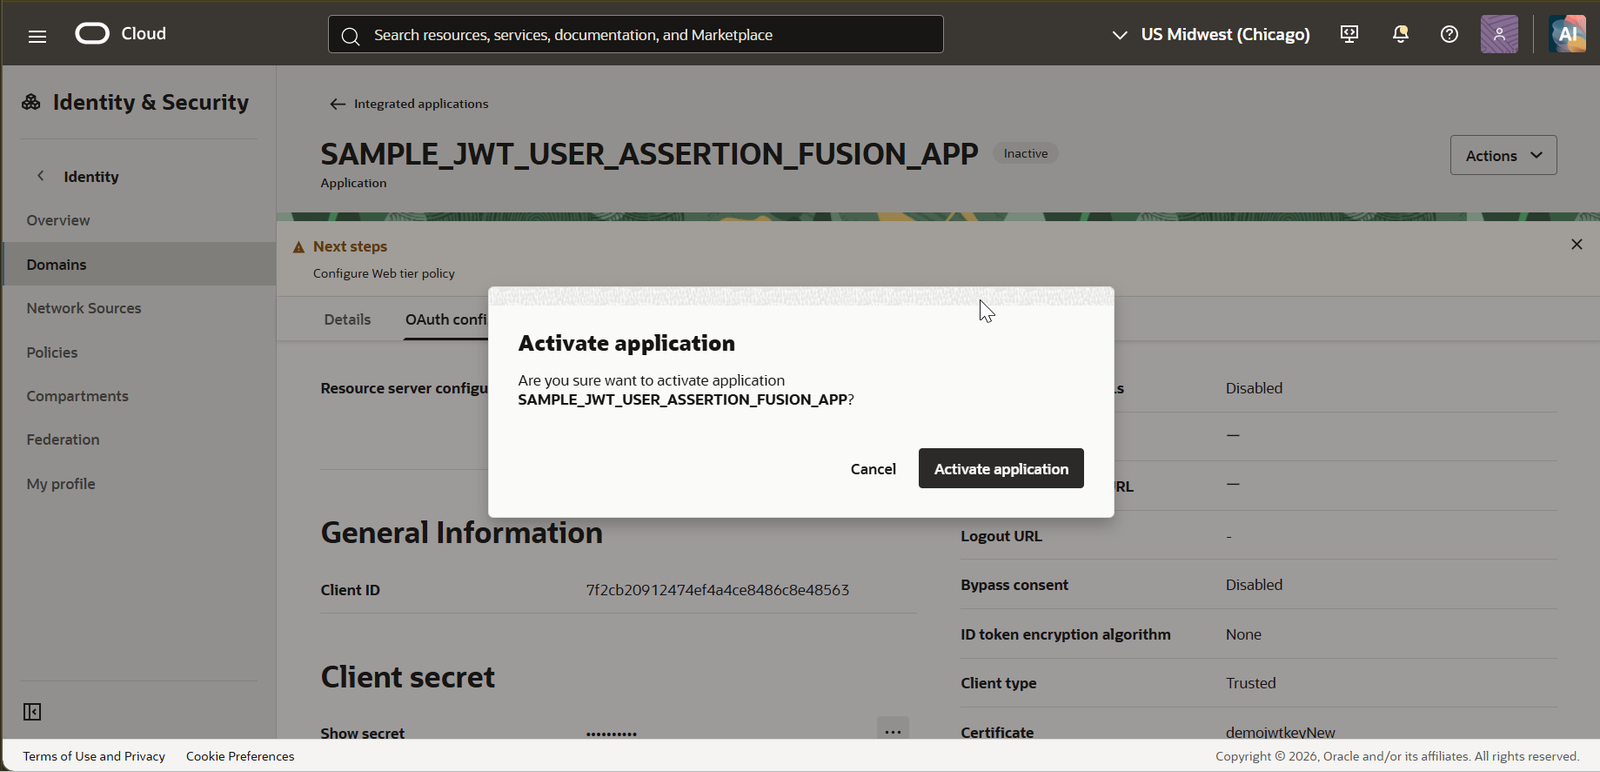
Click on Activate application.
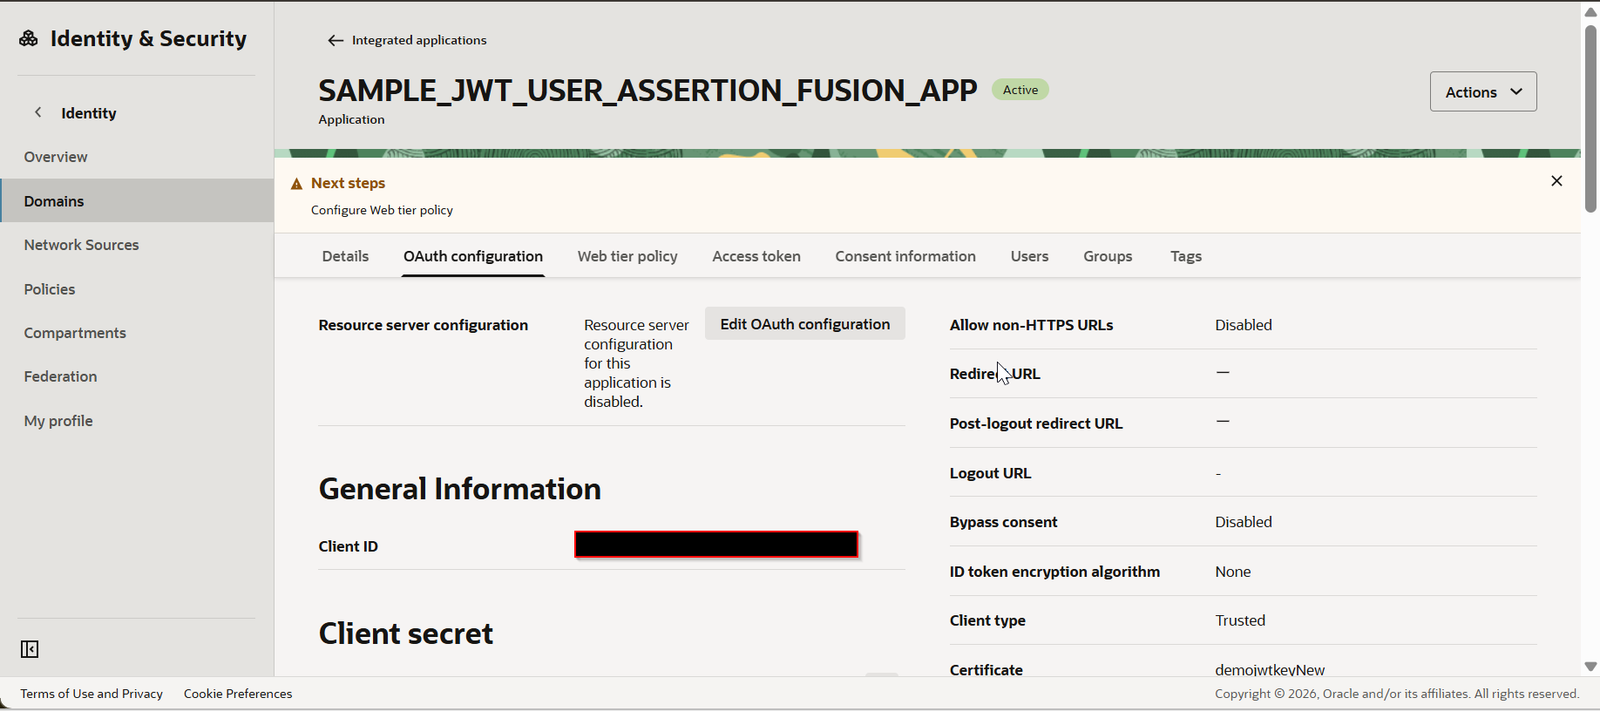
Step3: Upload Certificate as Trusted Partner Certificate.
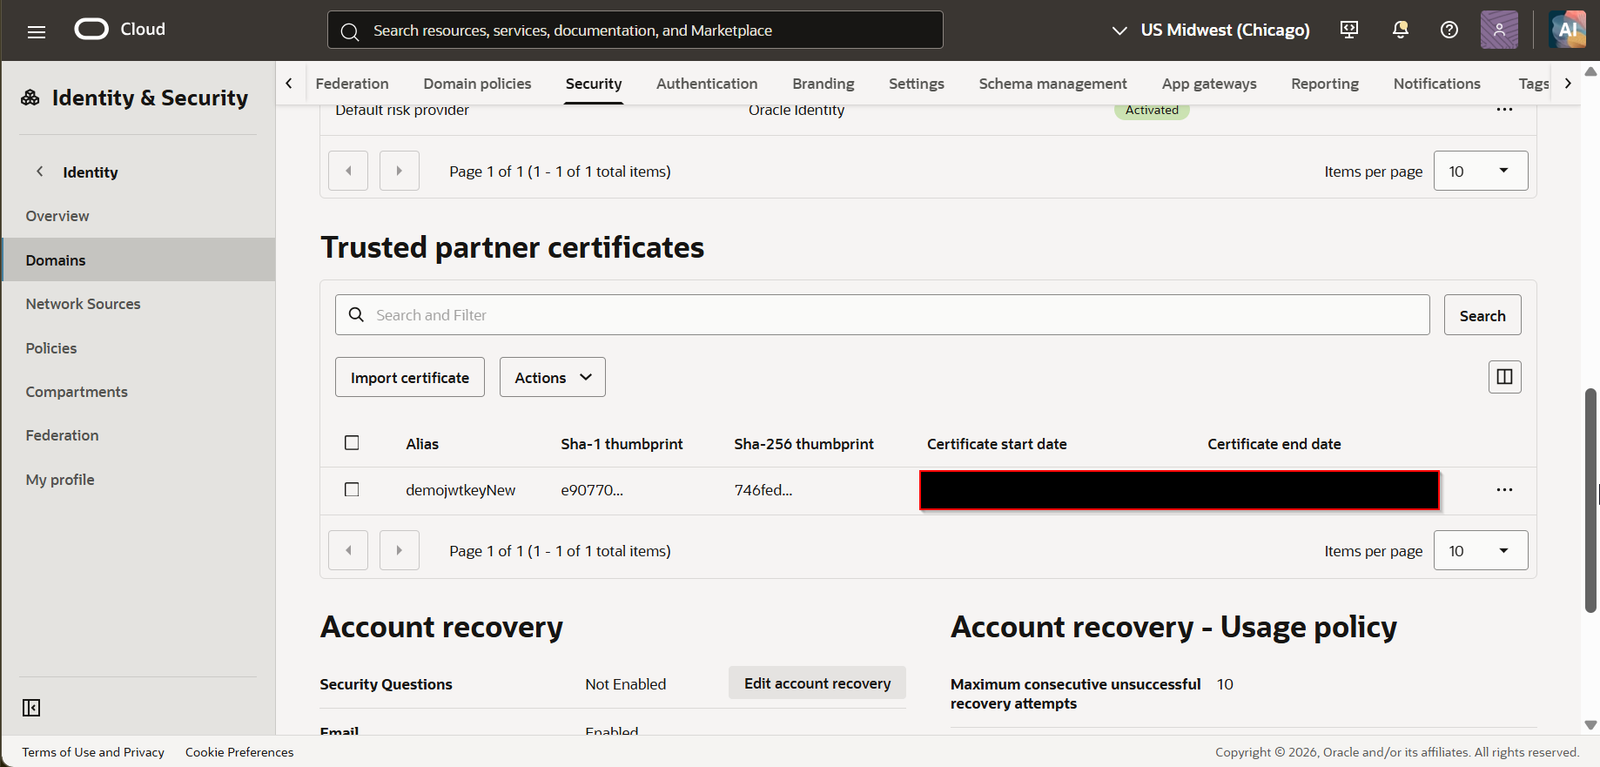
Navigate to fusion domain —>Security —>Trusted partner certificates —>Import certificate.
Import same certificate which is uploaded in earlier step.
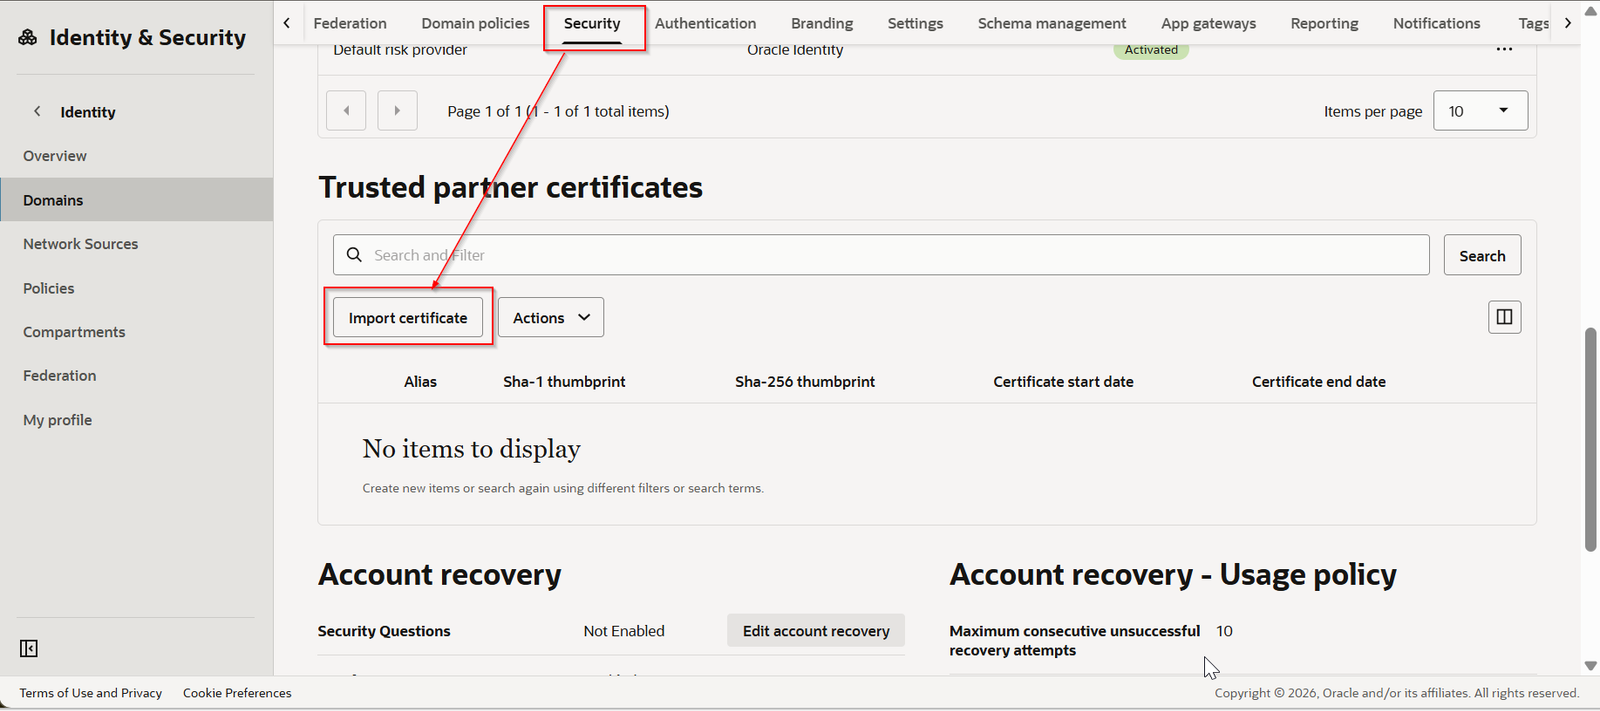
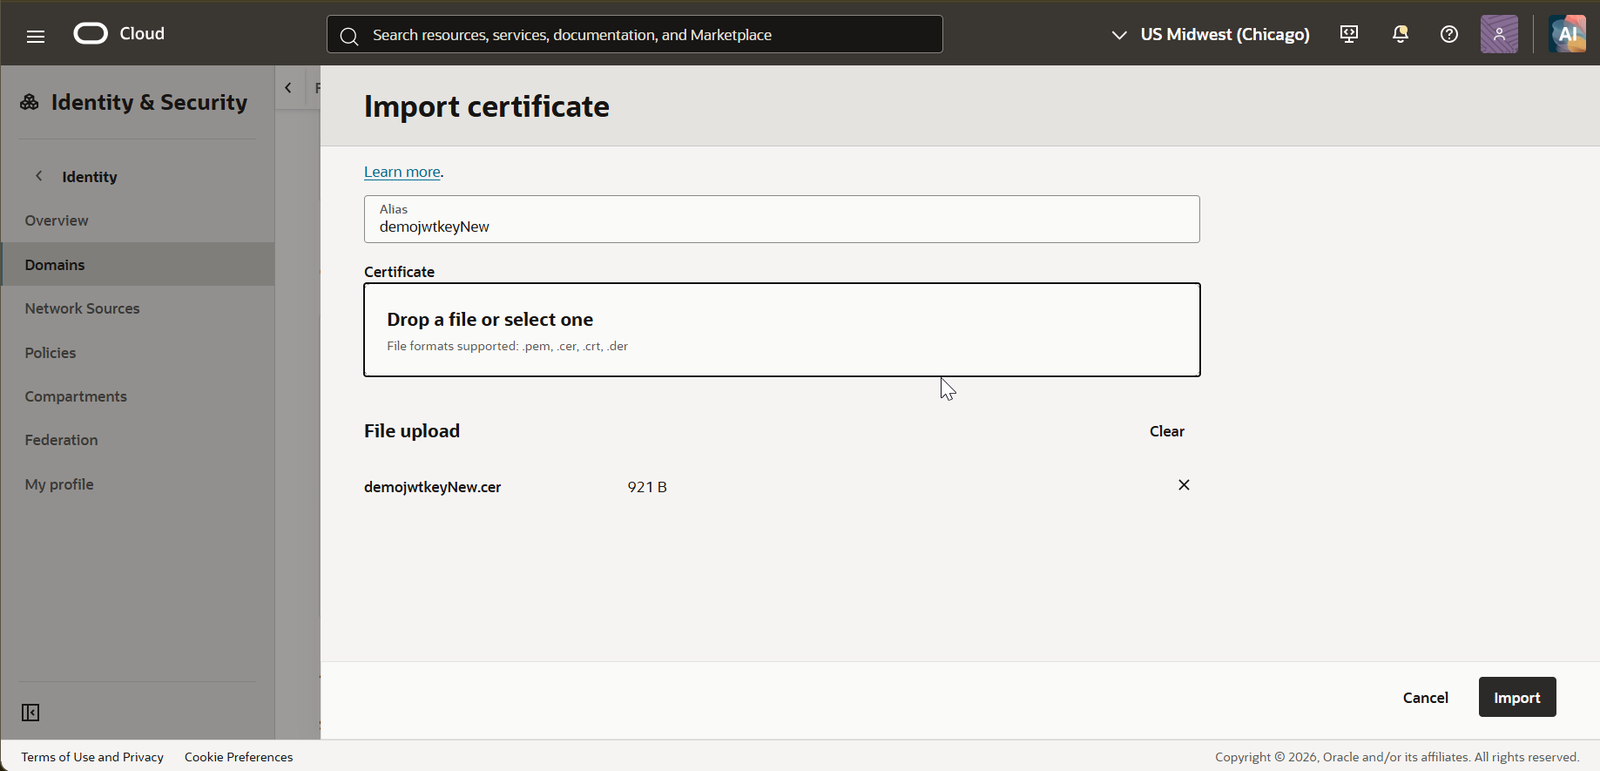
Click Import.
Step4: Create Simple Application in APEX.
Login to Oracle APEX workspace —>App Builder –>Create.
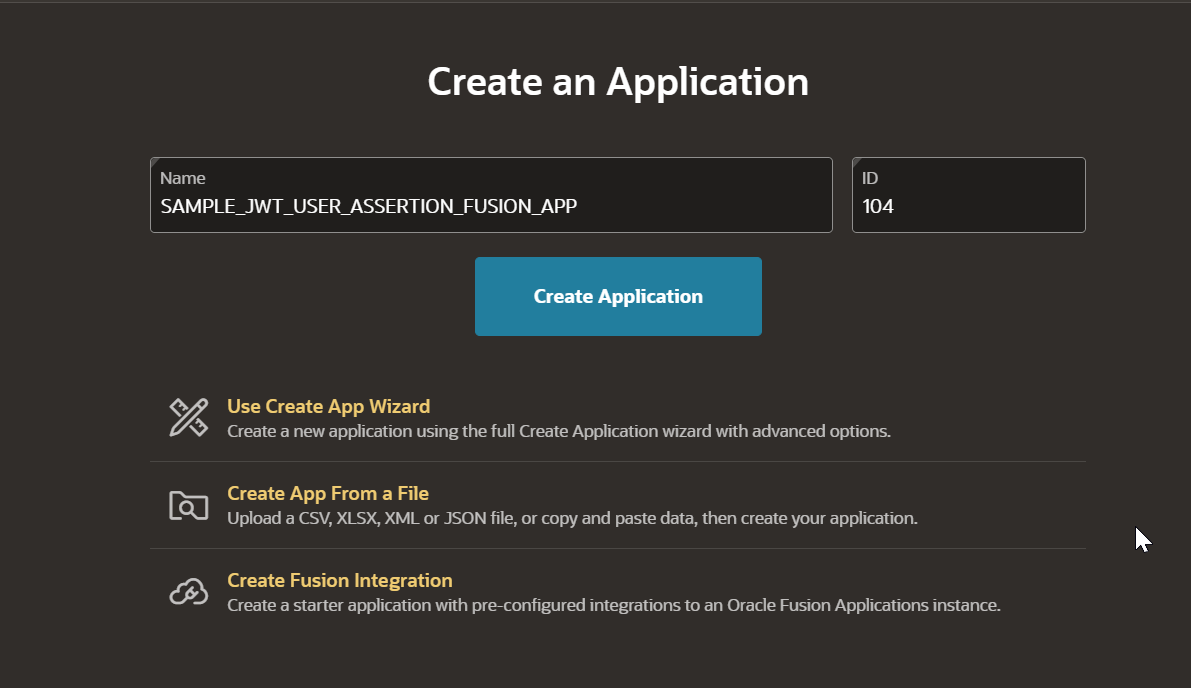
Click on Create Application.
Step5: Create Web Credentials for JWT User Assertion.
For enabling OUATH2.0 JWT user assertion in oracle APEX, we need to create two web credentials as follows.
Navigate to Shared Components —-> Credentials
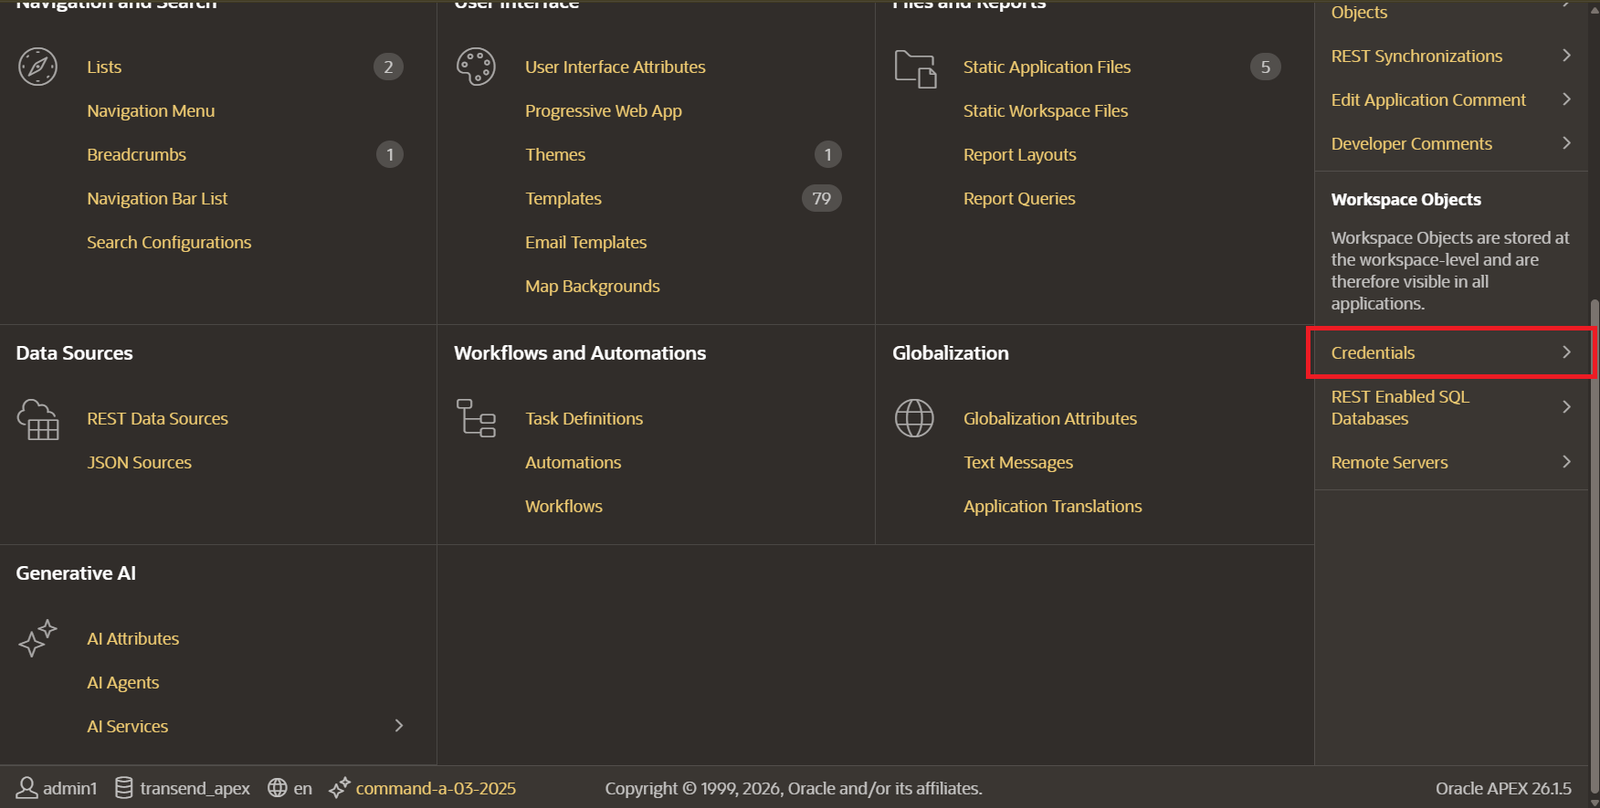
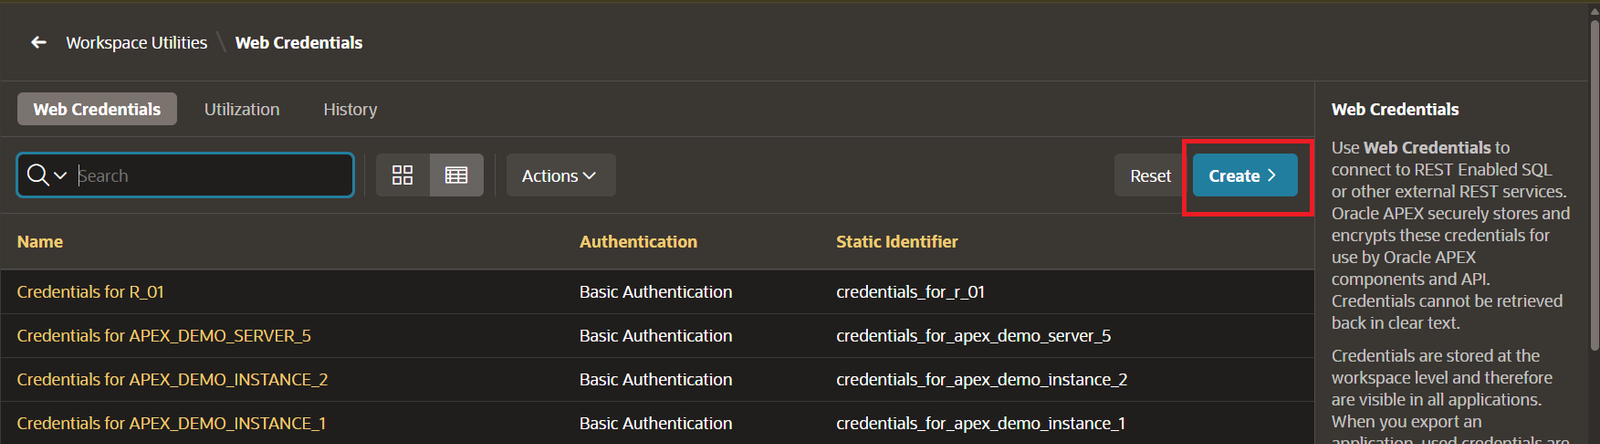
Click on Create-to-create new Web Credentials.
- User Assertion Signing Certificate:
Create web credentials of Authentication type as “User Assertion Signing Certificate” with below details:
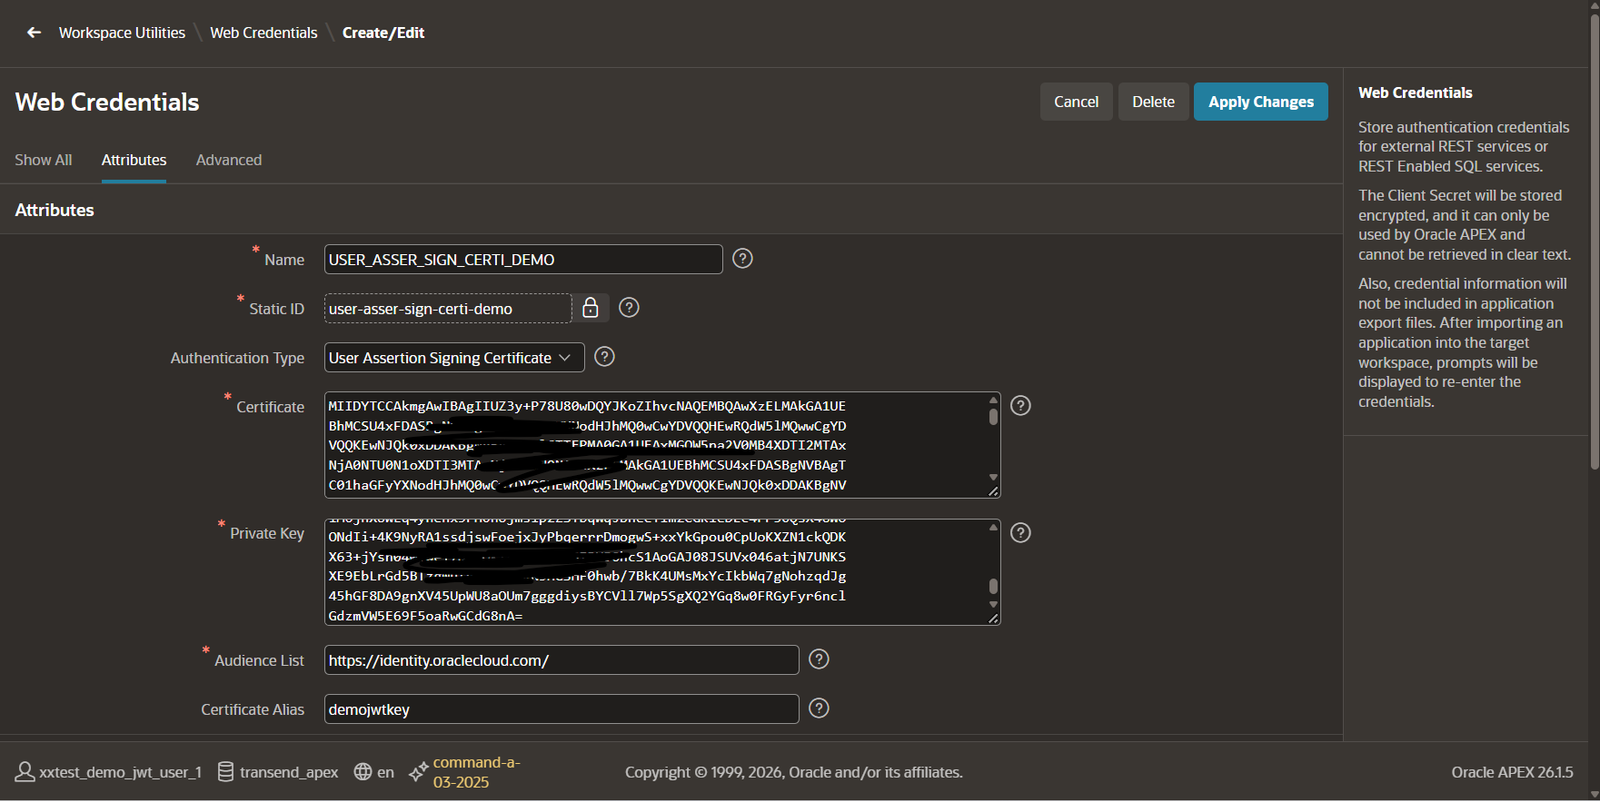
Provide details as per the table below:
Name | USER_ASSER_SIGN_CERTI_DEMO | Provide any valid Name |
Static ID |
| Auto generated |
Authentication Type |
| |
Certificate | Provide here content of demojwtkey_cert.pem file which we have converted from demojwtkey.cert file. | |
Private Key |
| |
Audience List | This will be hard coded value | |
Certificate Alias |
|
2. Signed User Assertion:
Create web credentials of Authentication type as “Signed User Assertion” with below details:
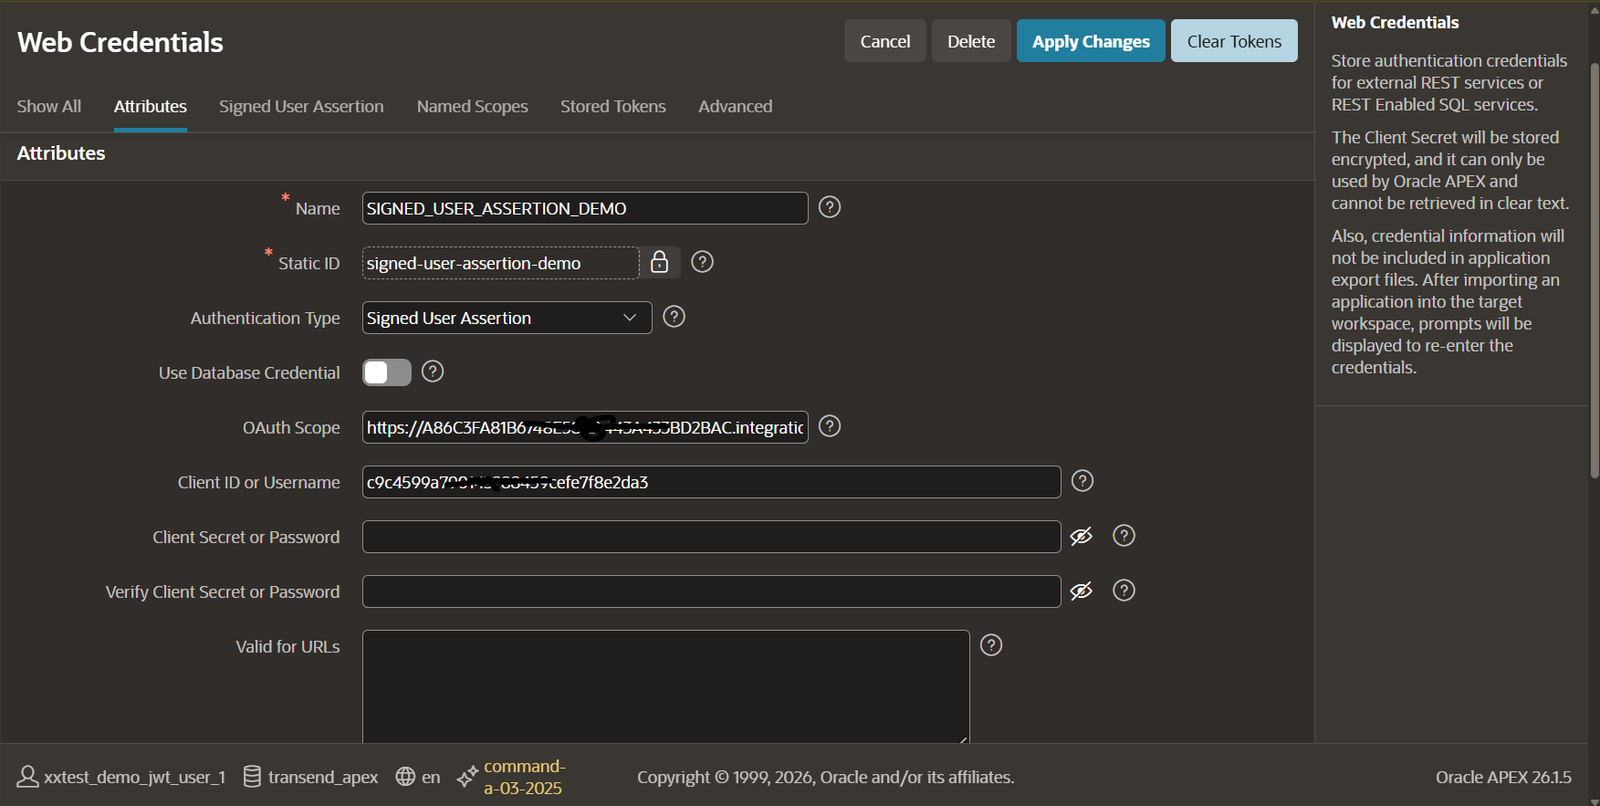
Provide details as per the table below:
Name | SIGNED_USER_ASSERTION_DEMO | Provide any valid Name |
Static ID | signed-user-assertion-demo | Auto Generated |
Authentication Type | Signed User Assertion | |
Use Database Credentials | No | Do not enable it |
OAUTH Scope | urn:opc:resource:fa:instanceid=809673088urn:opc:resource:consumer::all | Provide scope copied from confidential application. |
Client ID | Get Client ID from Confidential application | |
Client Secret | Get Client secret from Confidential application | |
Verify Client Secret or Password | Get Client secret from Confidential application |
Now go to Signed User Assertion tab and select Web credential which we have created in earlier step.
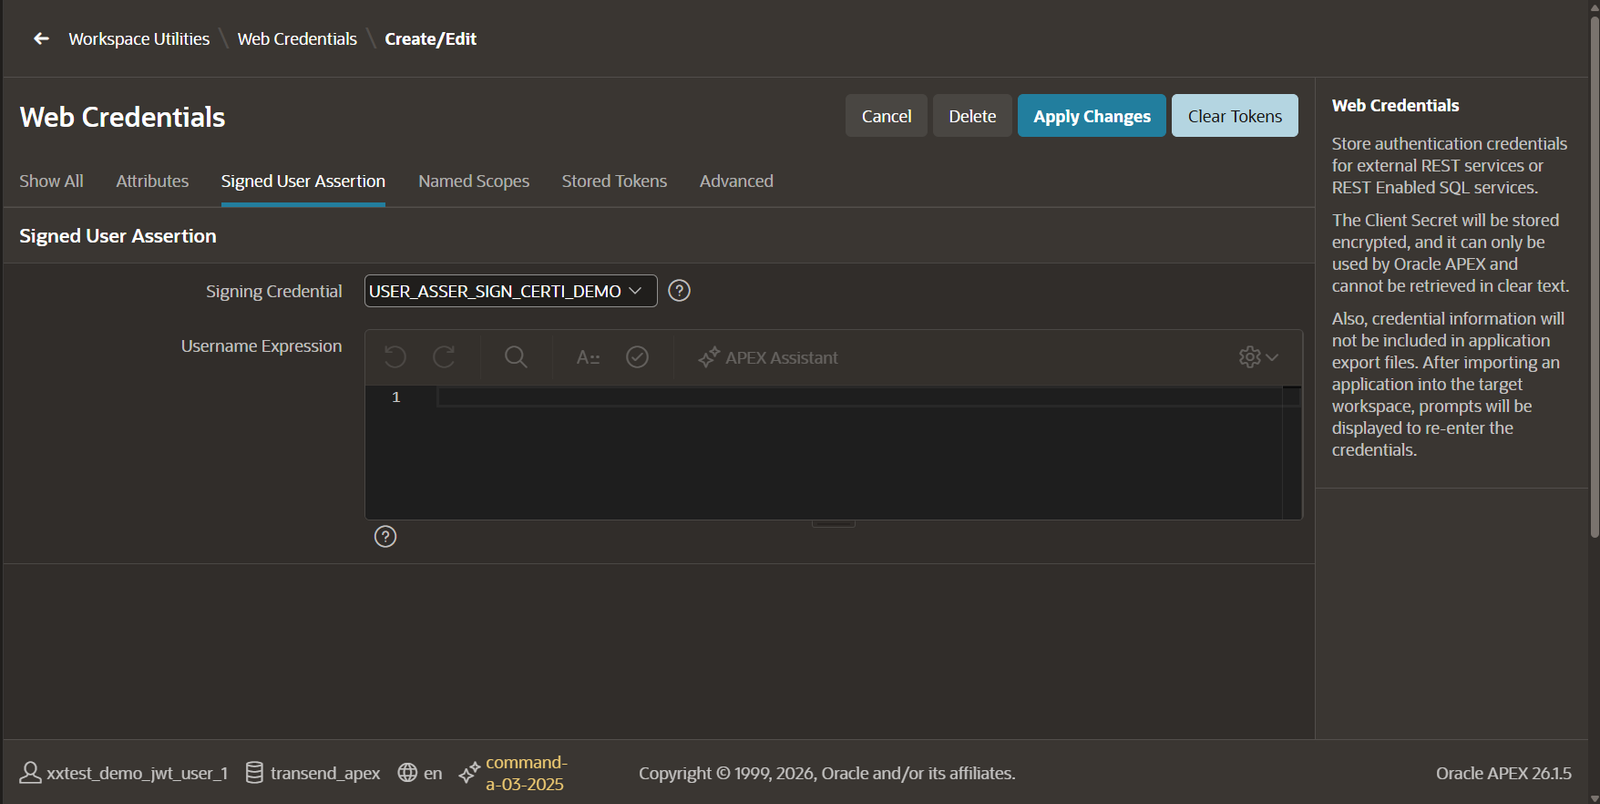
Click on Apply changes.
Step6: Create Two Users in Oracle Fusion.
Create two users in Fusion as shown below:
XXTEST_DEMO_JWT_USER_1
XXTEST_DEMO_JWT_USER_2
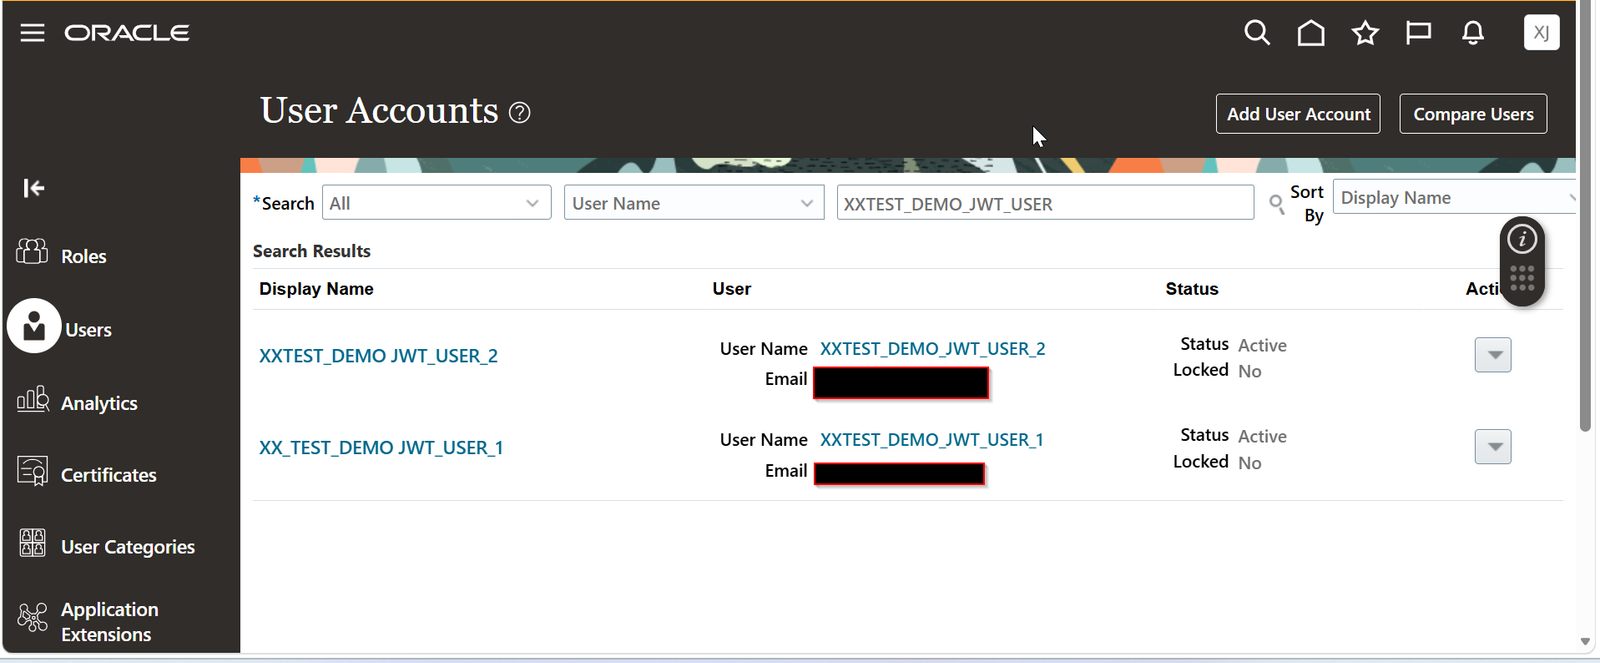
Let us create APEX application page which will create AP Invoice in oracle fusion.
Assign all roles and data access required to access
Assign all roles related to Accounts Payable to create AP Invoice using REST API for these users.
Below are details for AP Invoice REST API:
Endpoint URL | /fscmRestApi/resources/11.13.18.05/invoices |
Method | POST |
Sample Payload | { “InvoiceNumber”: “XX JWT INV 002”,“InvoiceCurrency”: “USD”, “InvoiceAmount”: 6000, “InvoiceDate”: “2026-02-08”, “BusinessUnit”: “XXXXXX”, “Supplier”: “Test Supplier”, “SupplierSite”: “Test Supplier Sites”, “InvoiceGroup”: “”, “Description”: “This is demo invoice for JWT User Assertion”, “invoiceLines”: [ { “LineNumber”: 1, “LineAmount”: 6000, “AccountingDate”: “2026-02-08”, “DistributionCombination”: “0100.131000.53140.0000.000000.0000.00000” } ] } |
Step7: Create Users in Oracle APEX.
Create users with same username as shown below in oracle APEX.
Navigate to Manage Users and Groups and Click on Create Users to create users as shown below:
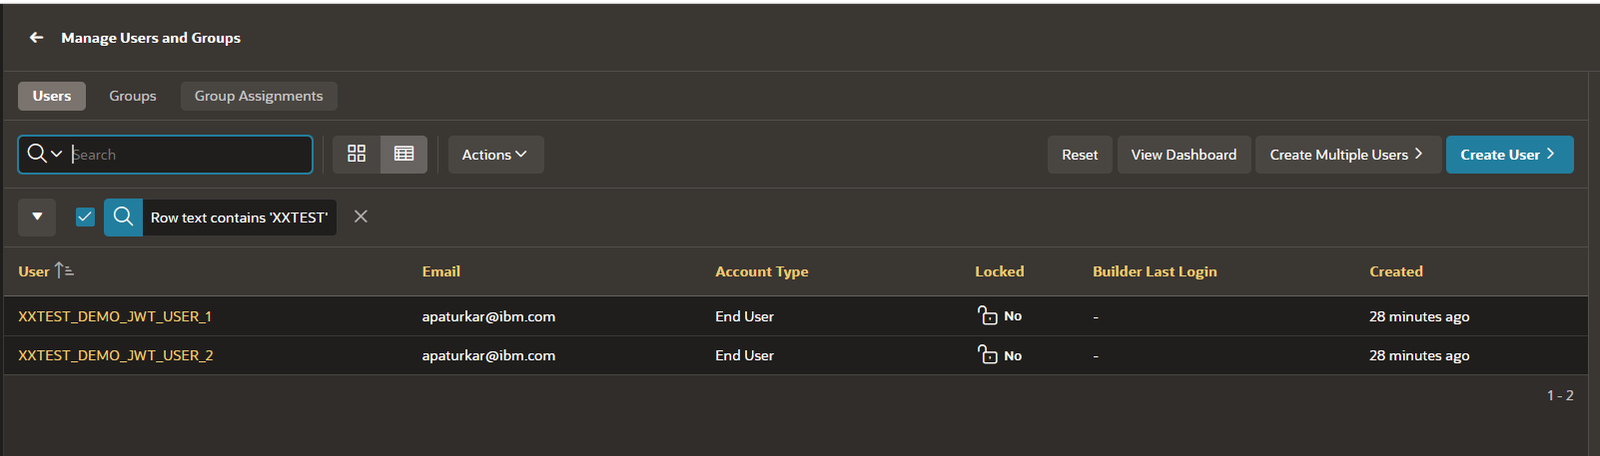
Step8: Create AP Invoice Creation Page in Oracle APEX.
Let us create simple page to create AP invoice in oracle fusion.
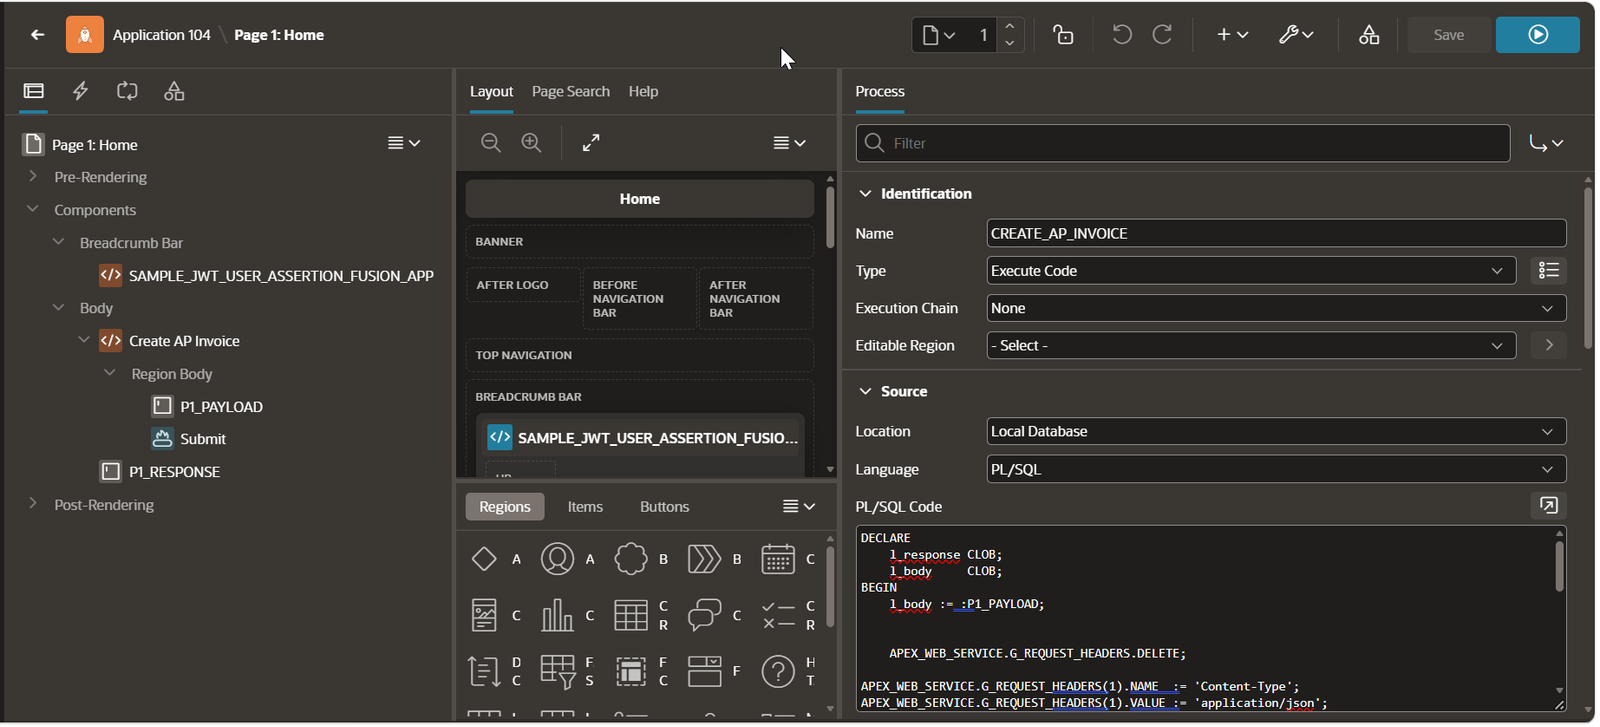
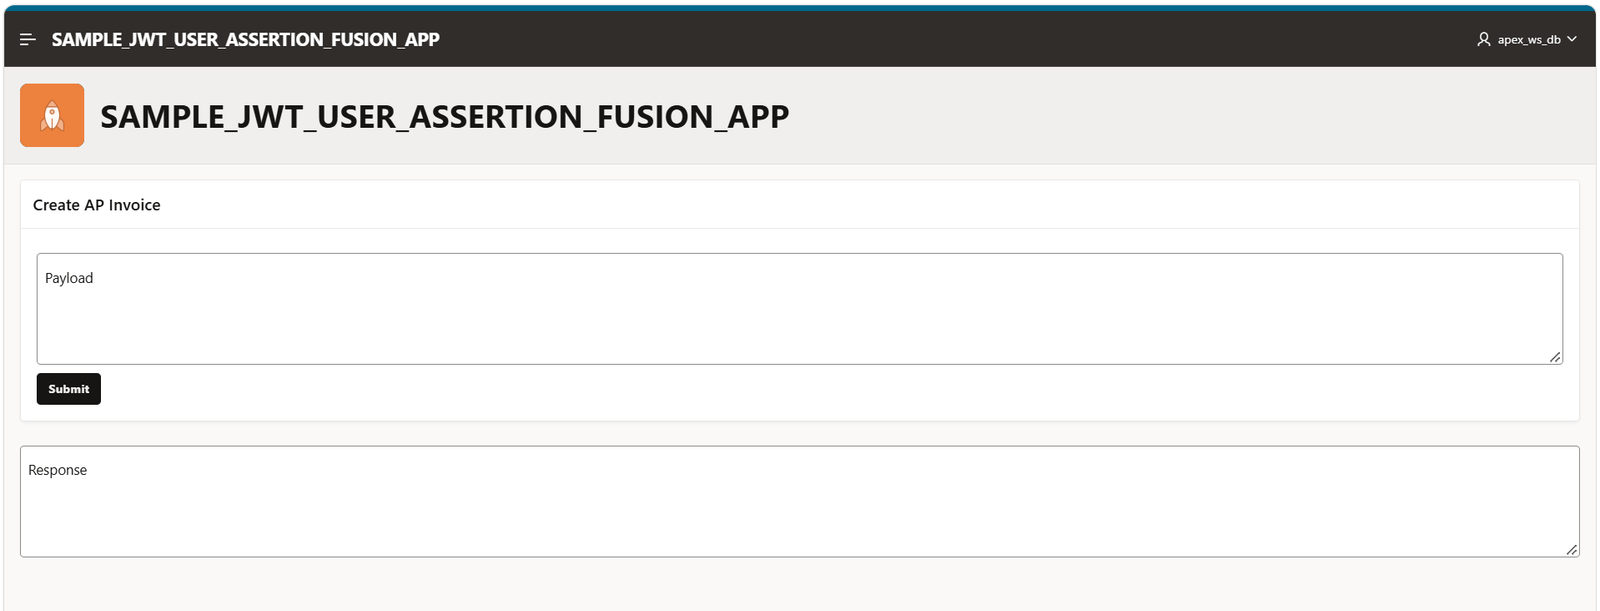
Add the PLSQL code to call Fusion AP Invoice API when clicking on Submit button.
This will use Web credentials which we have created in earlier steps.
PLSQL Code for Submit Button:
- DECLARE
- l_response CLOB;
- l_body CLOB;
- BEGIN
- l_body := :P1_PAYLOAD;
- apex_web_service.g_request_headers.DELETE;
- apex_web_service.G_request_headers(1).name := 'Content-Type';
- apex_web_service.G_request_headers(1).value := 'application/json';
- apex_web_service.G_request_headers(2).name := 'Accept';
- apex_web_service.G_request_headers(2).value := 'application/json';
- l_response := apex_web_service.Make_rest_request(
- p_url =>'https://fa-xxxx-xxxx-saasfaprod1.fa.ocs.oraclecloud.com/fscmRestApi/resources/11.13.18.05/invoices',
- p_http_method => 'POST', p_credential_static_id => 'signed-user-assertion',
- p_token_url =>'https://idcs-xxxxxxxxxx.identity.oraclecloud.com:443/oauth2/v1/token',
- p_body => l_body);
- dbms_output.Put_line(dbms_lob.Substr(l_response, 32000, 1));
- :P1_RESPONSE := l_response;
- END;
Step9: Test the application.
Login to oracle APEX application with XXTEST_DEMO_JWT_USER_1.
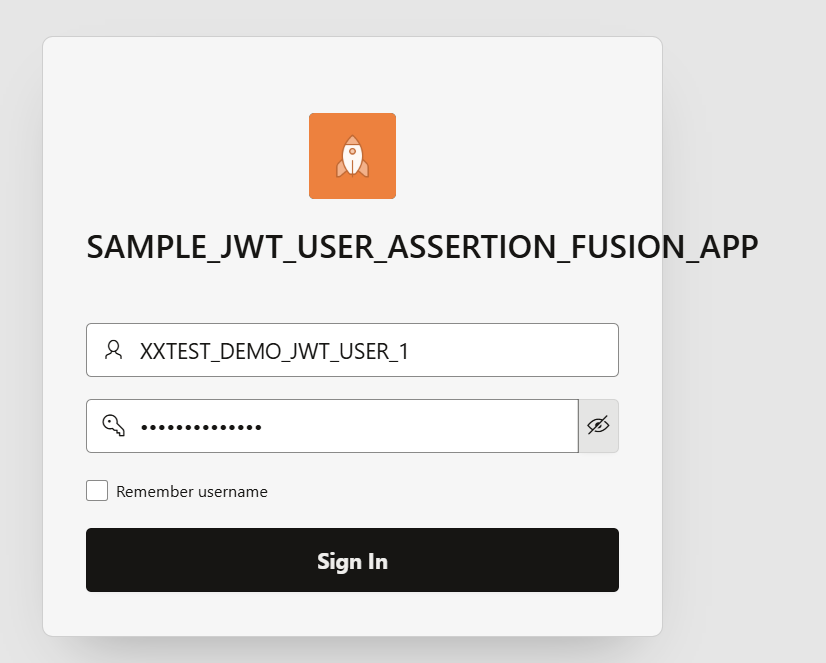
Click on Sign In.
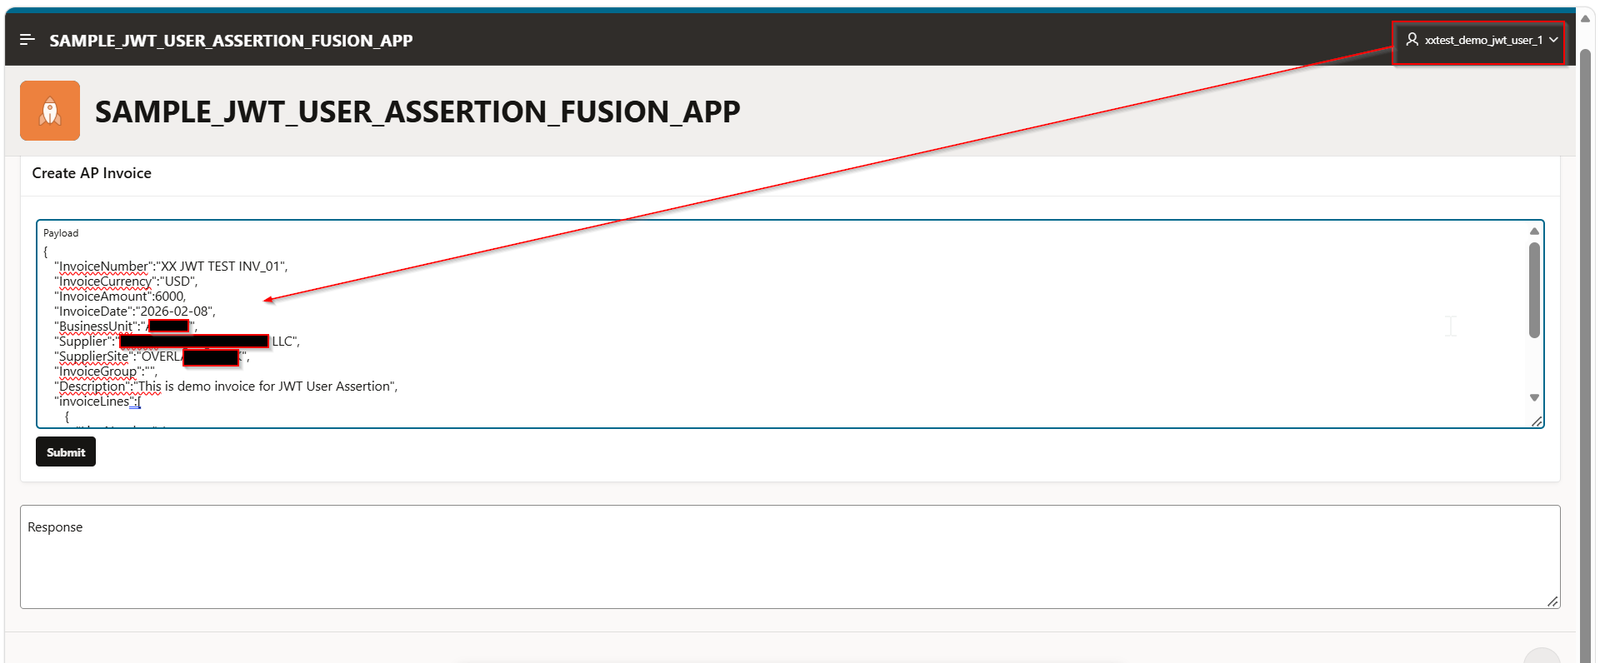
Provide payload and click on Submit.
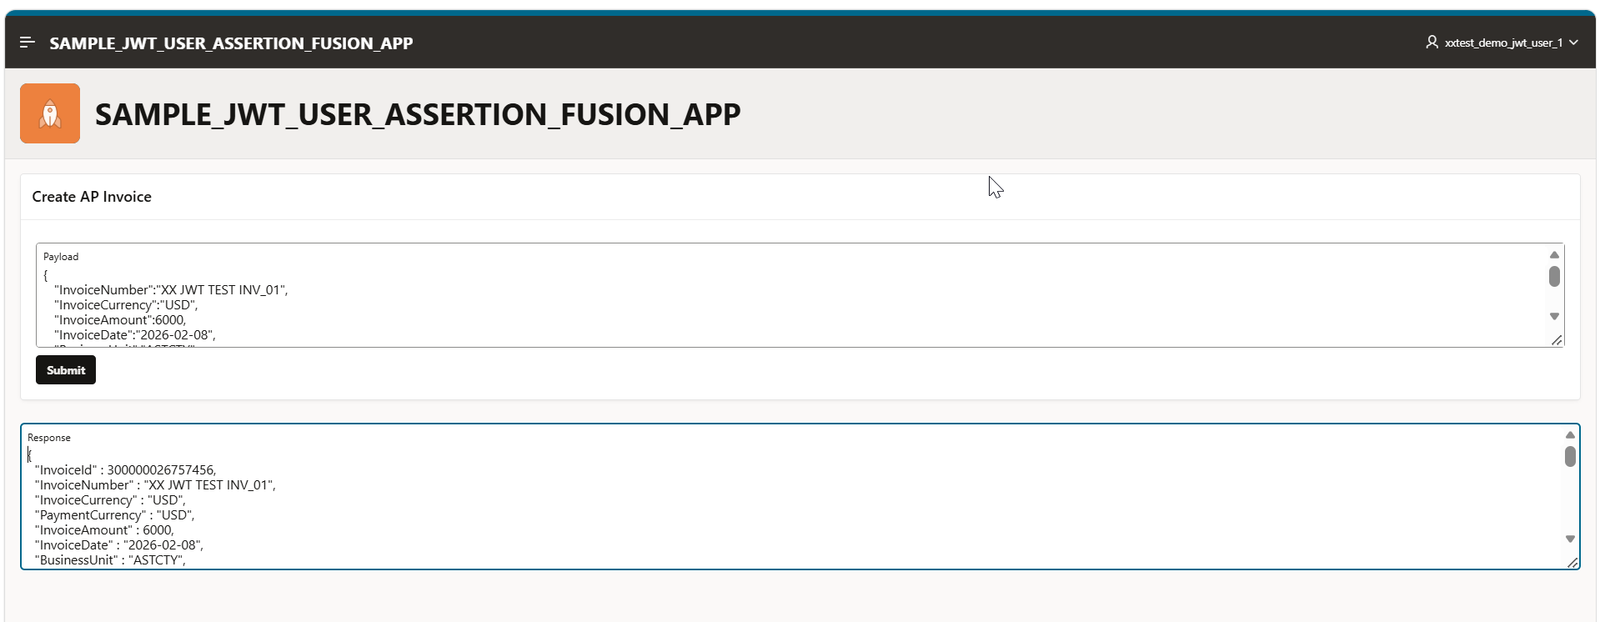
Invoice is created now.
Logout and Login with XXTEST_DEMO_JWT_USER_2 and create another invoice.
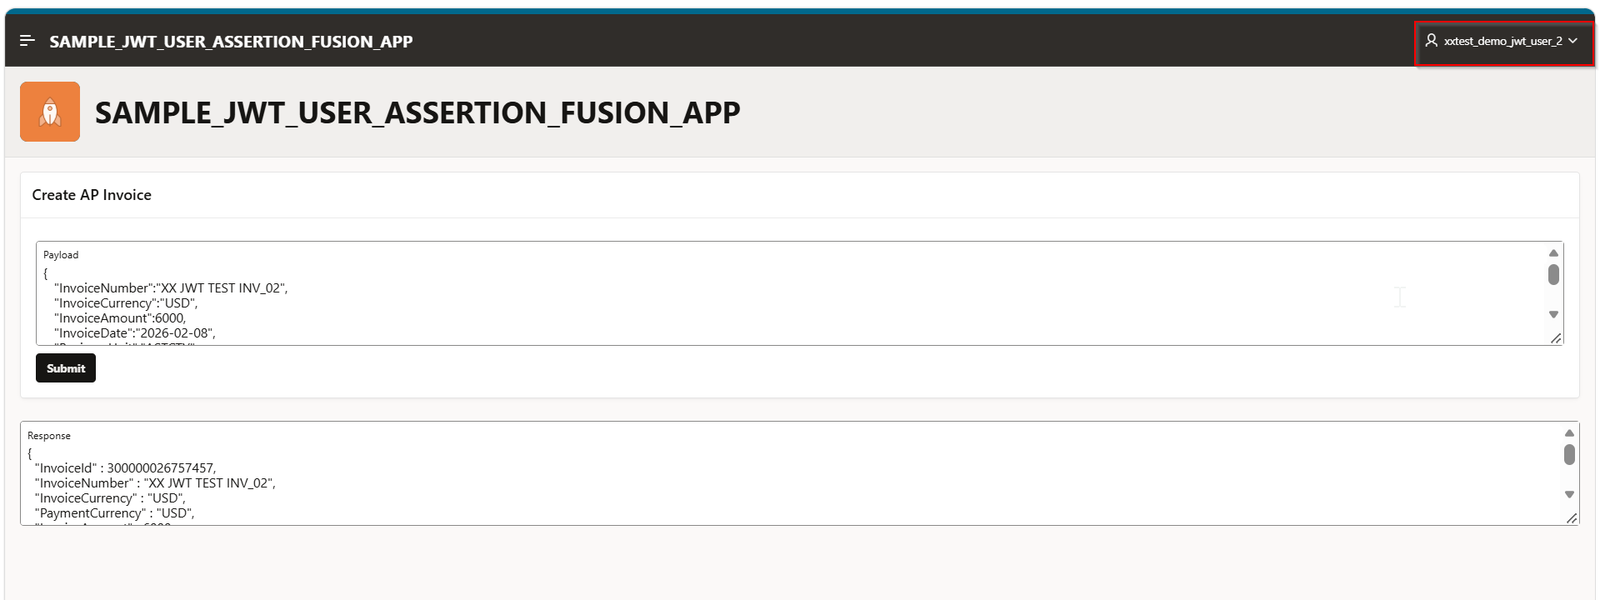
Step10: Verify the result in Fusion instance.
Login to Oracle fusion Instance and check above two created invoices:
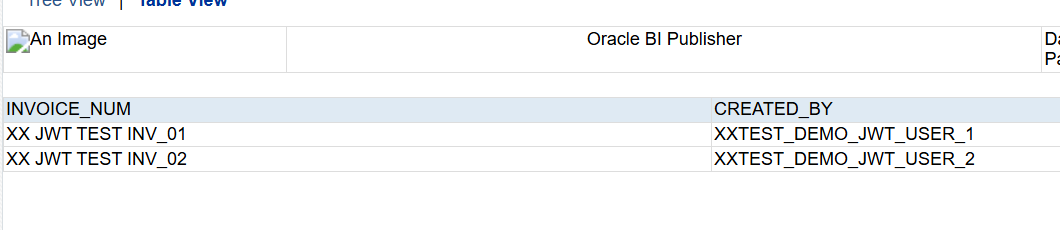
In this way, user identity from oracle APEX is propagated to Oracle fusion using JWT user assertion.
