ORDS Part-5-How to Enable OAUTH2.0 for ORDS REST API

ORDS Part-5-How to Enable OAUTH2.0 for ORDS REST API

In this blog post, we will see how to enable OAUTH2.0 for ORDS REST API.

Login with ORDS_TEST_USER.

Navigate to Development —>REST.
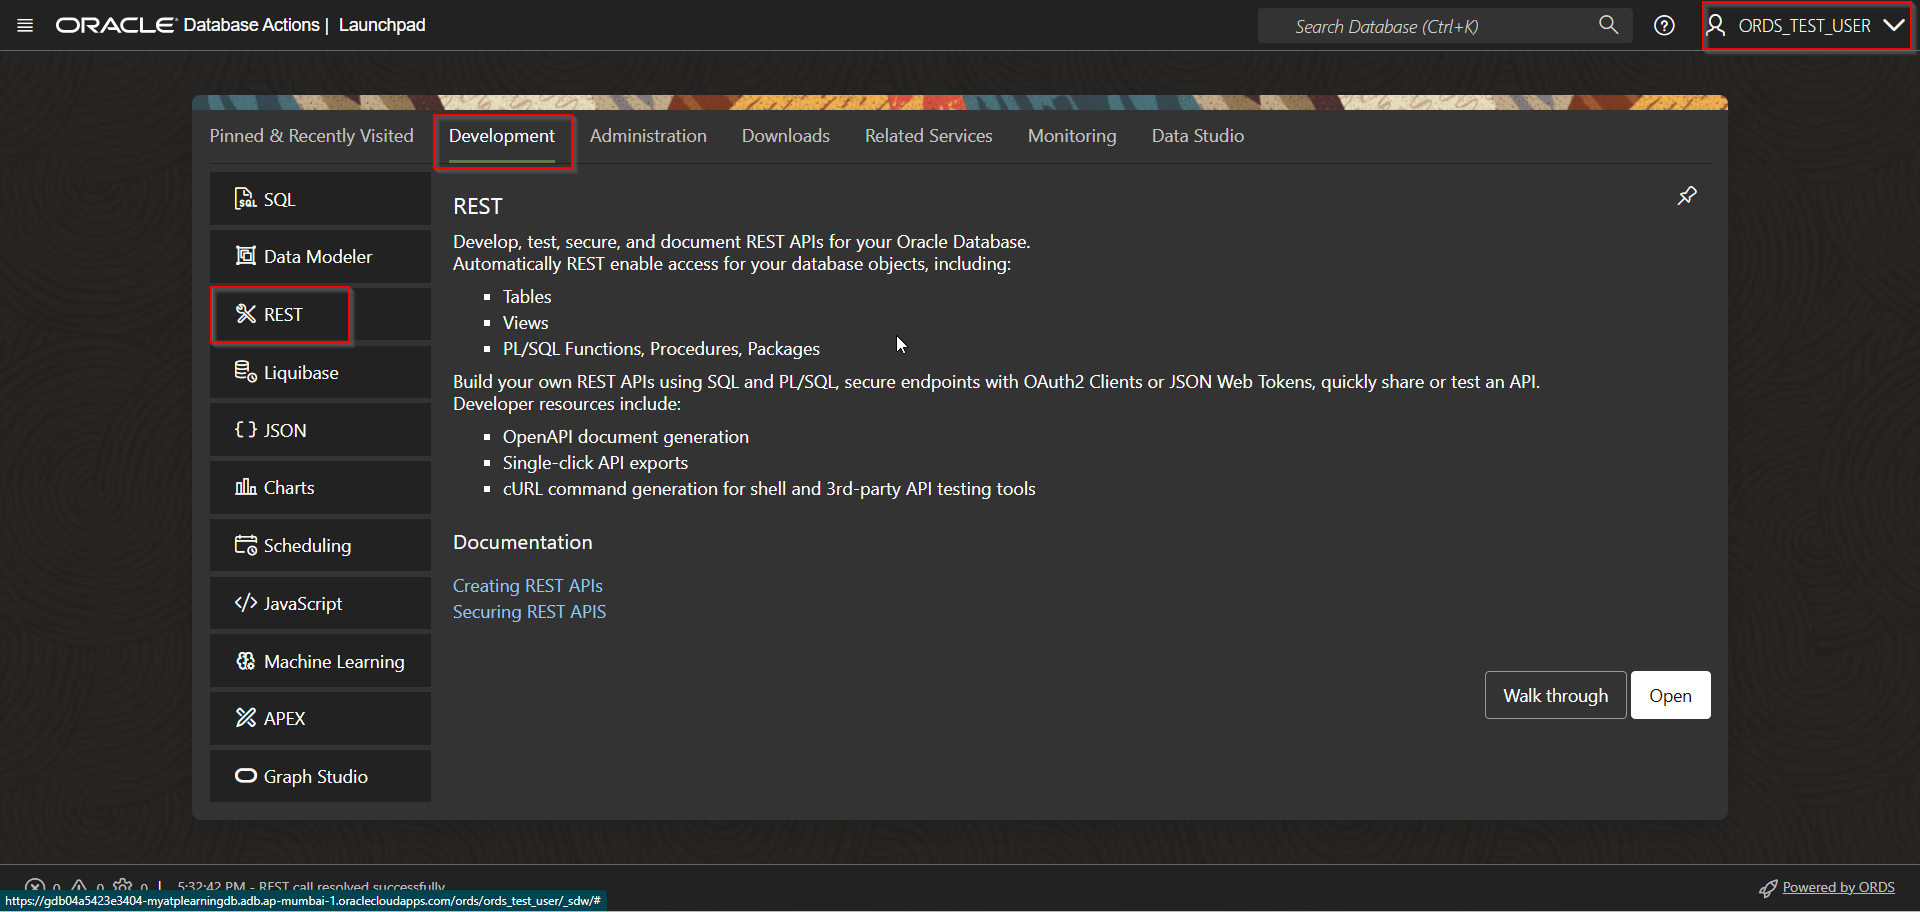
A screenshot of a computer

AI-generated content may be incorrect.

Click on Open.

Step1: Create Role for OAUTH2.0

Navigate to Security —>Roles.

A screenshot of a computer

AI-generated content may be incorrect.

A screenshot of a computer

AI-generated content may be incorrect.

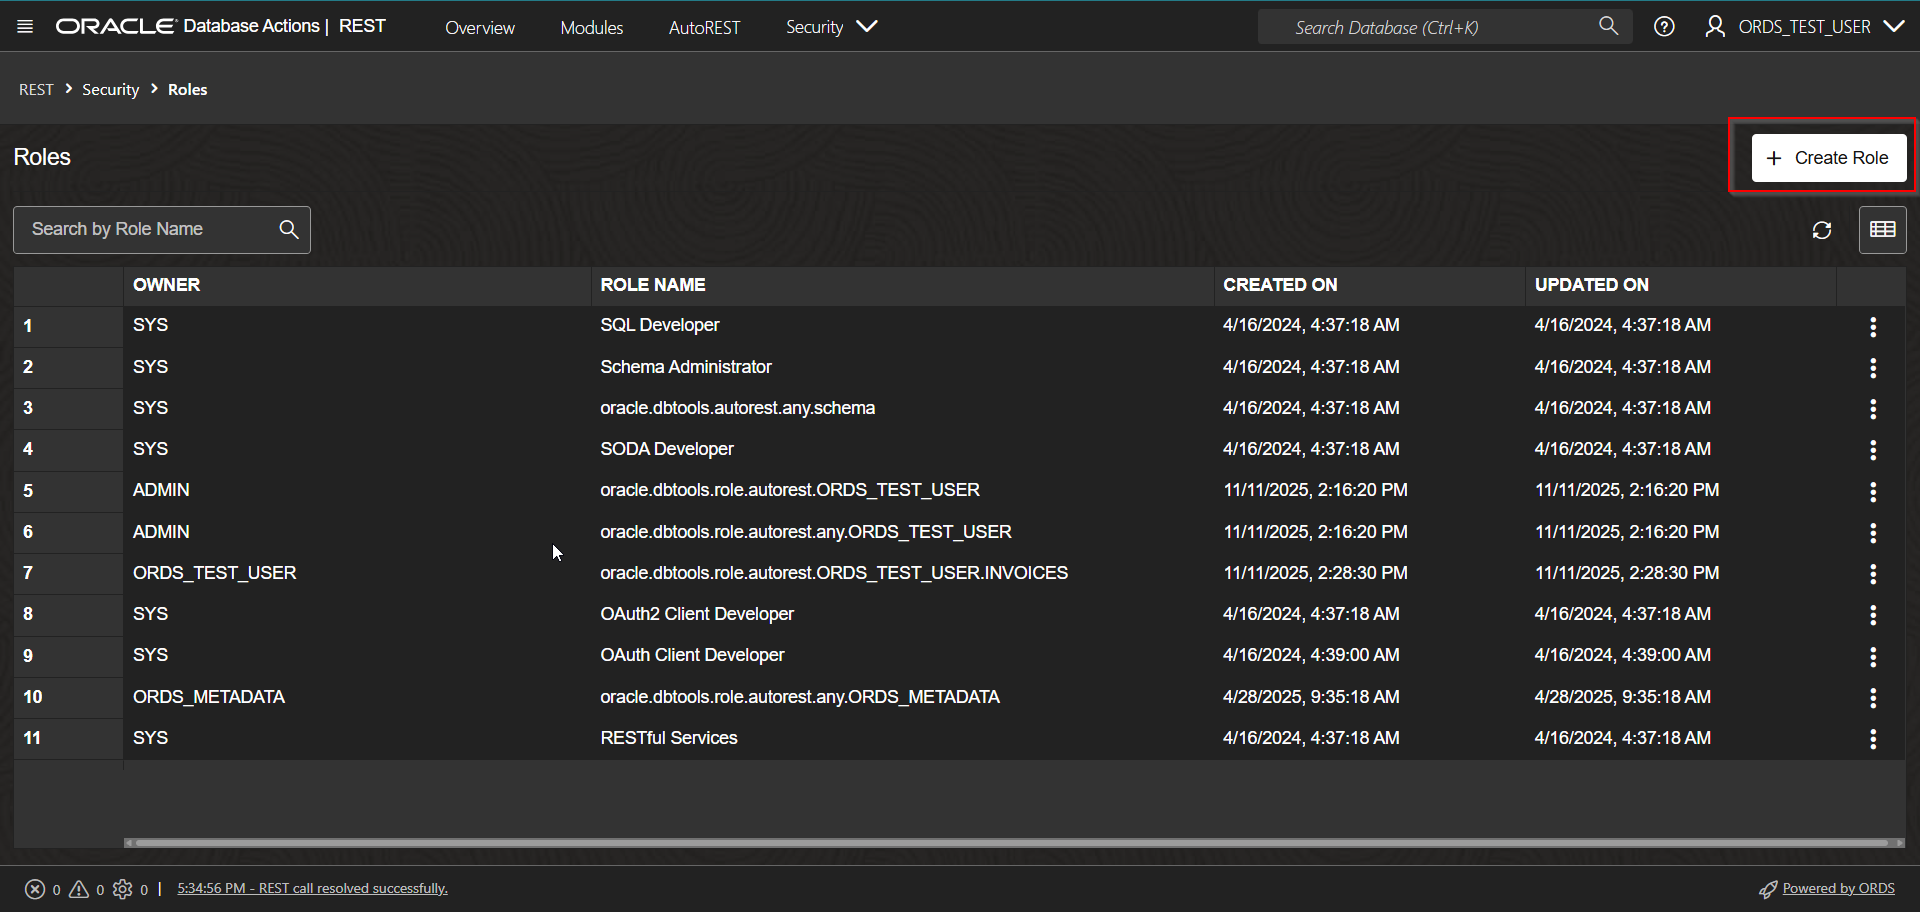
Click on Create Role.

A screenshot of a computer

AI-generated content may be incorrect.

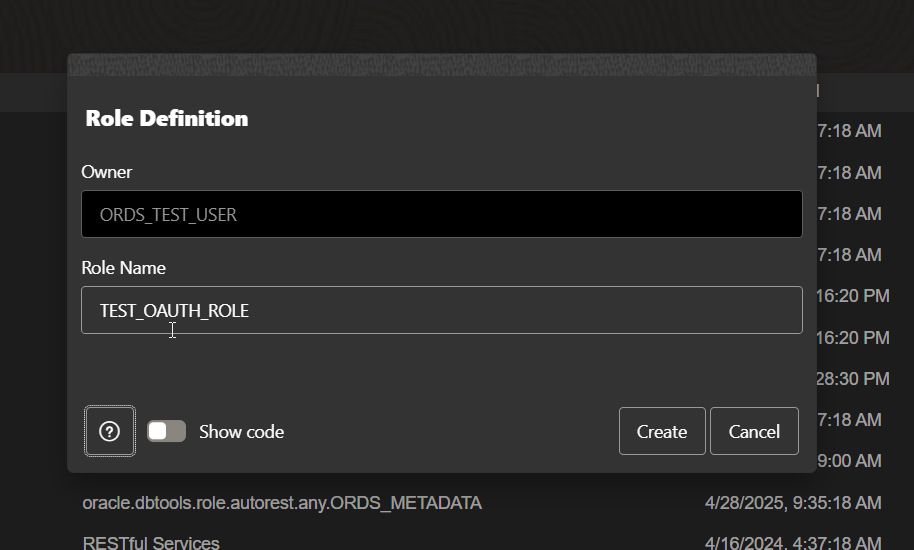
Provide Role Name and Click on Create.

A screenshot of a computer

AI-generated content may be incorrect.

Step2: Create Privileges

Navigate to Security —> Privileges

A screenshot of a computer

AI-generated content may be incorrect.

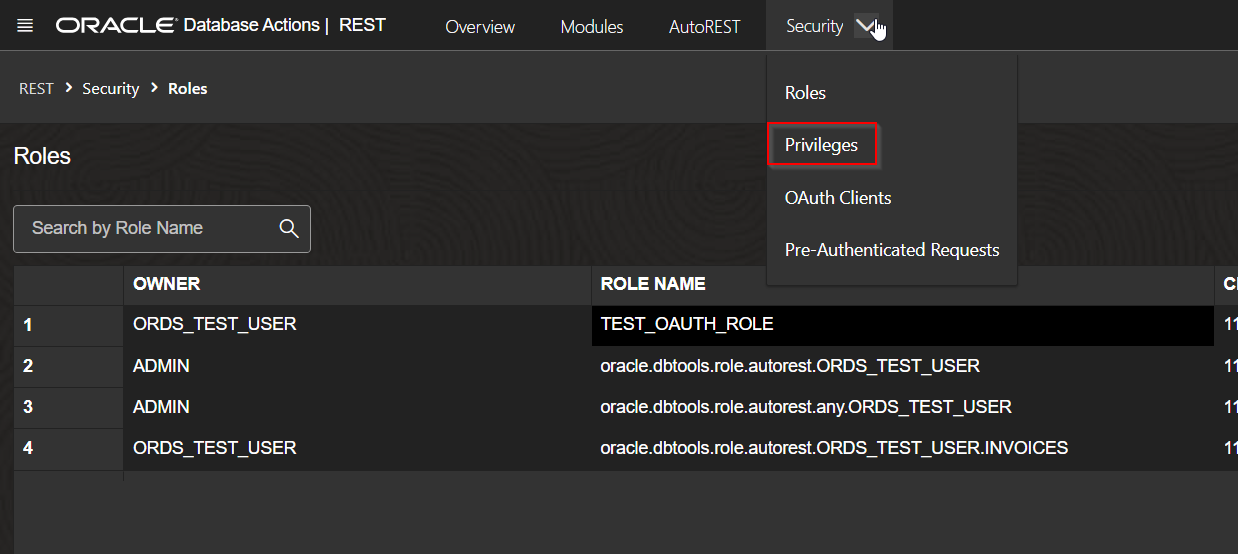
Click on Create Privilege.

A screenshot of a computer

AI-generated content may be incorrect.


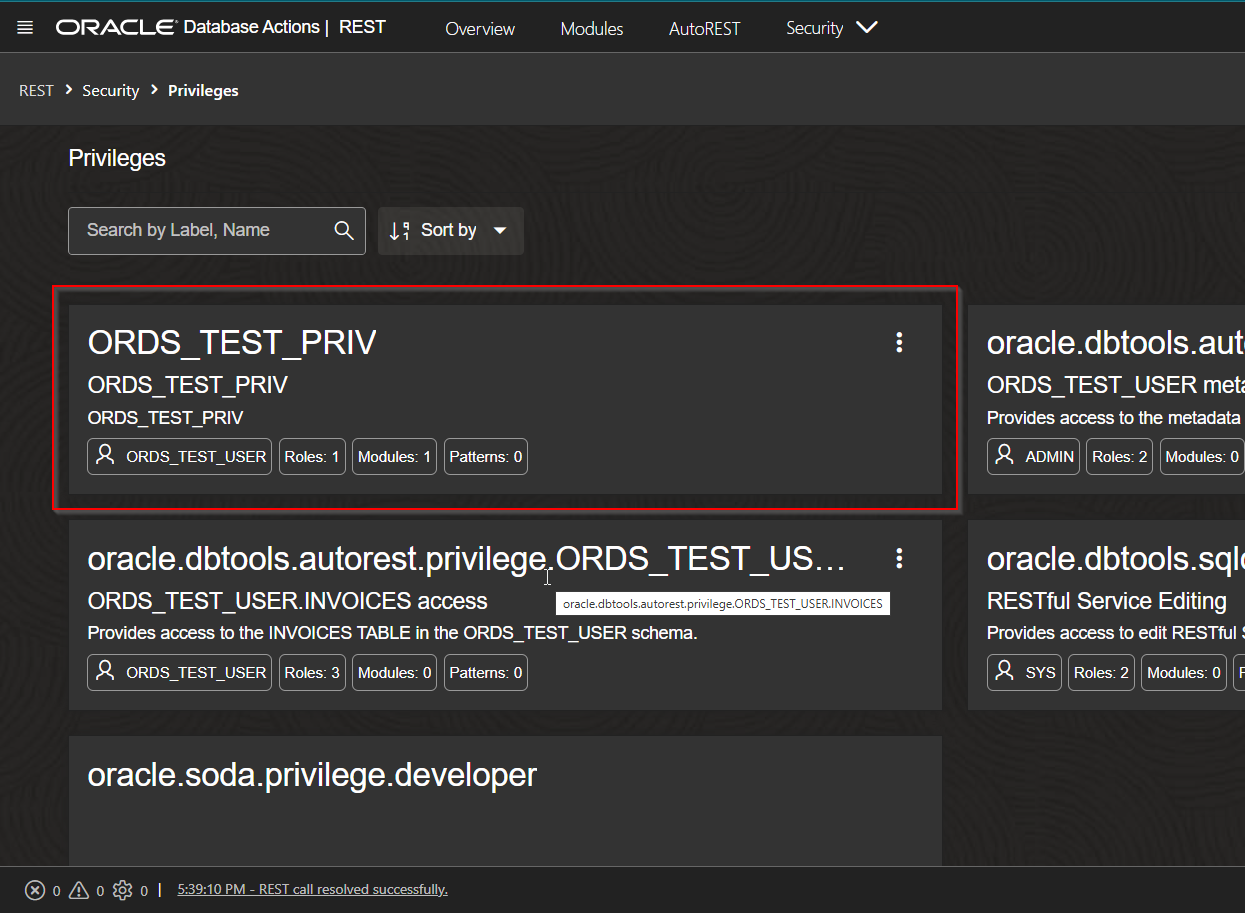
Provide Name, Description and click on Create.

A screenshot of a computer

AI-generated content may be incorrect.

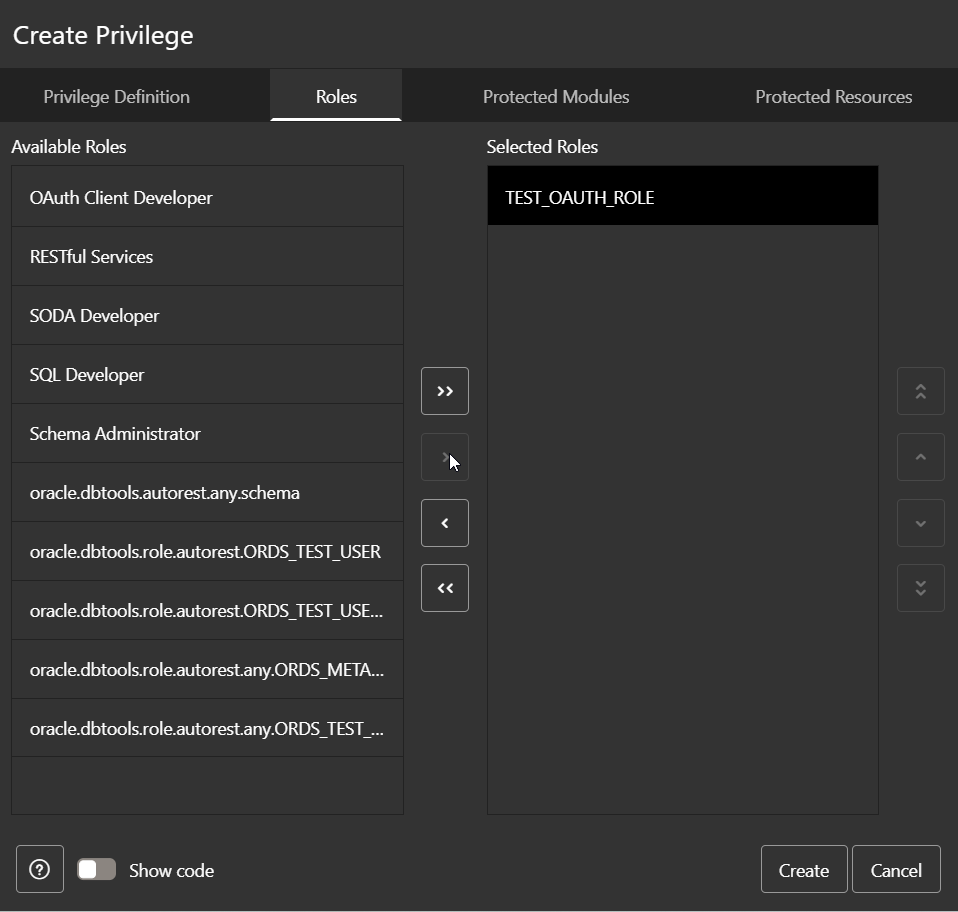
Go to Roles and select TEST_OAUTH_ROLE role.

Navigate to Protected Modules.

A screenshot of a computer

AI-generated content may be incorrect.

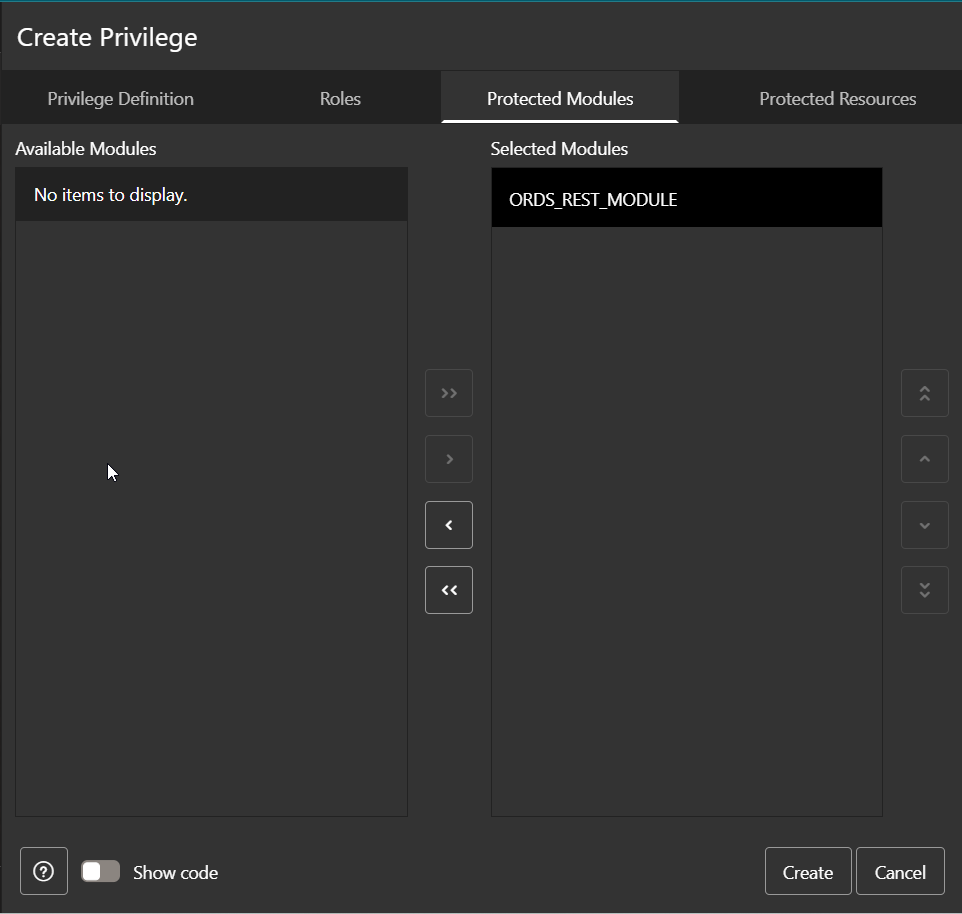
Select ORDS_REST_MODULE module and click on Create.

A screenshot of a computer

AI-generated content may be incorrect.

Step3: Create OAuth Clients.

Navigate to Security —> OAuth Clients

A screenshot of a computer

AI-generated content may be incorrect.

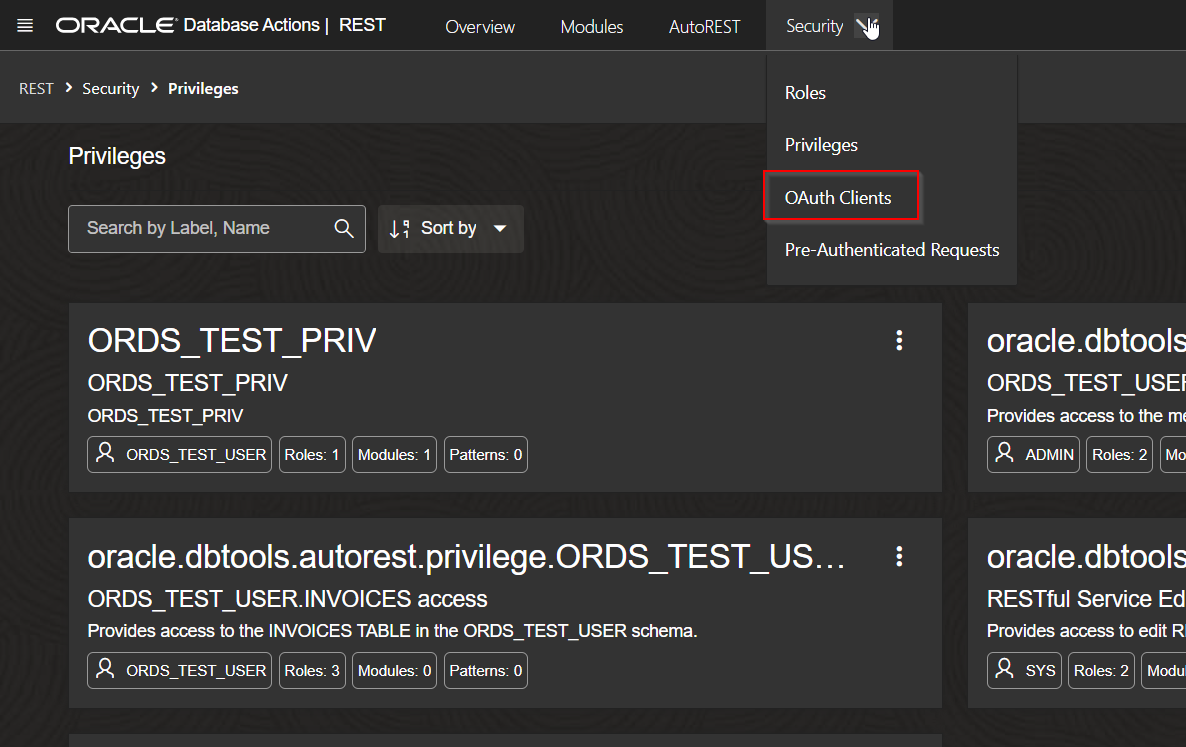
Click on Create OAuth Client.

A screenshot of a computer

AI-generated content may be incorrect.

Provide Name and description, support Email.

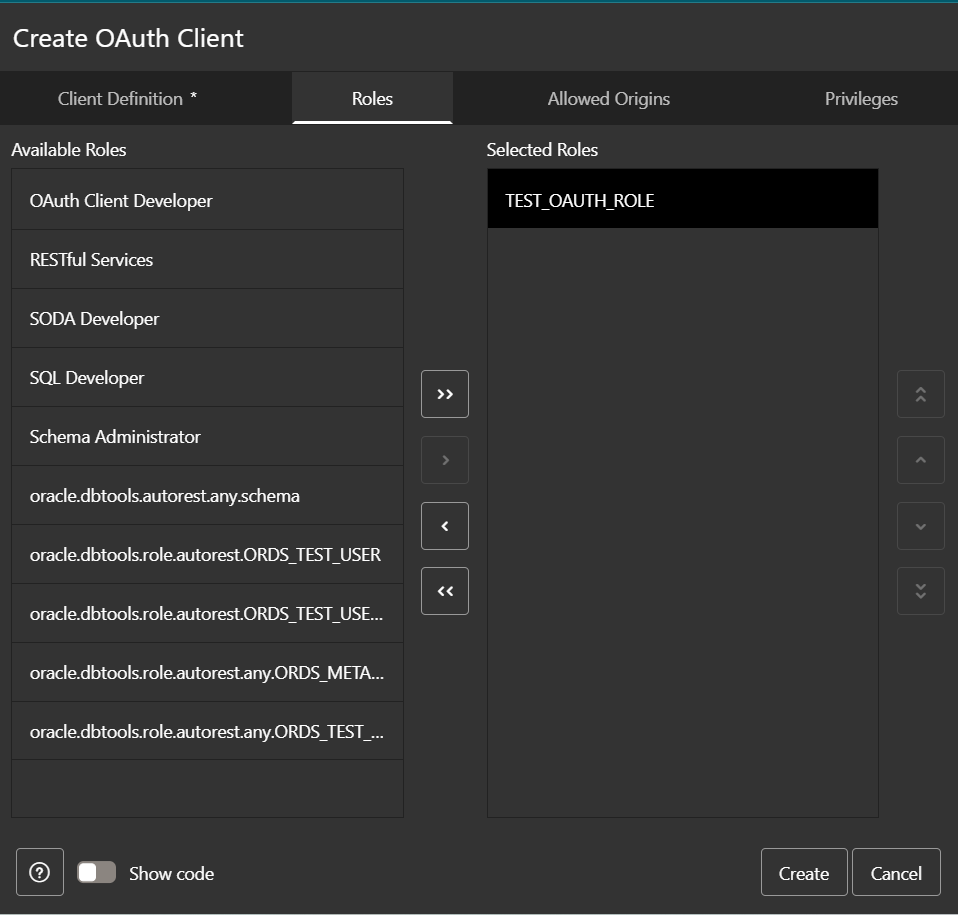
Navigate to Roles and select “TEST_OAUTH_ROLE”.

A screenshot of a computer

AI-generated content may be incorrect.

Navigate to Privileges and select “ORDS_TEST_PRIV”.
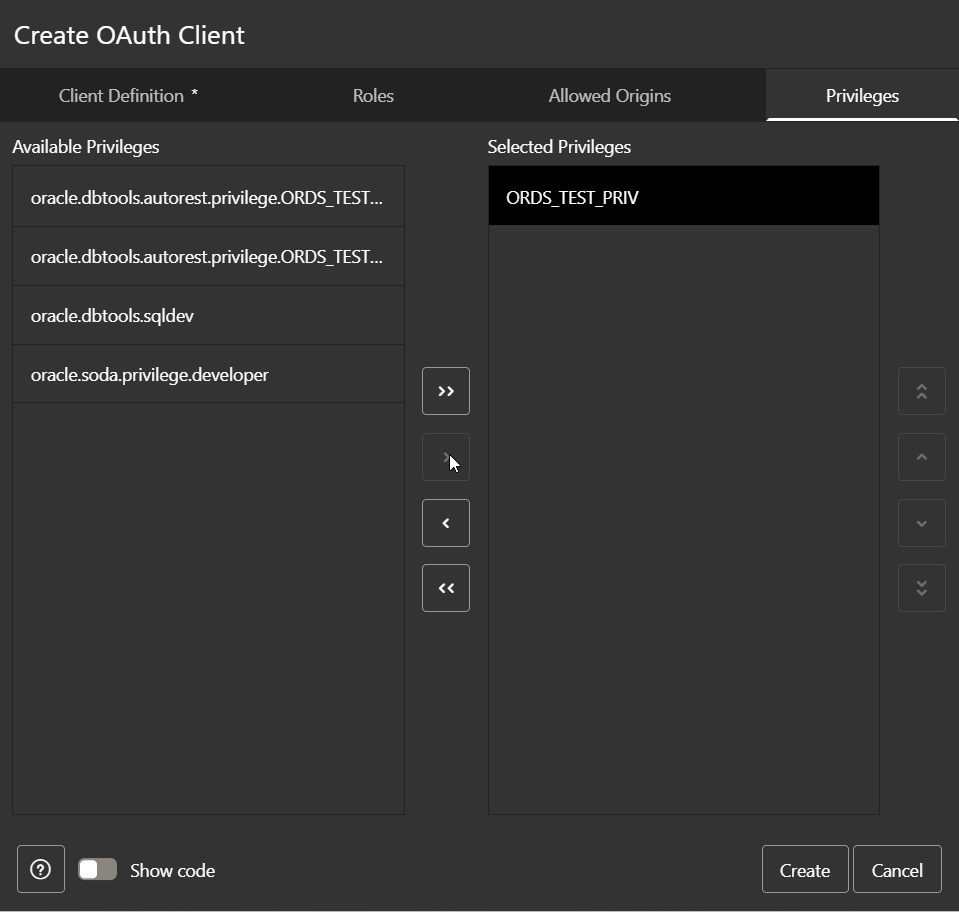
A screenshot of a computer

AI-generated content may be incorrect.

Click on Create.

OAuth Client is created. This will generate client secret.

Let us rotate Secrets.

Navigate to Manage Secrets —>Rotate.

A screenshot of a computer

AI-generated content may be incorrect.

A screenshot of a computer

AI-generated content may be incorrect.

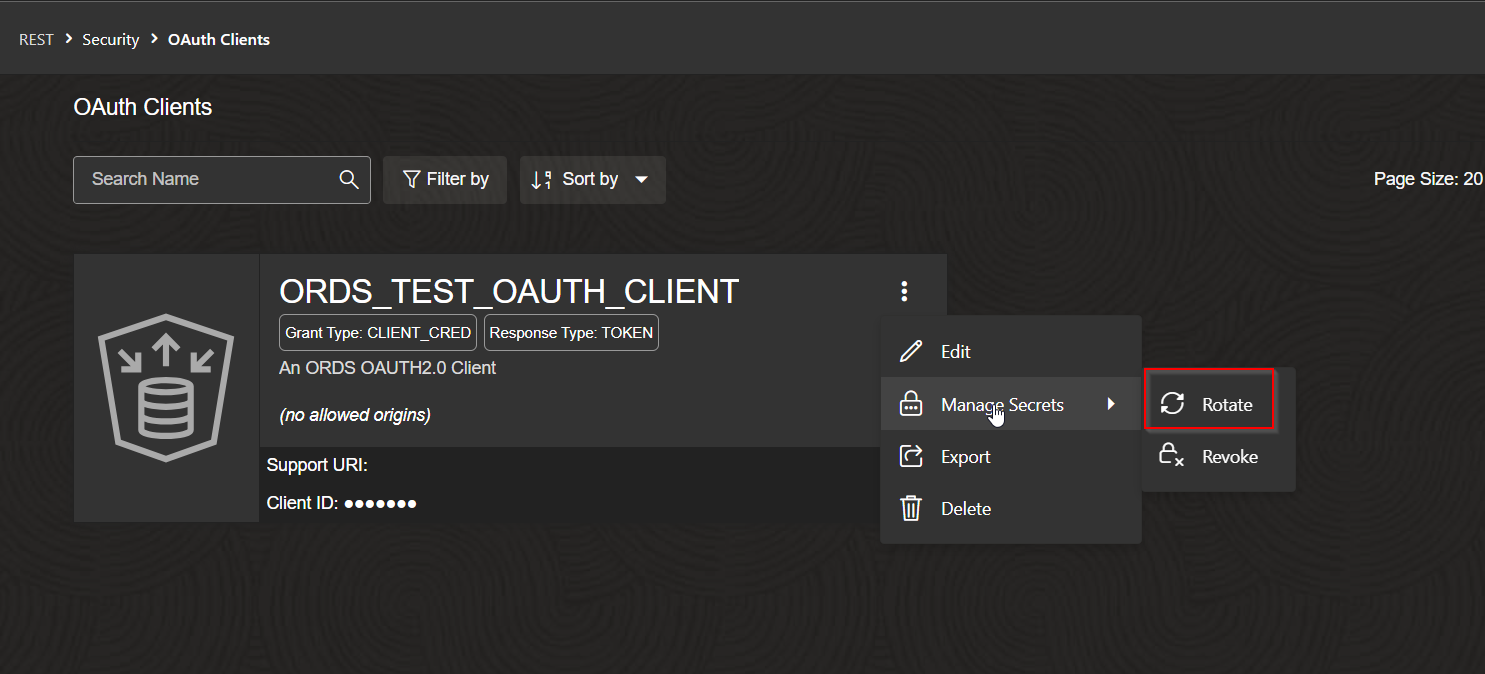
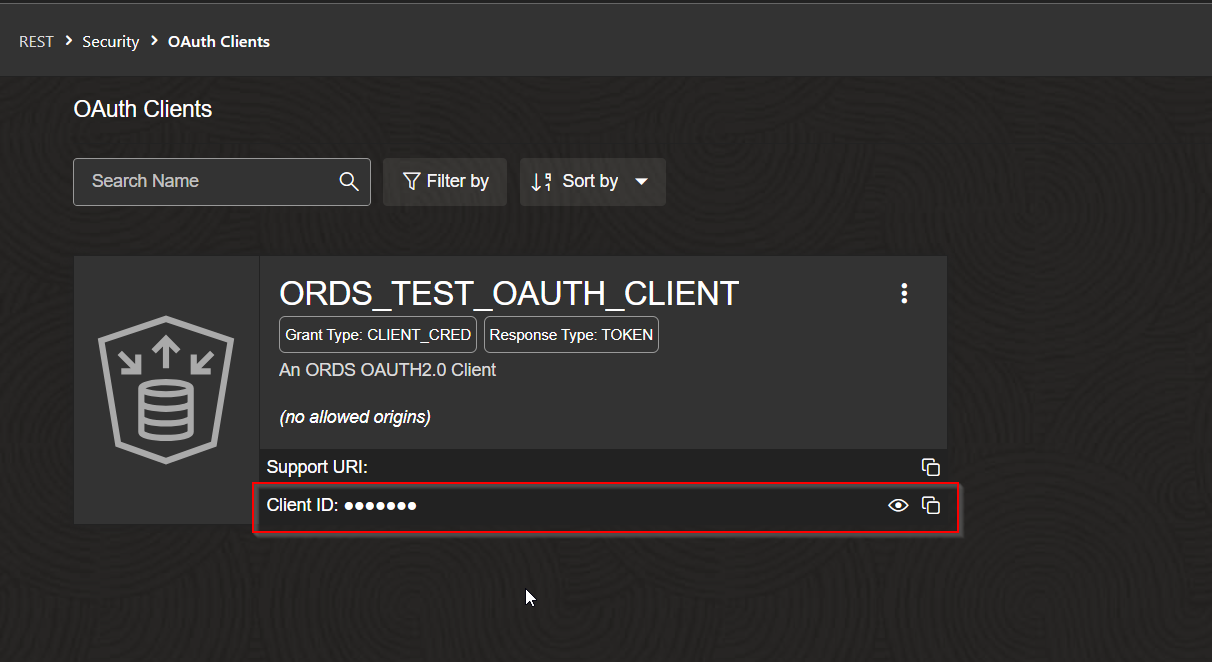
Make note of Client ID.

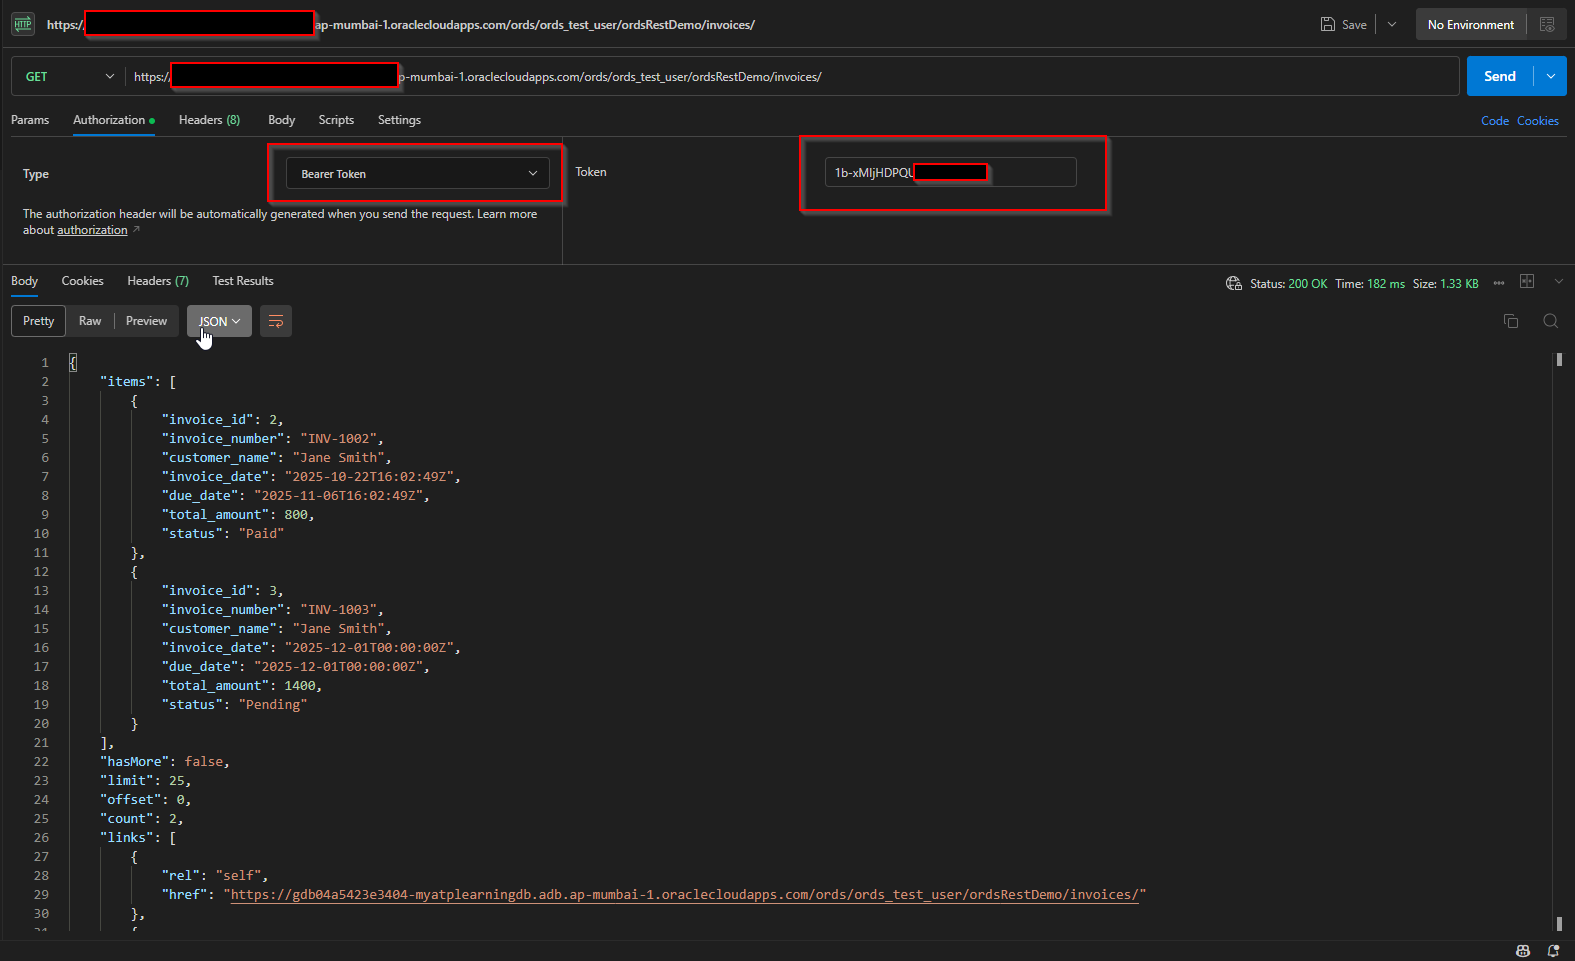
Let us access ORDS Rest endpoint using OAUTH2.0 using Postman.

Step4: Test ORDS using Postman.

Get Access Token using the URL below:

Access Token URL:

https:// [MY ADB’s OCI]-[My ADB Name]. adb. [My-Region].oraclecloudapps.com/ords/ords101/oauth/token

https://gdb04a5423e3404-myatplearningdb.adb.ap-mumbai-1.oraclecloudapps.com/ords/ords_test_user/oauth/token
A screenshot of a computer

AI-generated content may be incorrect.

A screenshot of a computer

AI-generated content may be incorrect.

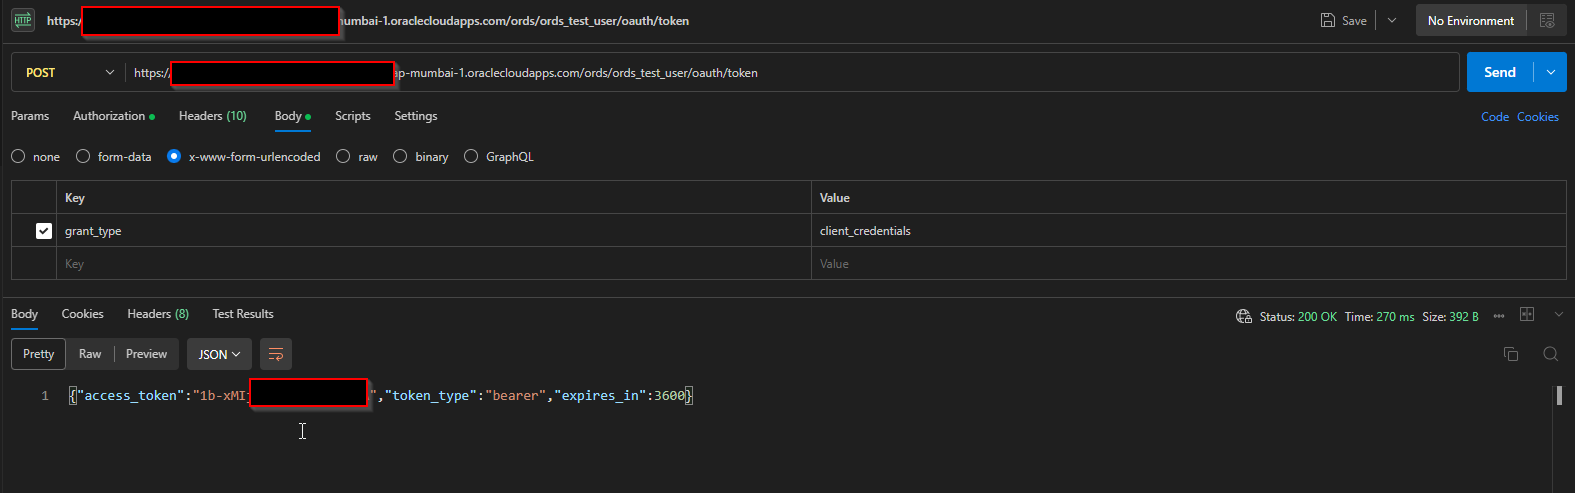
Use this Access Token to call ORDS REST API.

Select Authorization Type as “Bearer Token” and provide Access Token and click on Send.

A screenshot of a computer

AI-generated content may be incorrect.

Leave a Reply

Your email address will not be published. Required fields are marked *

Back To Top