How to call Oracle Integration Cloud (OIC) REST APIs using OAUTH 2.0 authentication.
In this blog post, we will explore how to configure and use Oracle Integration Cloud (OIC) REST APIs using OAUTH2.0 authentication.
OAuth 2.0 is an open standard authorization framework that allows users to grant third-party applications limited access to their resources (like data or services) on another server—without sharing their passwords.
It works by using access tokens issued by an authorization server after the user approves a request. These tokens let the application access specific resources on behalf of the user for a limited time.
In short, OAuth 2.0 enables secure, delegated access between apps, users, and services—commonly used in login systems like “Sign in with Google” or “Sign in with Facebook.”
Below image explains OAUTH2.0 flow:
We can configure OAUTH2.0 for OIC REST API using below two flows:
-
Client Credential Flow.
In this case, the client authenticates with authorization server’s token endpoints and gets an access token in return.
The client uses the access token to invoke the API and gets the protected data in return.
Client Credential Flow will be useful when we are interacting from one system to another.
2. Authorization code flow:
The client submits an authorization request through browser to the authorization server’s authorization endpoint. The authorization server authenticates the user and asks the user to approve or deny the consent to the client to access the user’s resources.
In return, Client gets an authorization code that it exchanges for an access token at token endpoint. The client uses the access token to invoke API and gets protected data in return.
Authorization code flow will be useful when user is interacting with application.
In this post, we will explore how to configure OAUTH2.0 for OIC REST integrations using both flows.
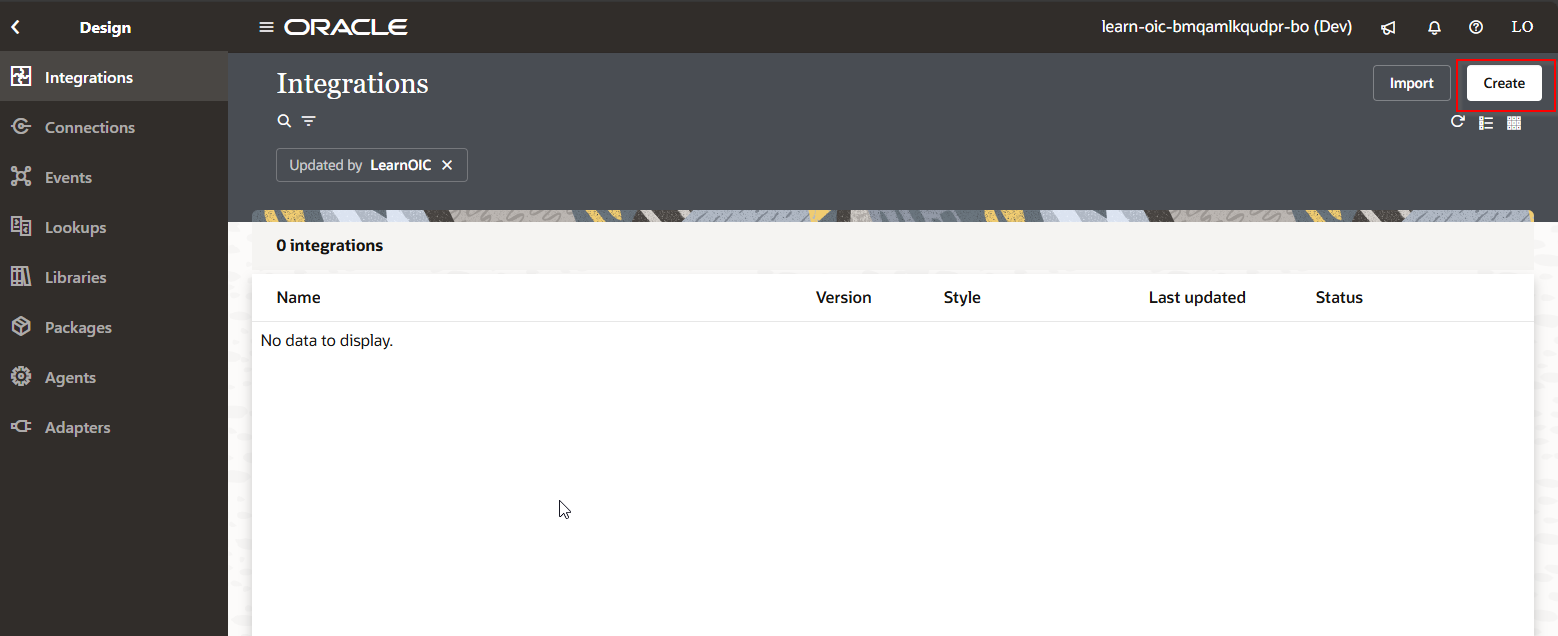
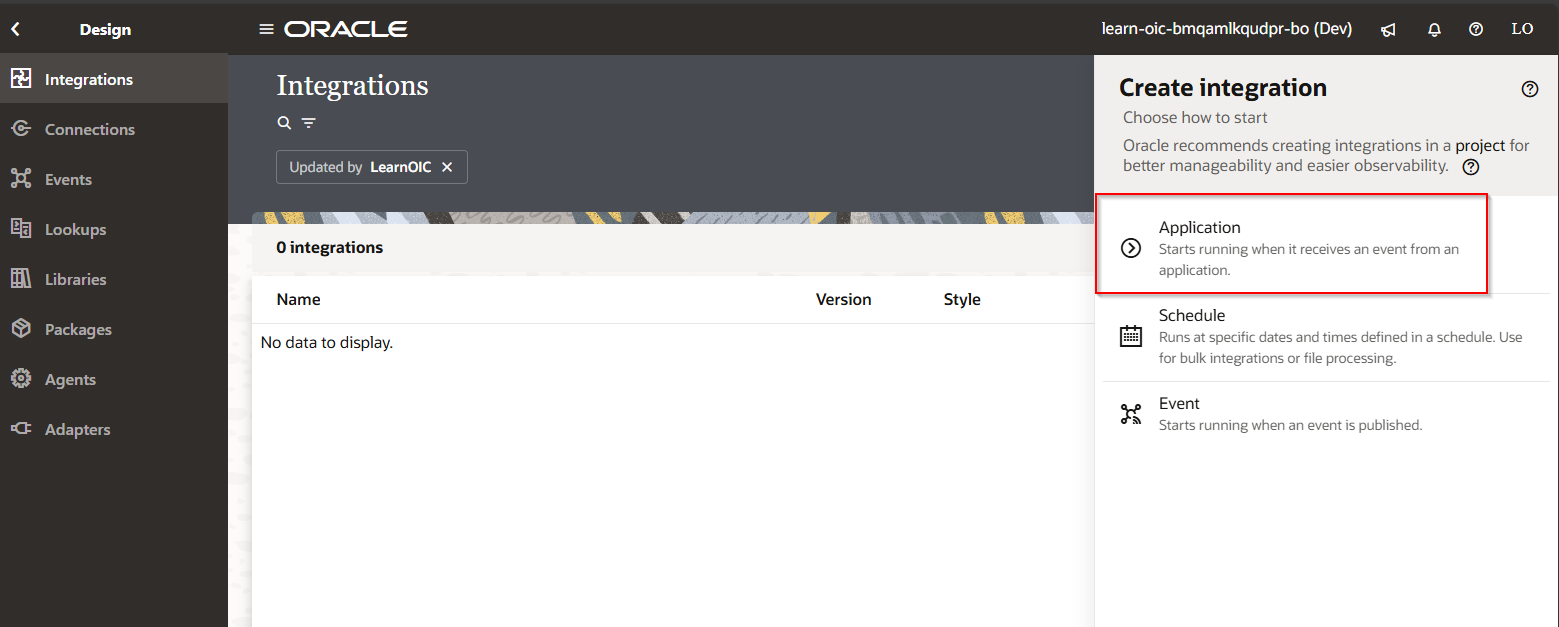
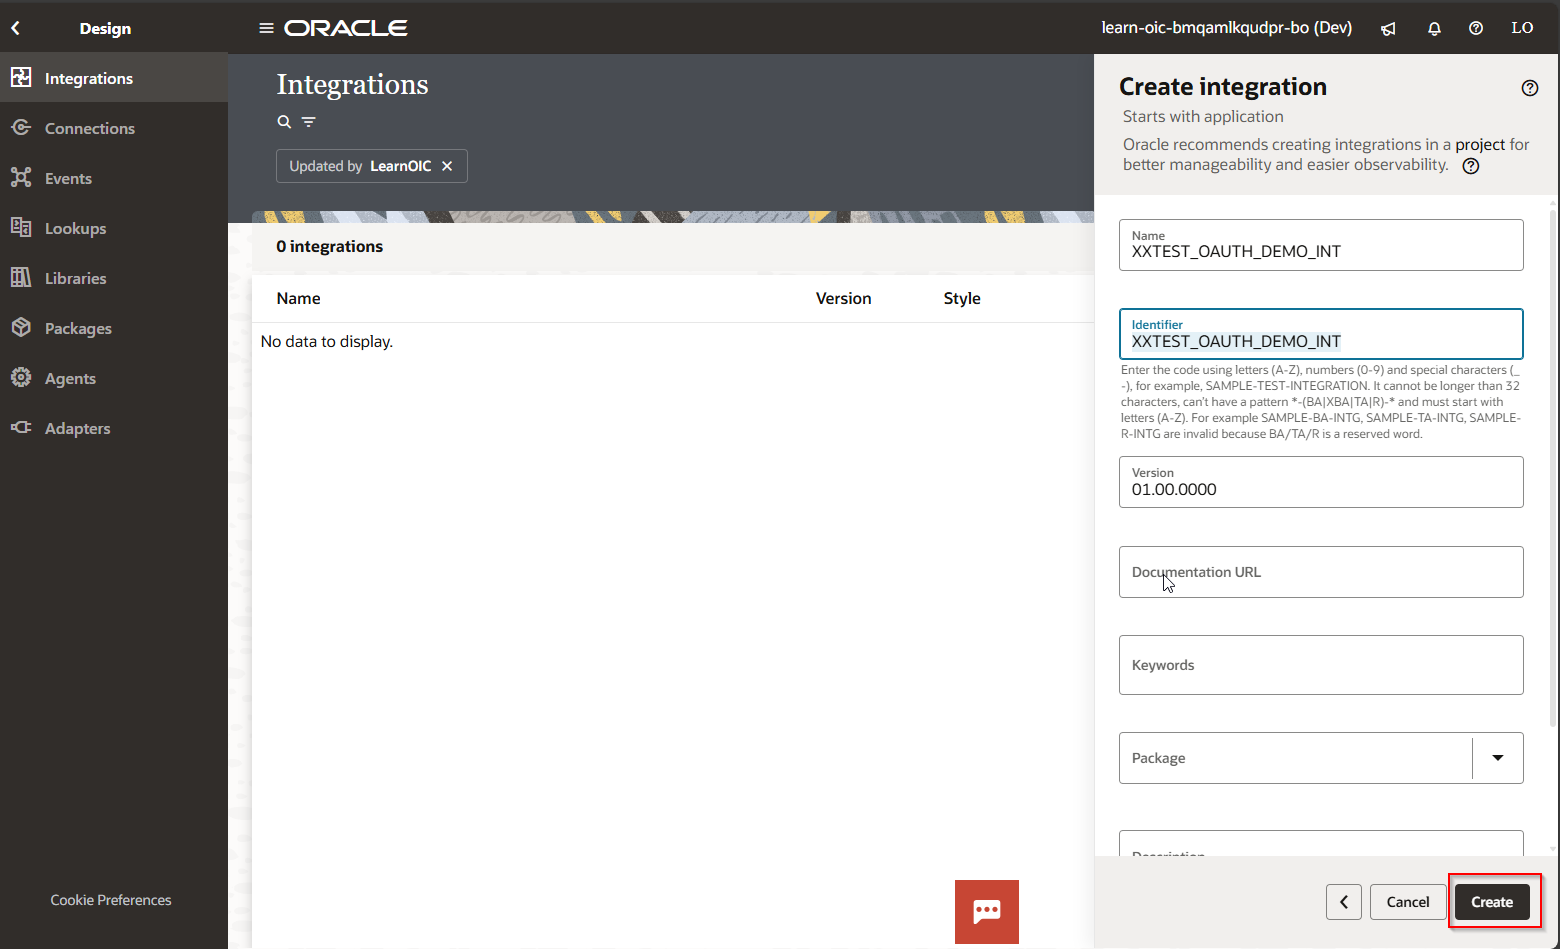
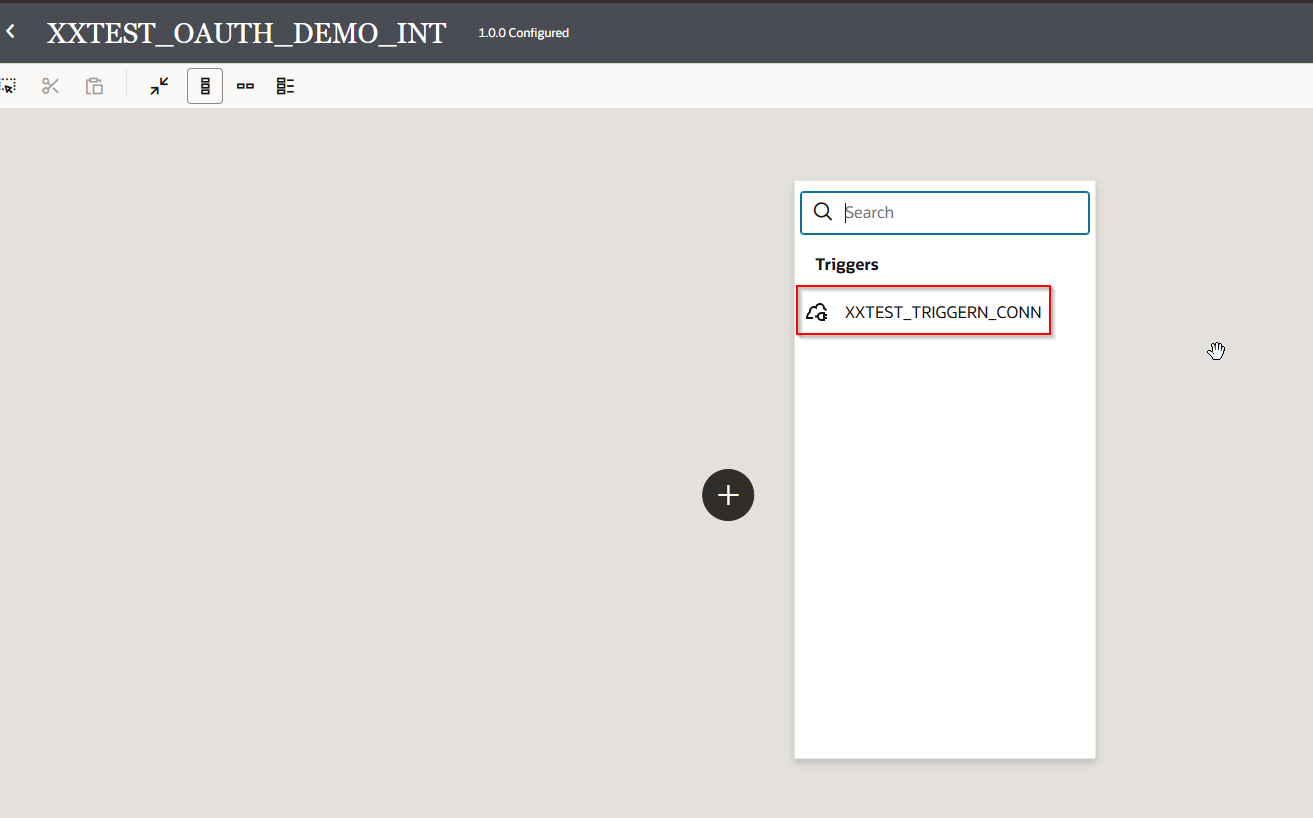
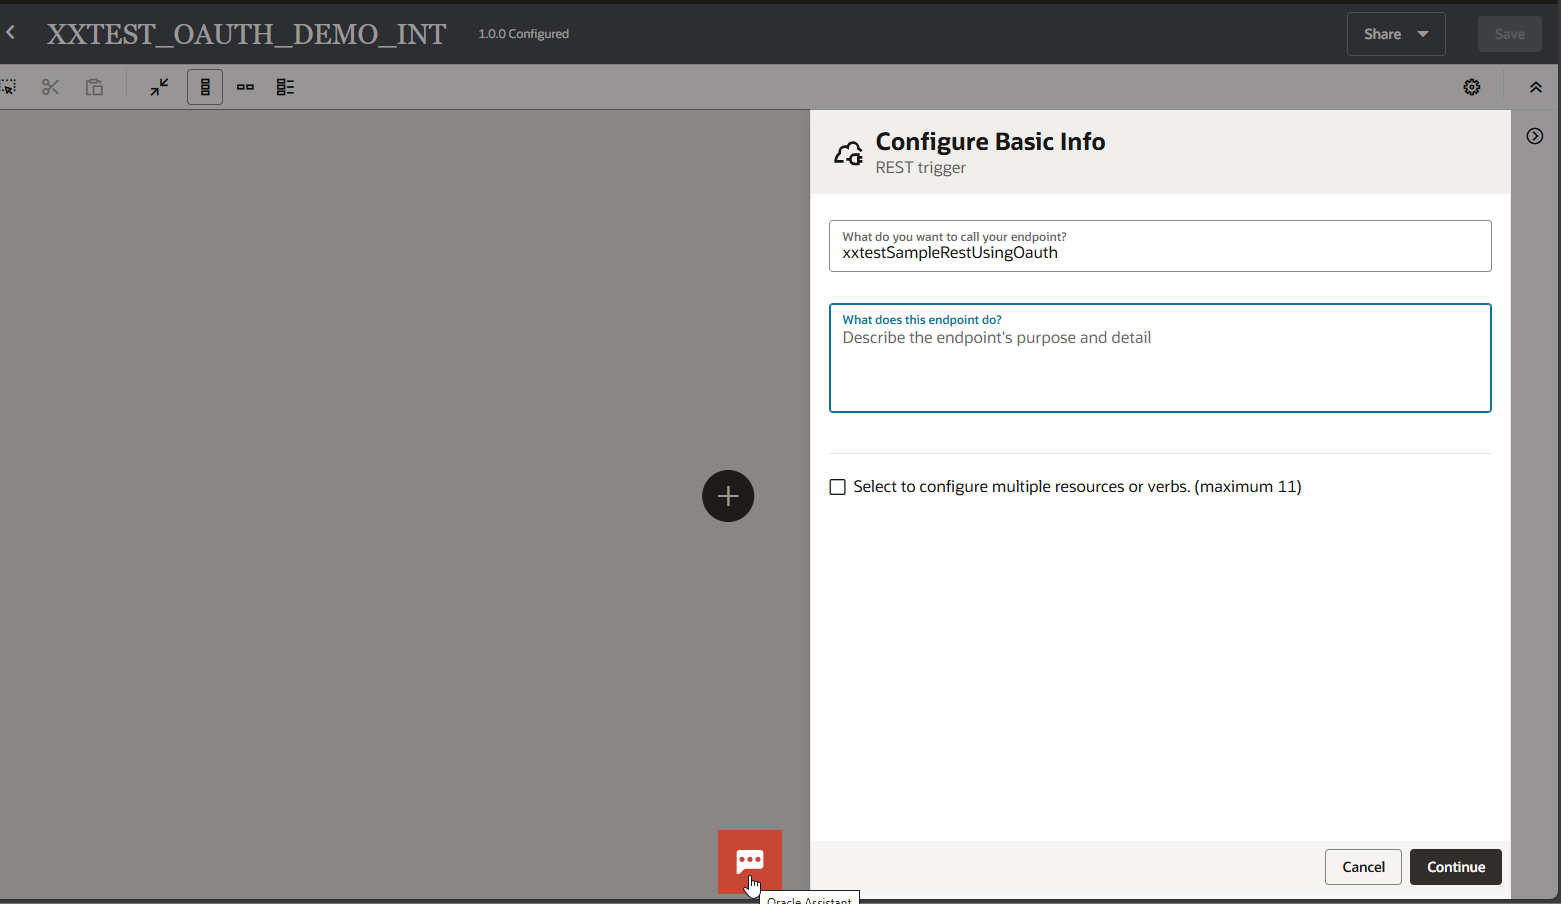
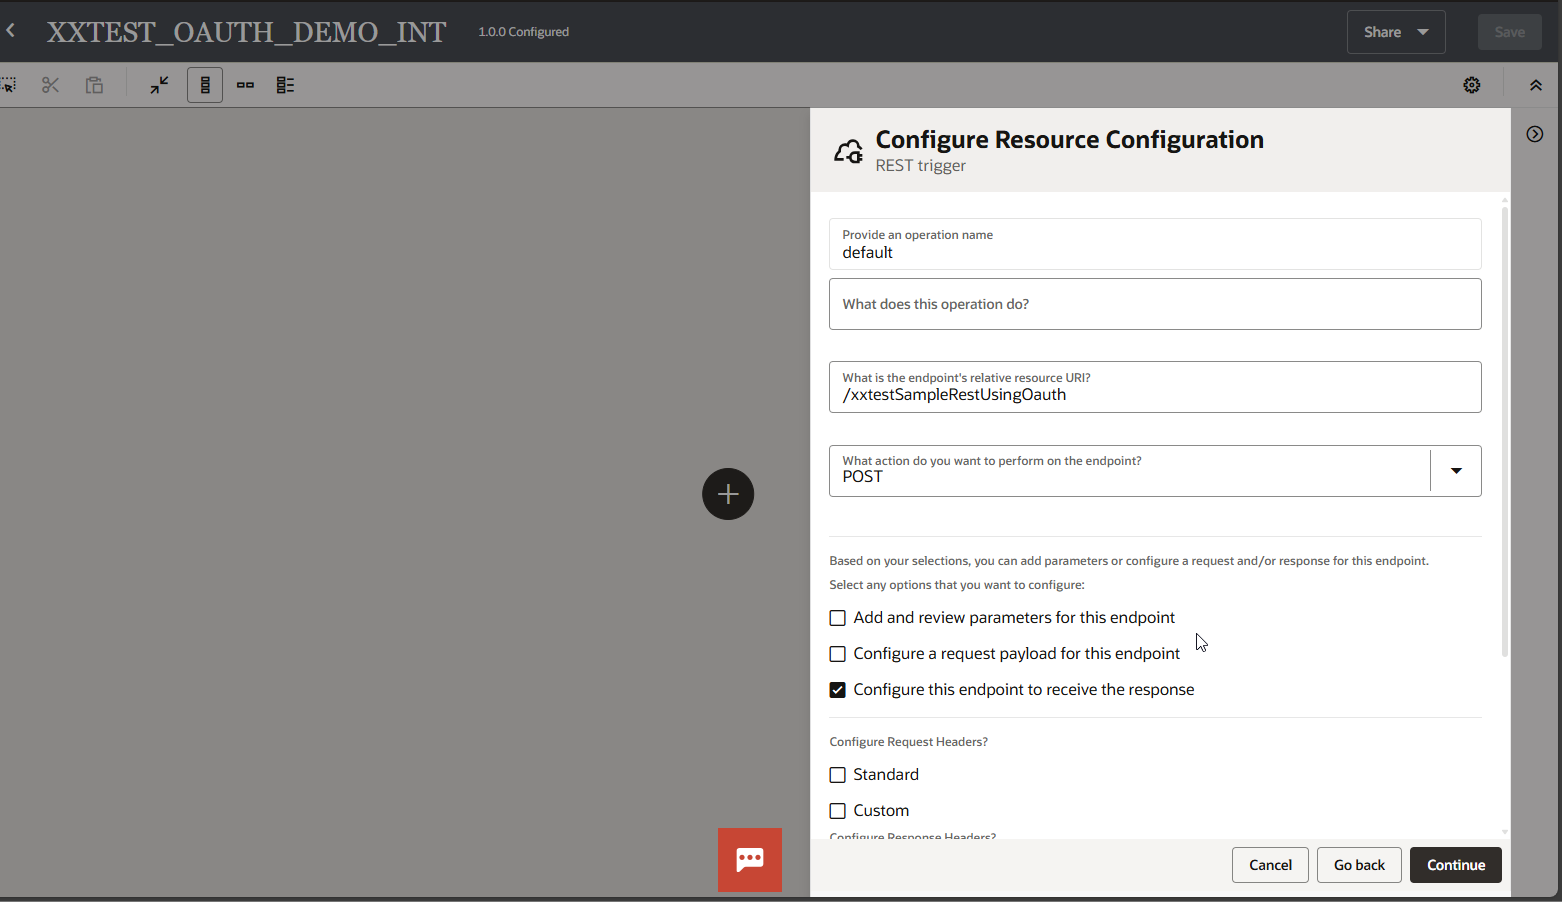
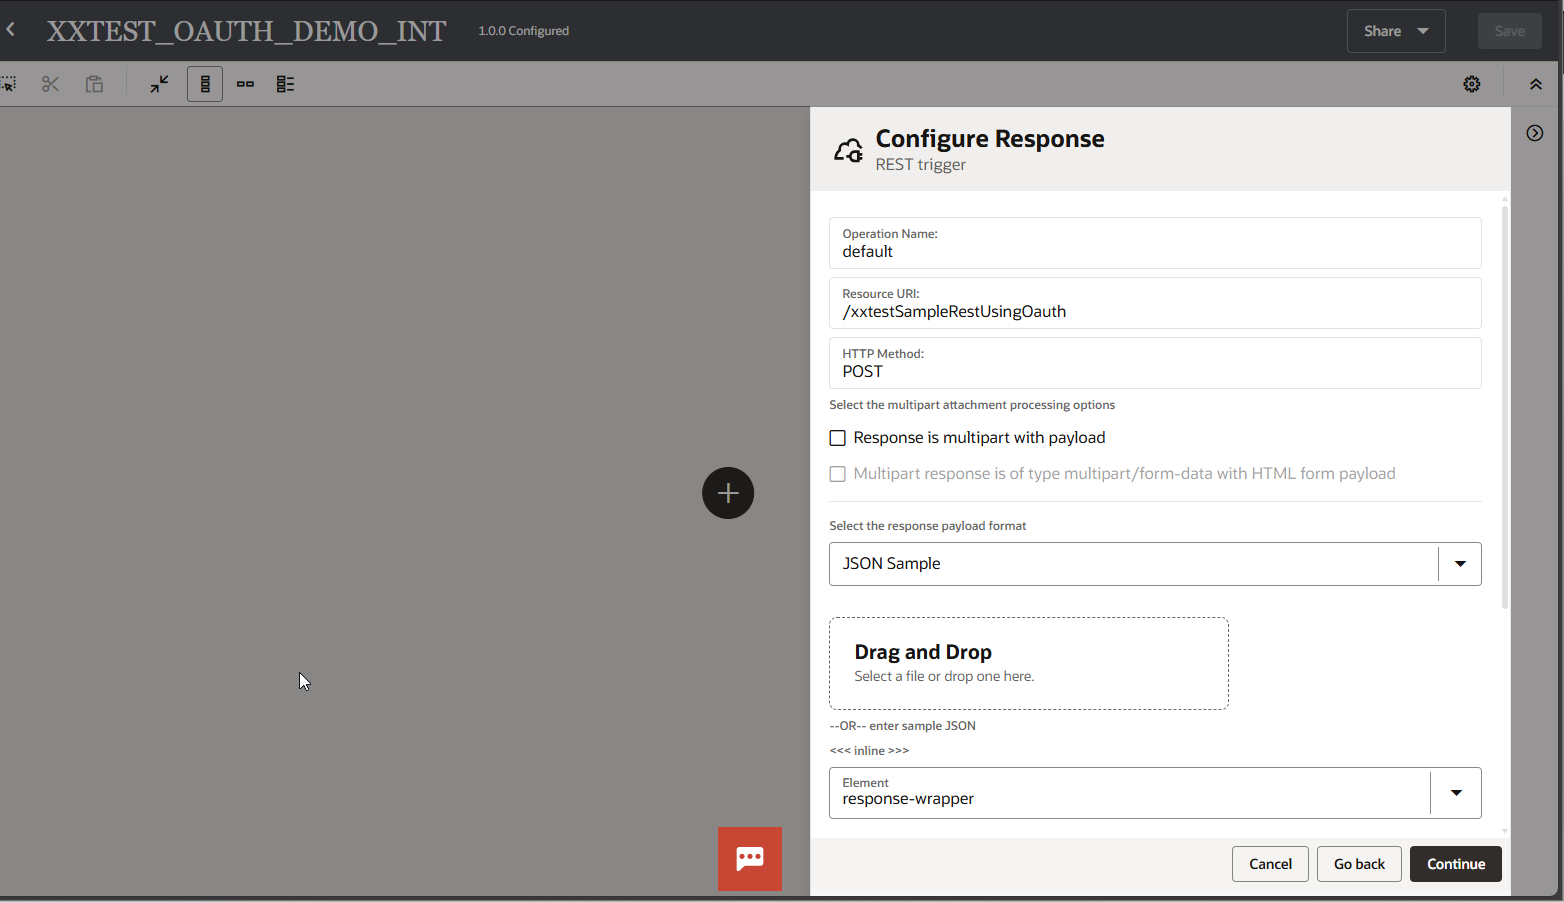
Step1: Create Simple OIC Integration:
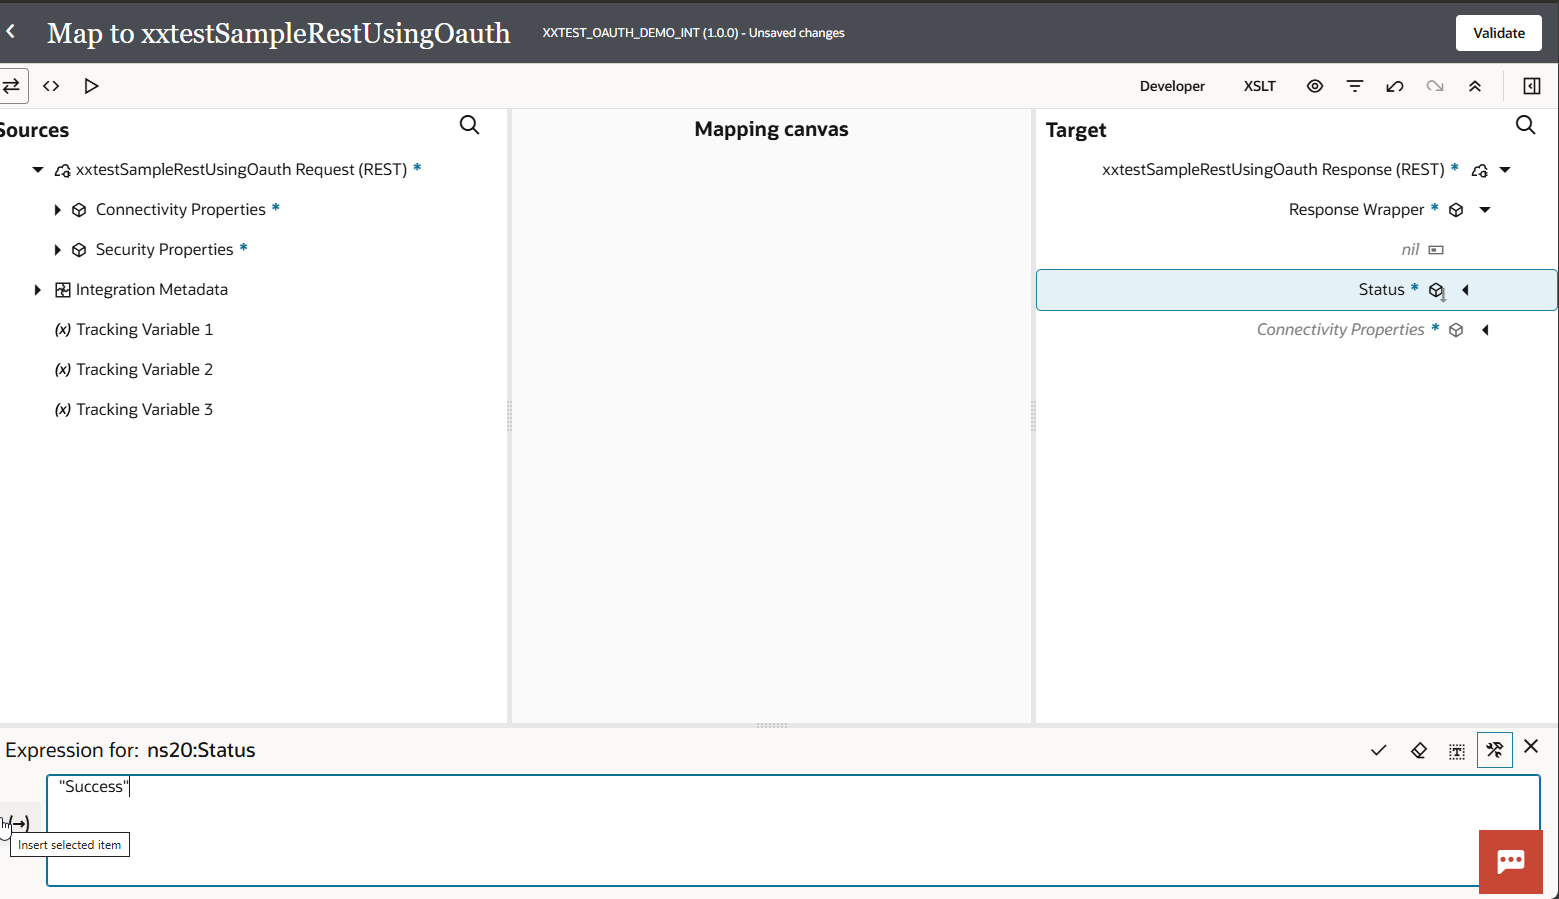
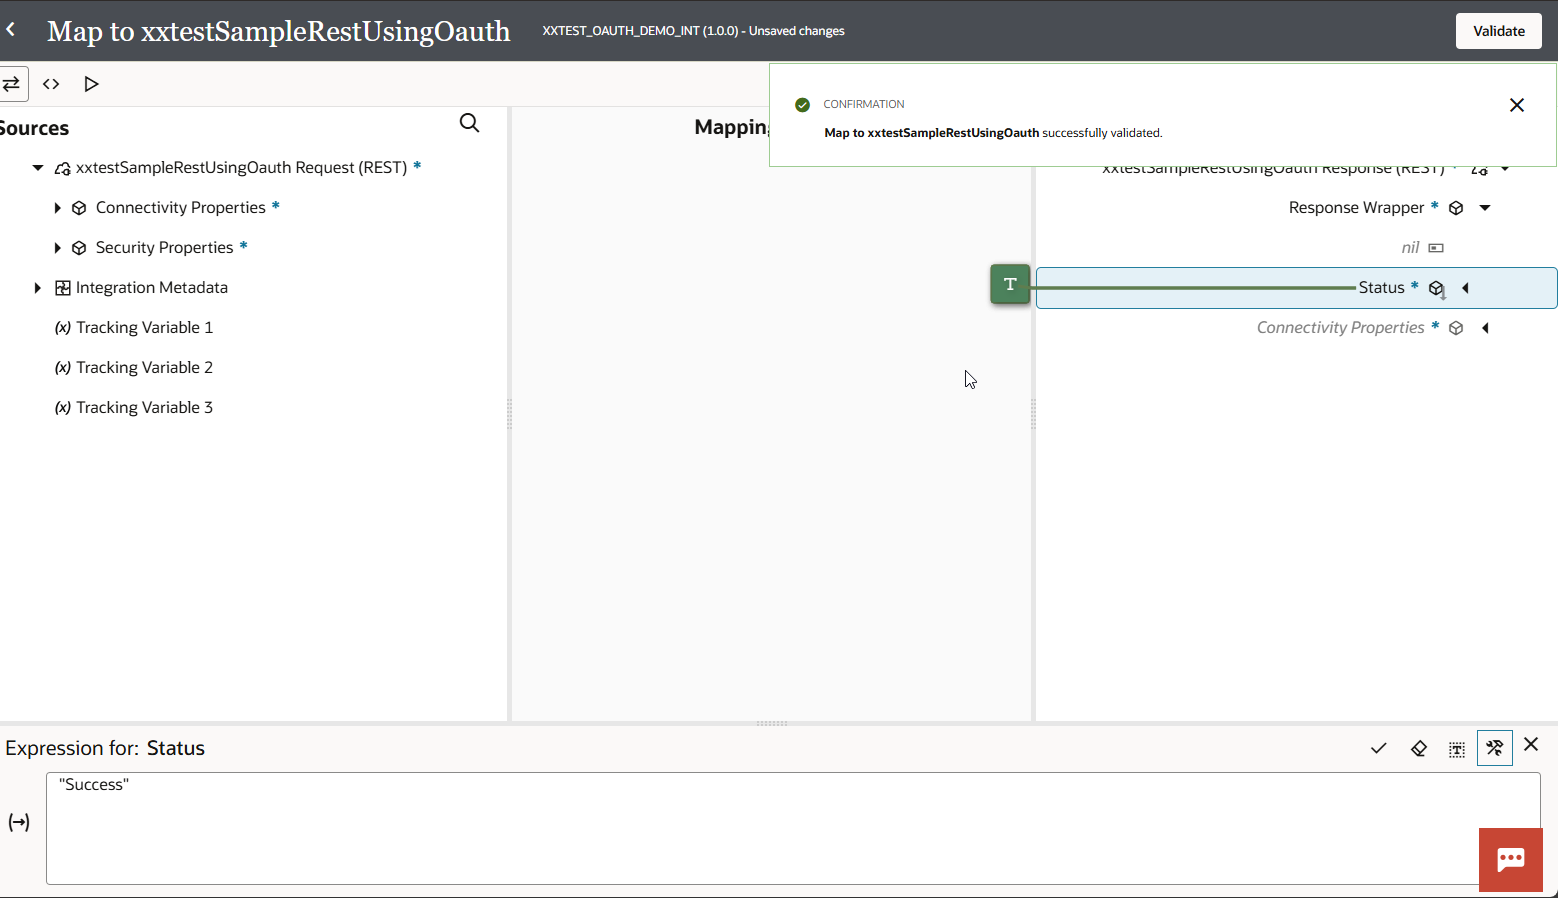
Let us create Simple Integration in OIC with request and Response. We will enable OAUTH2.0 authentication for this OIC Integration.
Login to OIC Instance:
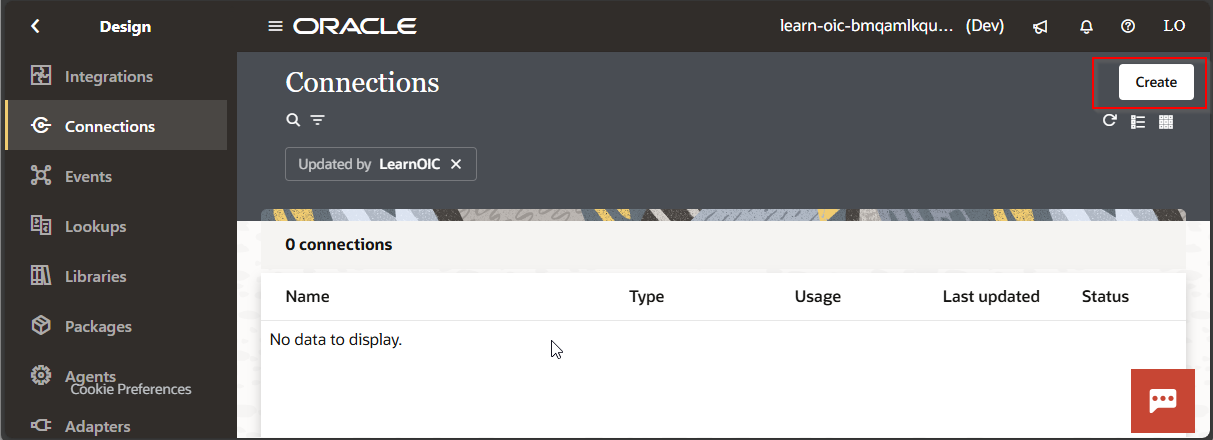
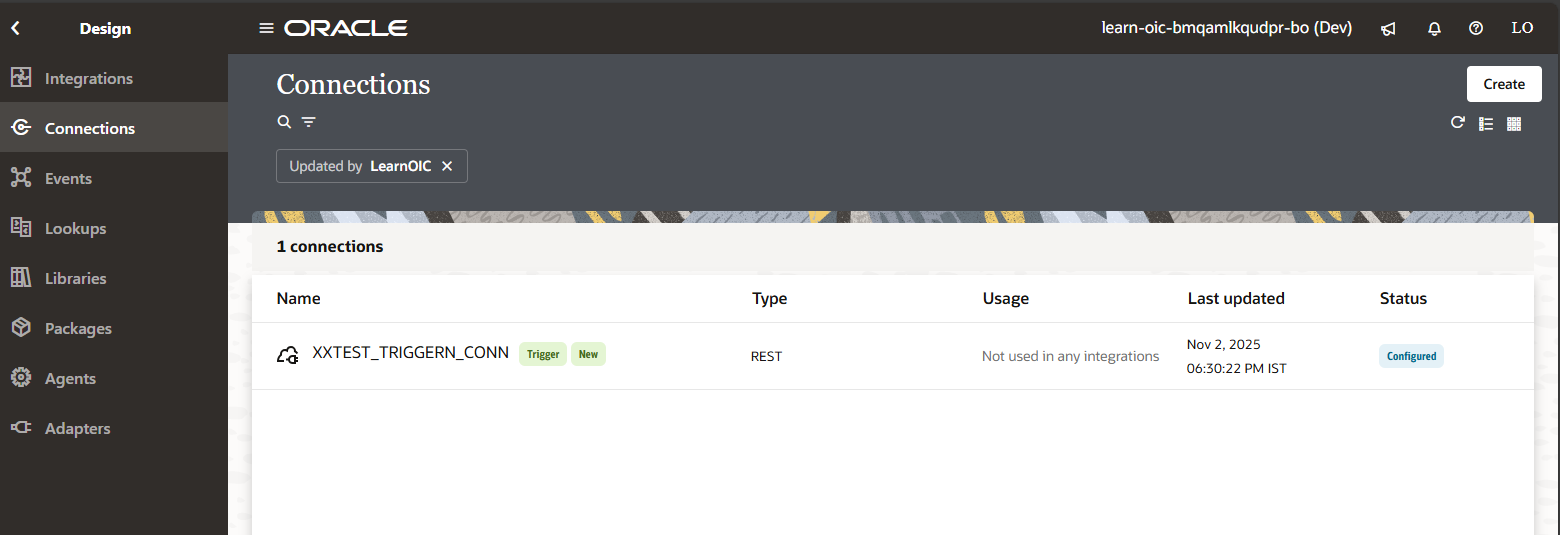
Navigate to Design—>Connections
Click on Create.
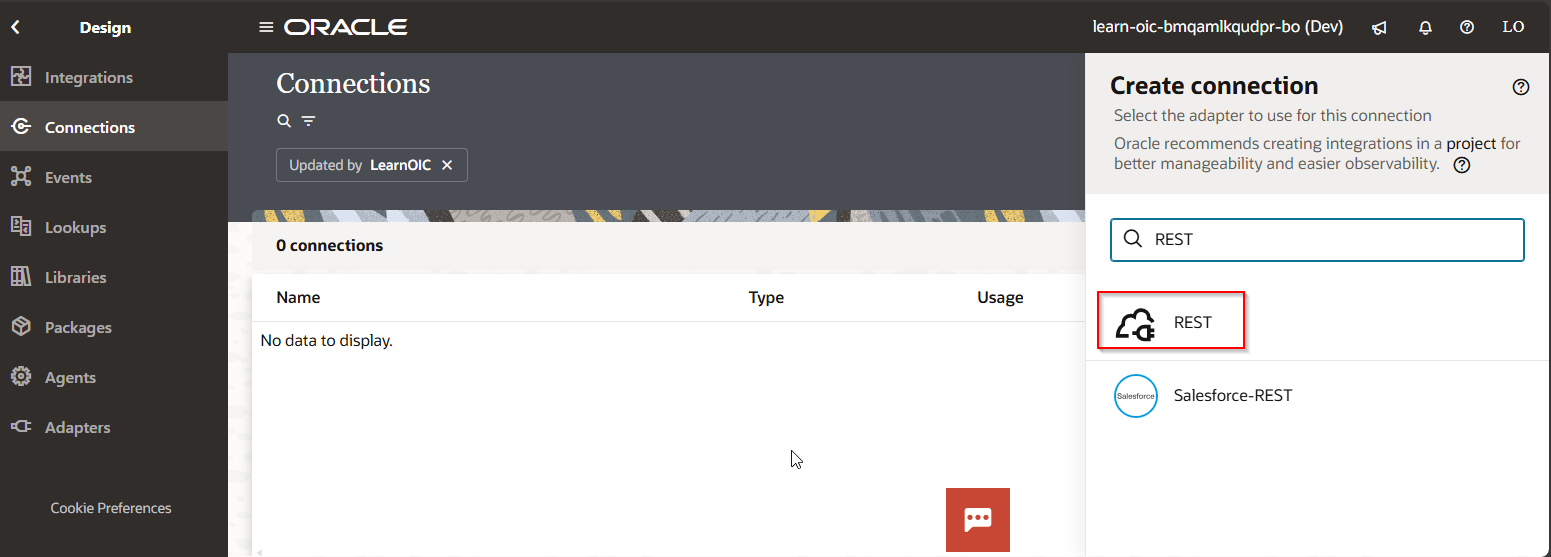
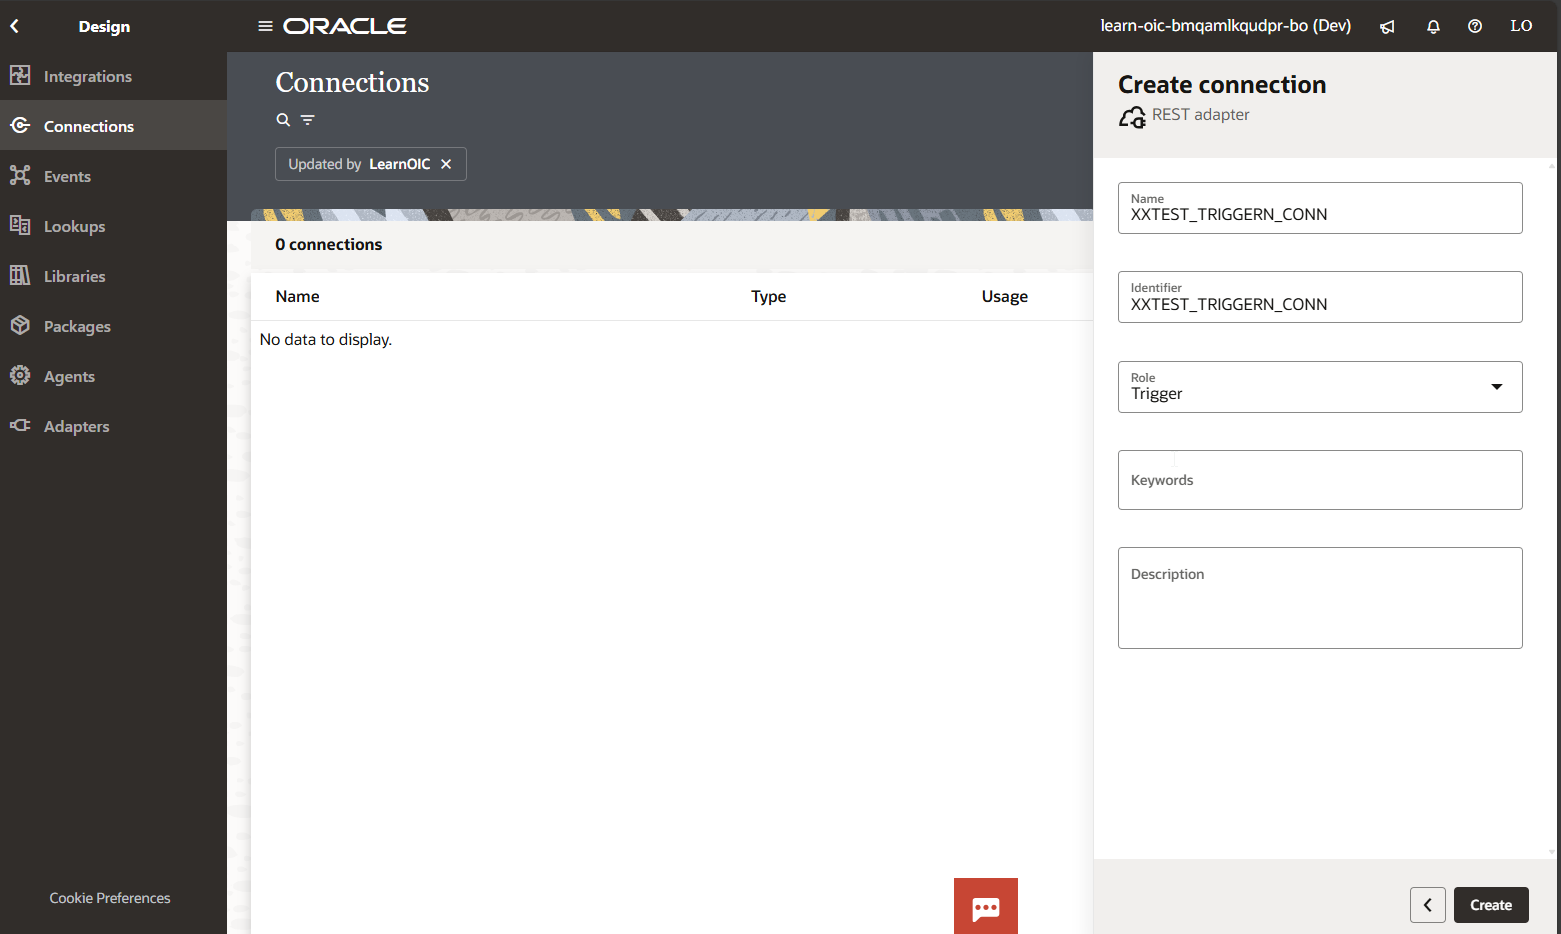
Click on Create.
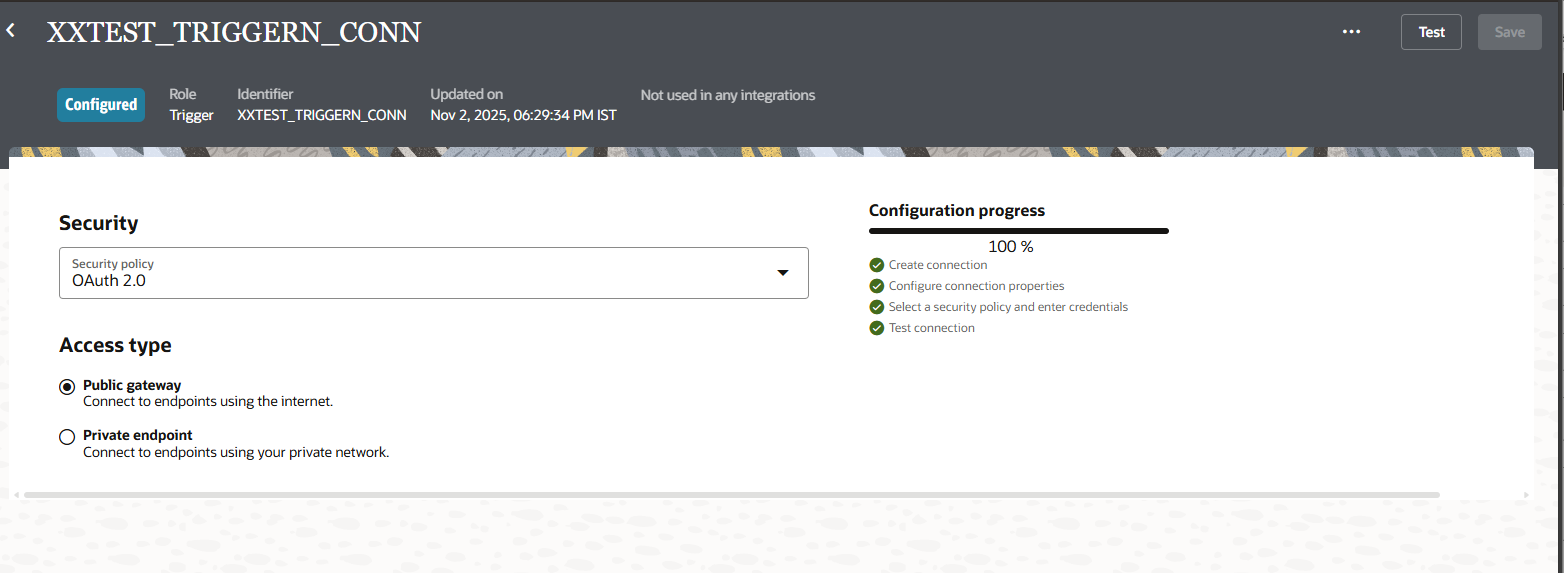
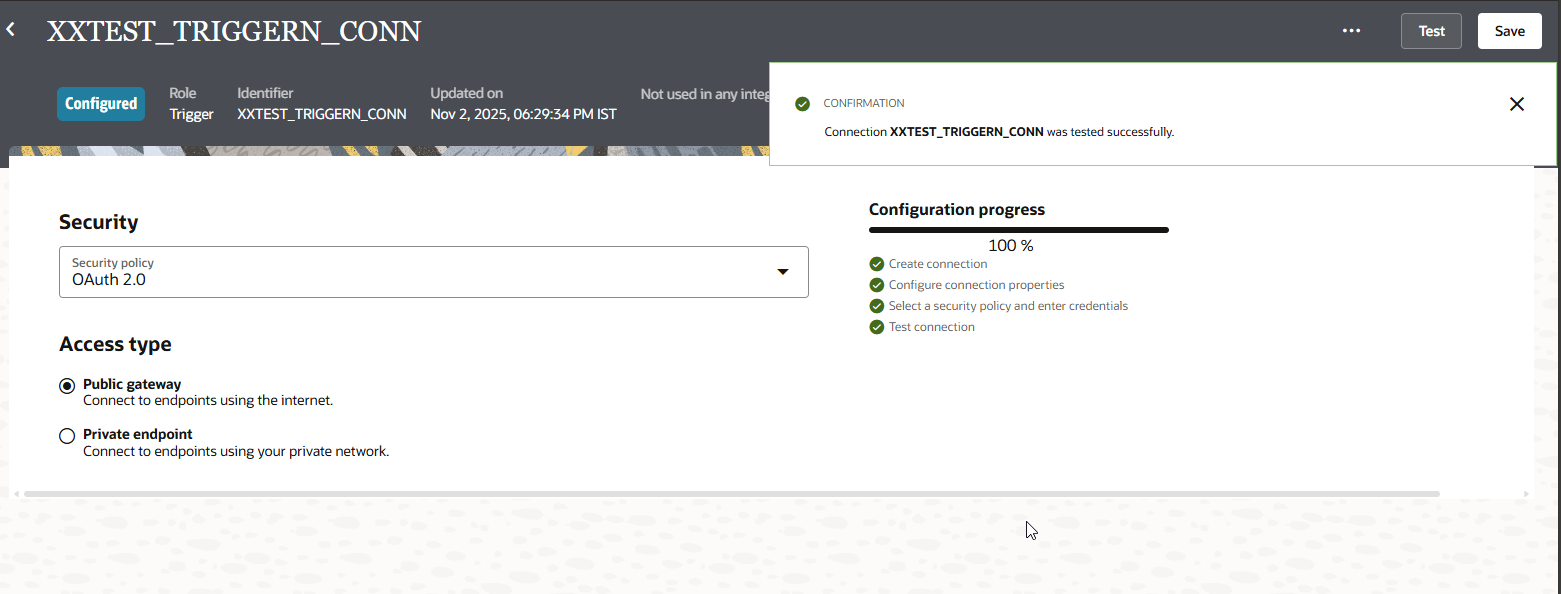
Click on Test.
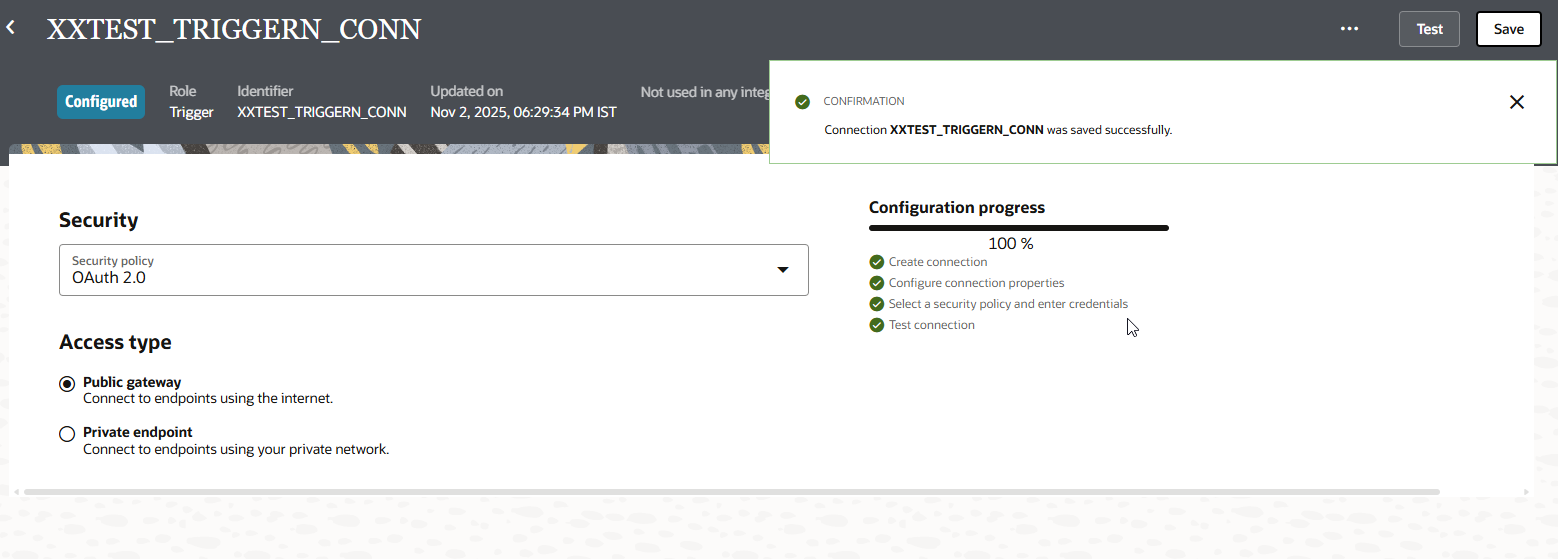
Click on Save.
Click on Create.
Click on Create.
Click on Continue.
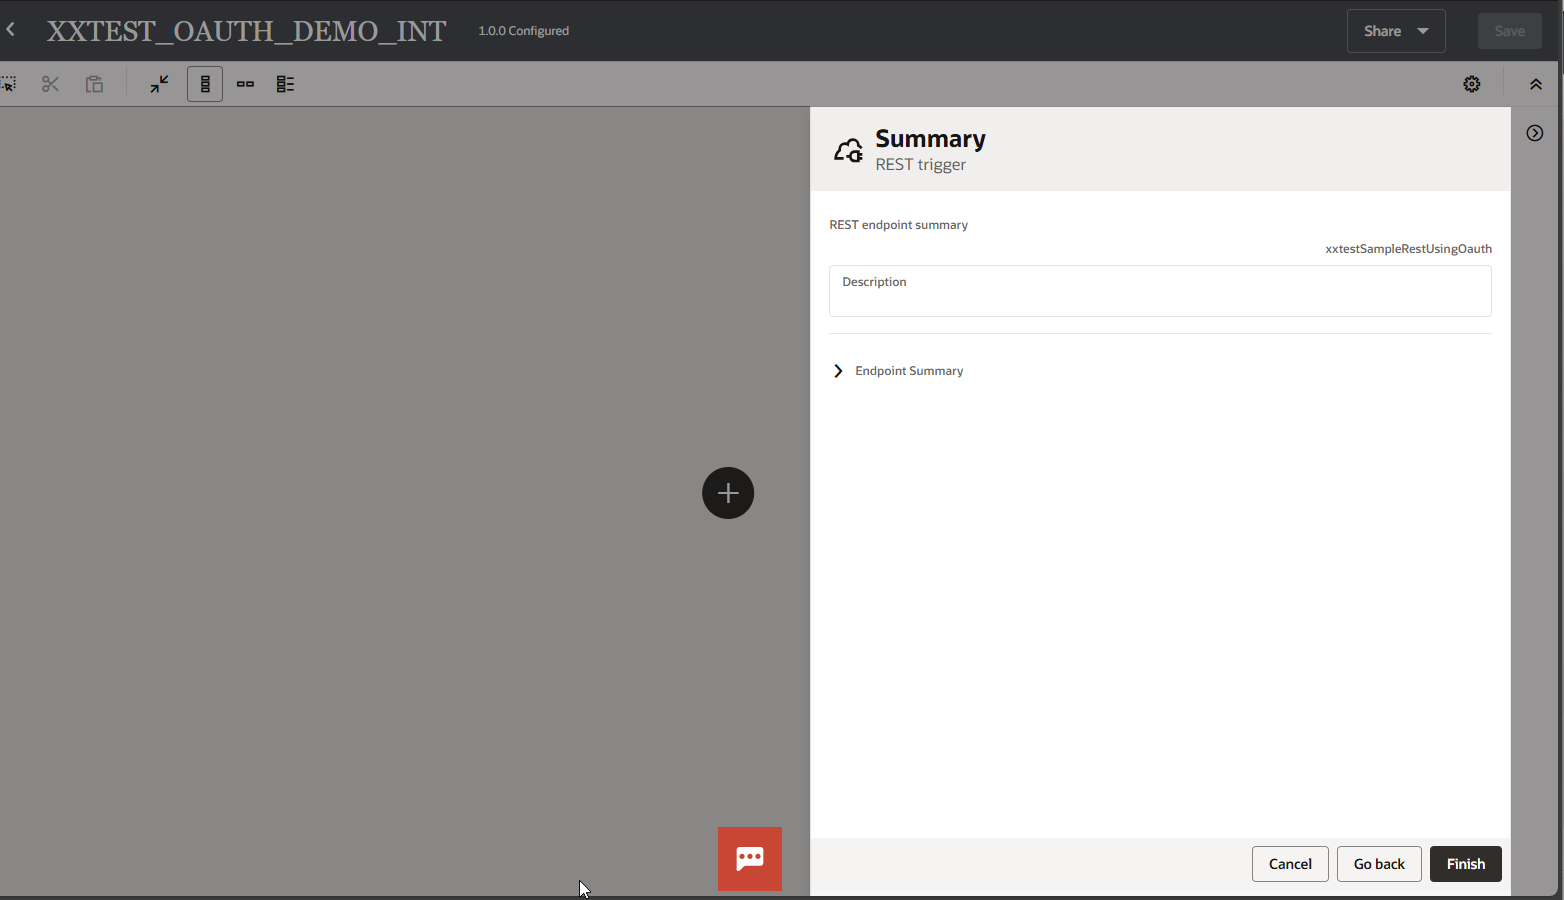
Click on Finish.

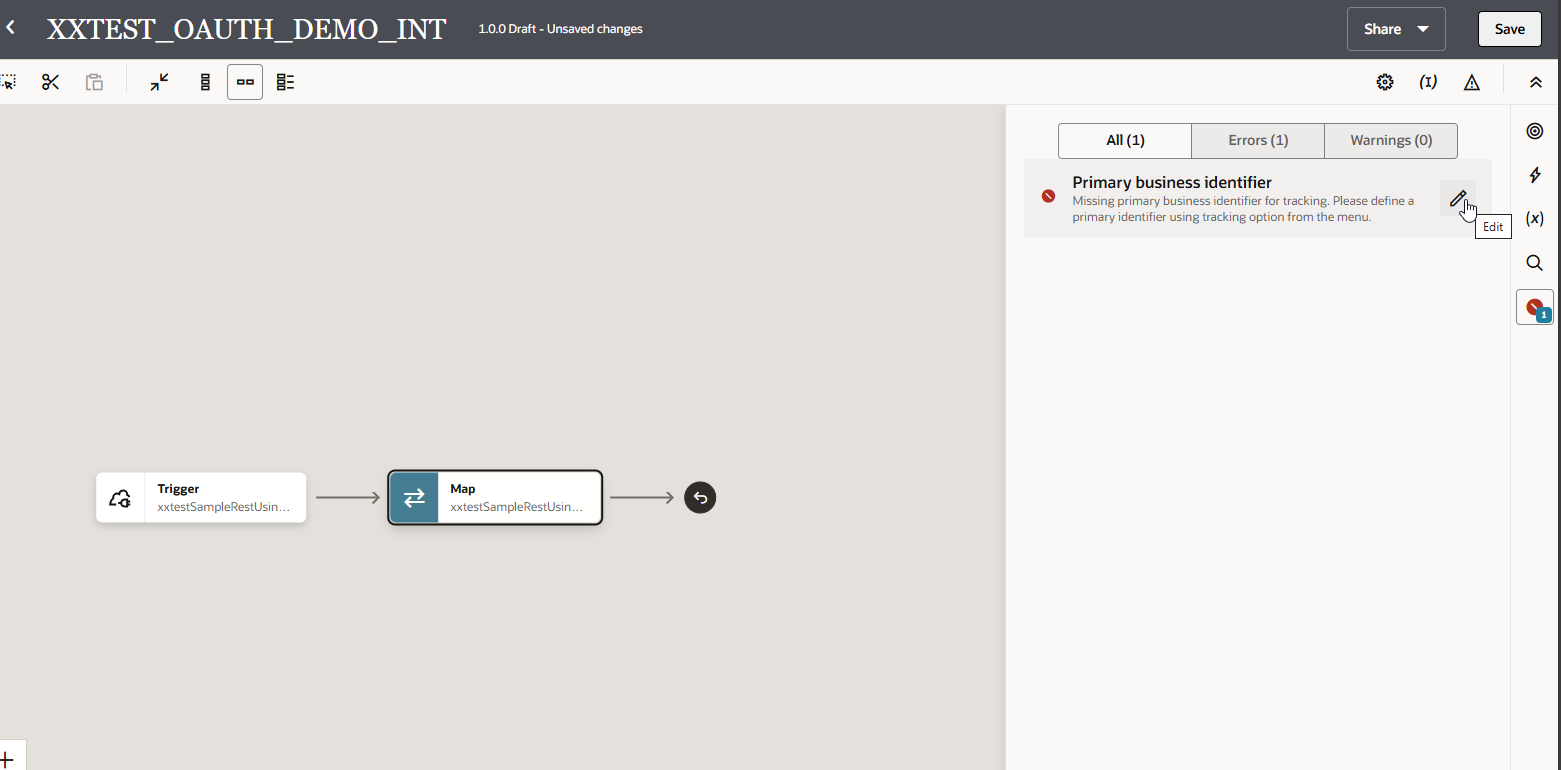
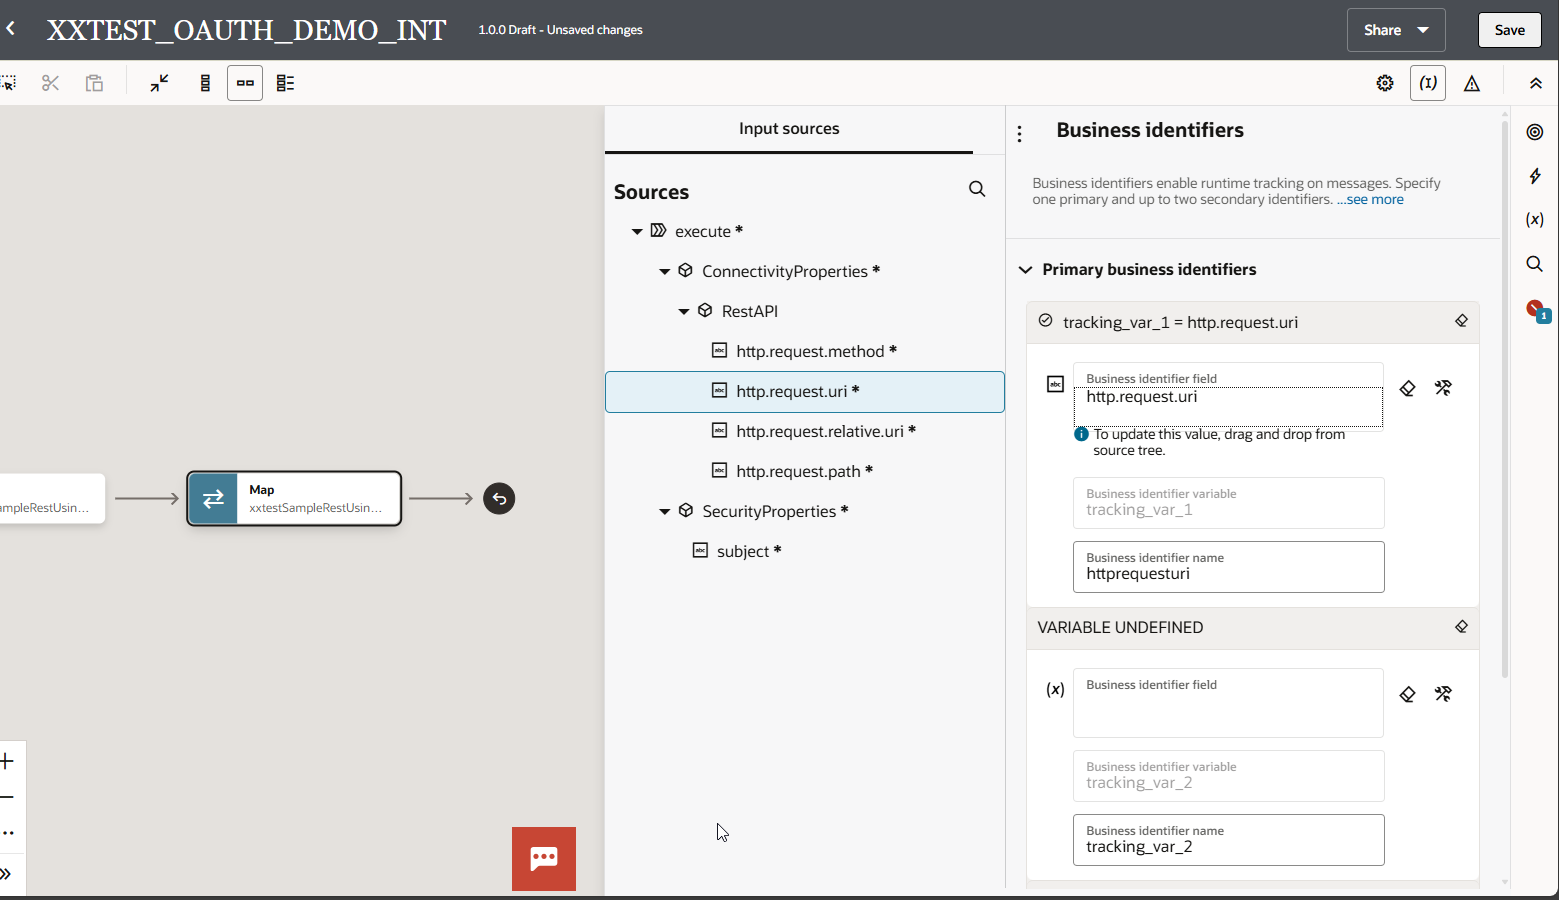
Click on Save Integration.

Activate integration.

Now we will call this integration from Postman using OAUTH2.0 authentication.
Get Endpoint URL:

Step2: Create Confidential Application for Client Credential Flow.
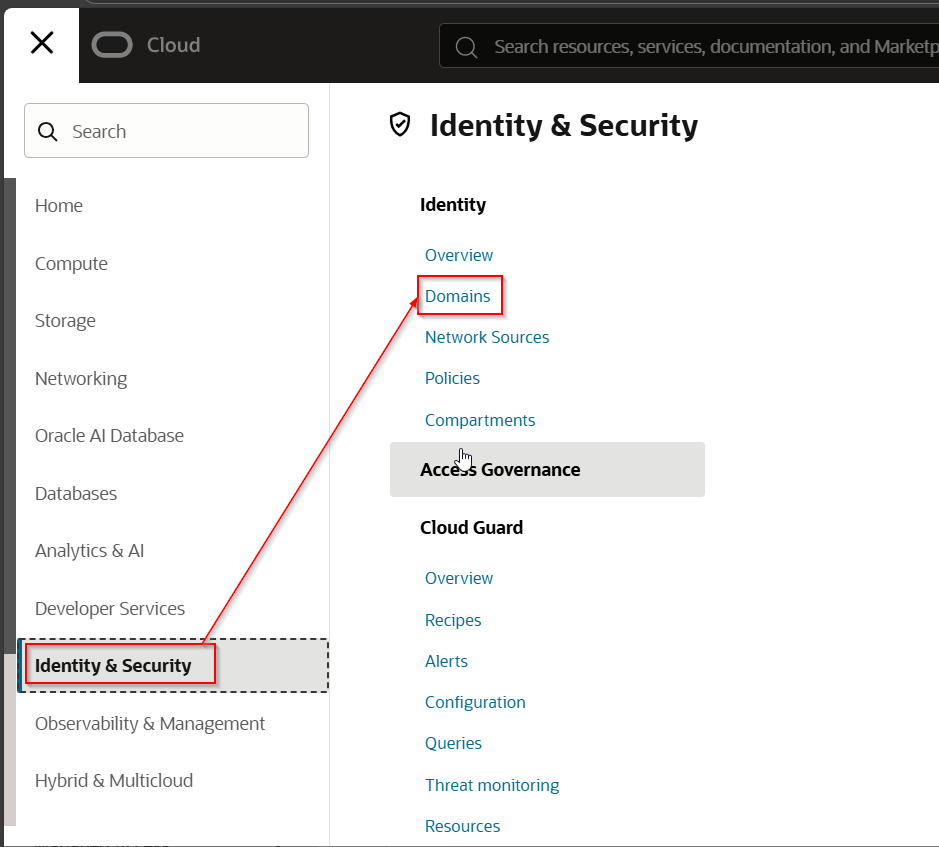
Get Domain URL from OCI console.
Select default domain.
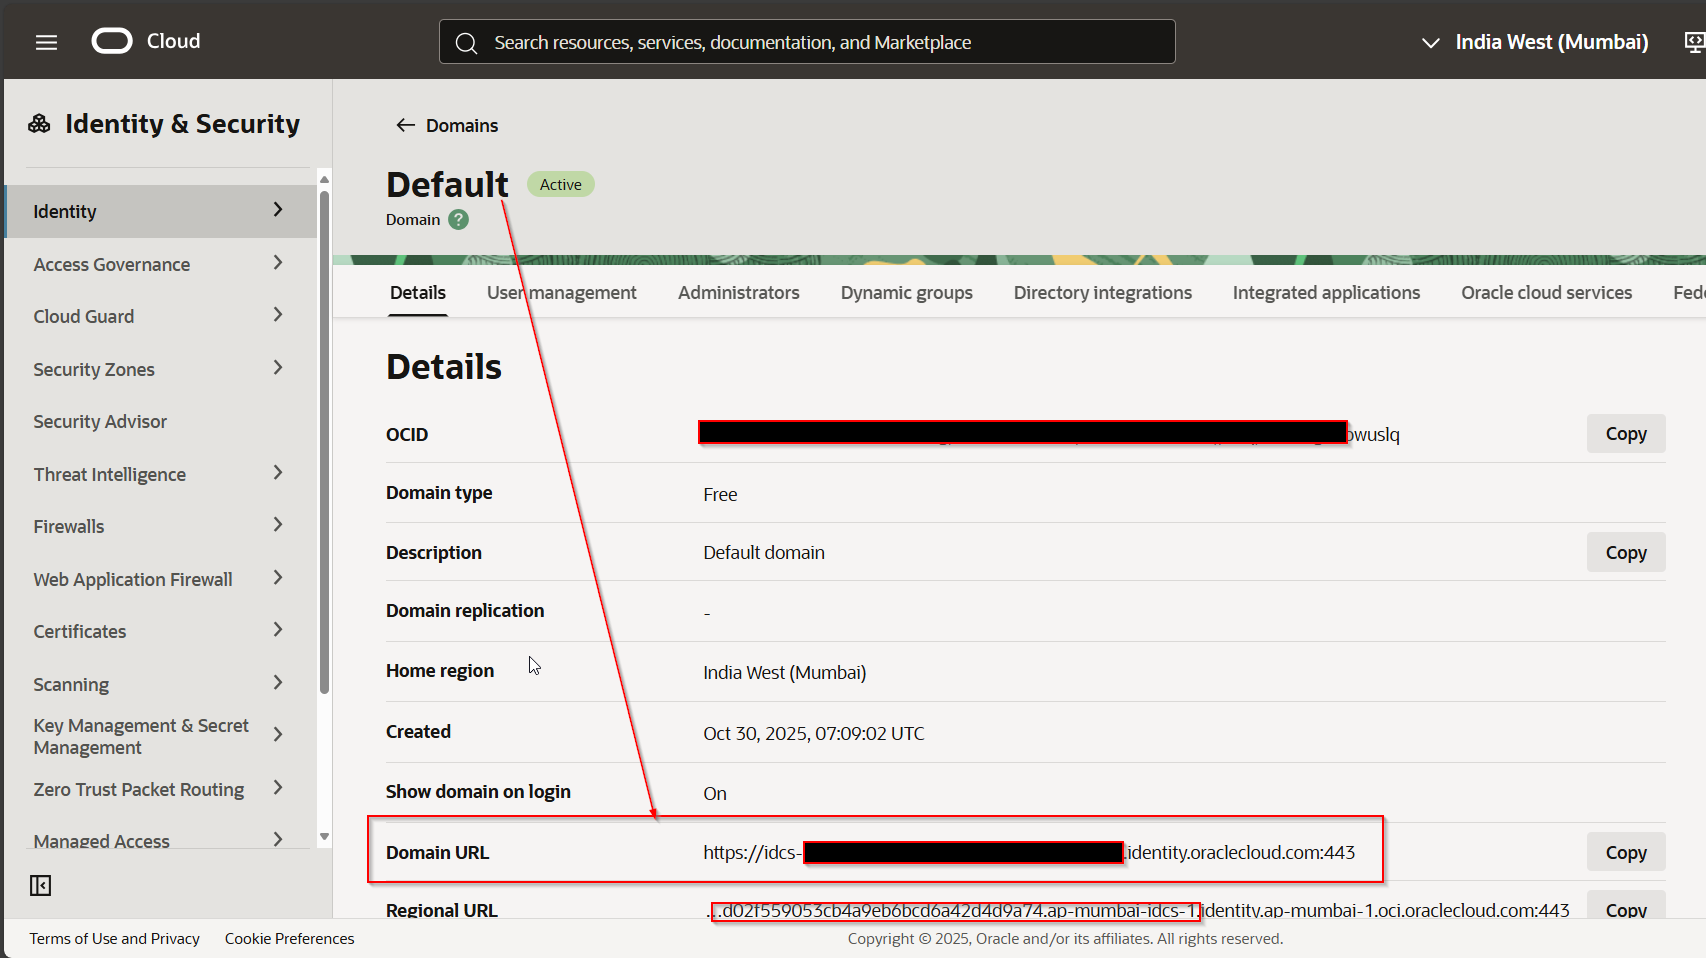
Note domain URL which will be needed later.
Navigate to Integrated Applications —> Add Application.

Select Confidential Application.
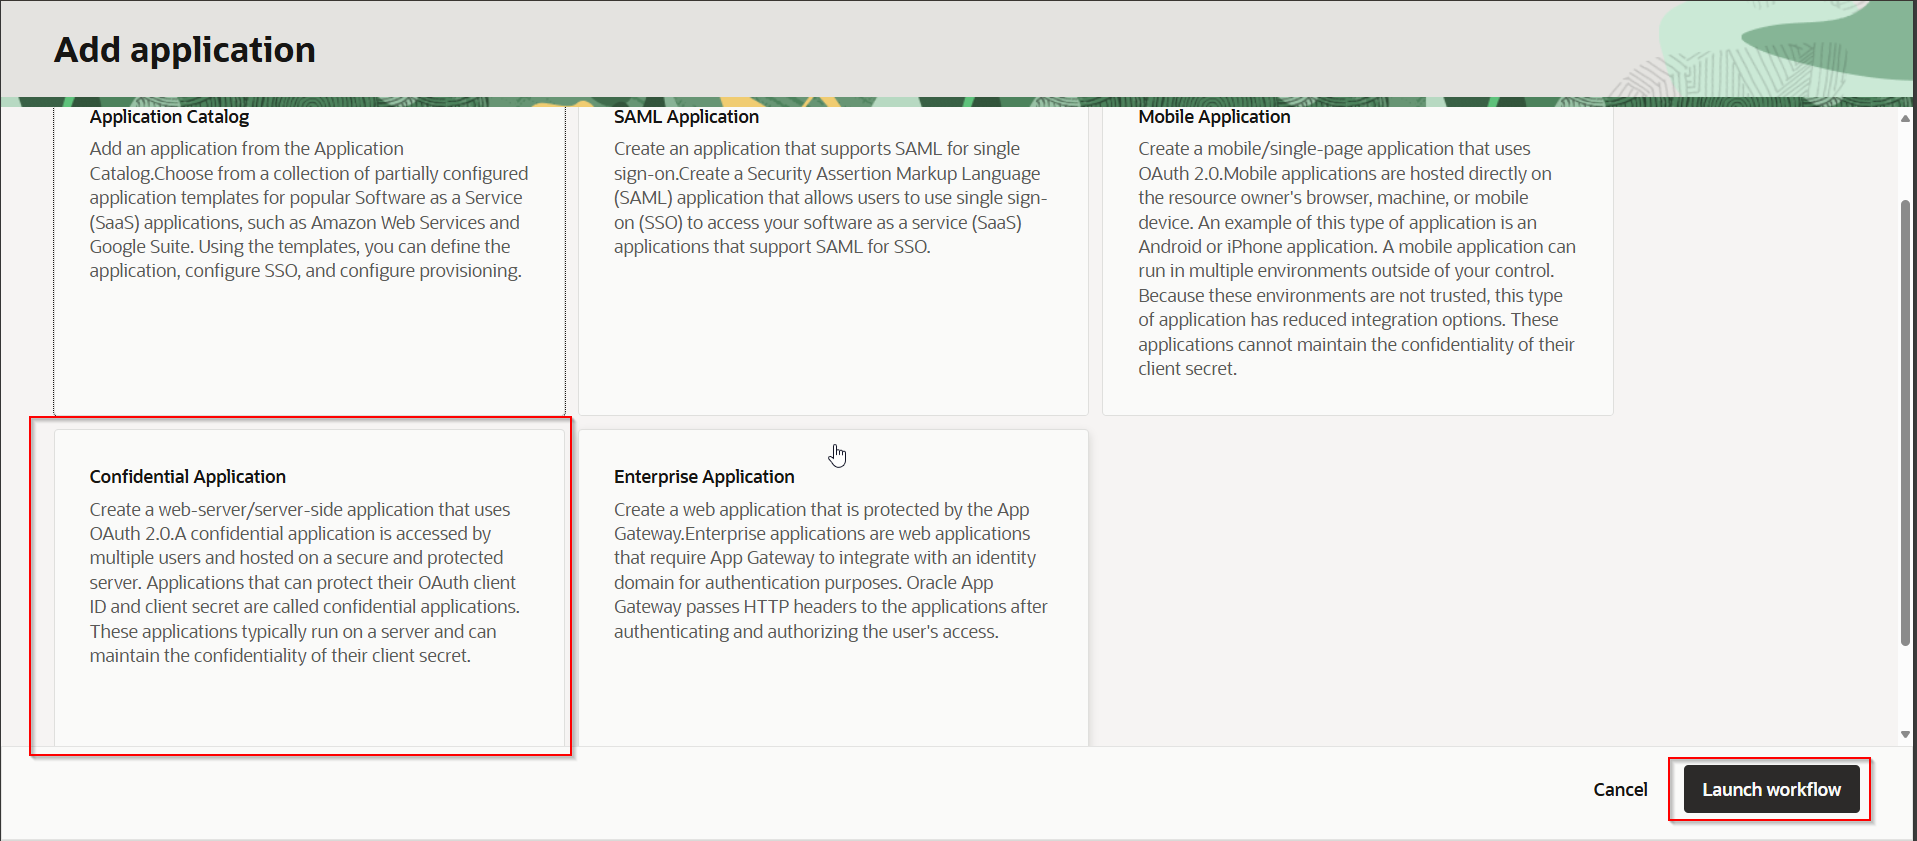
Click on Launch Workflow.
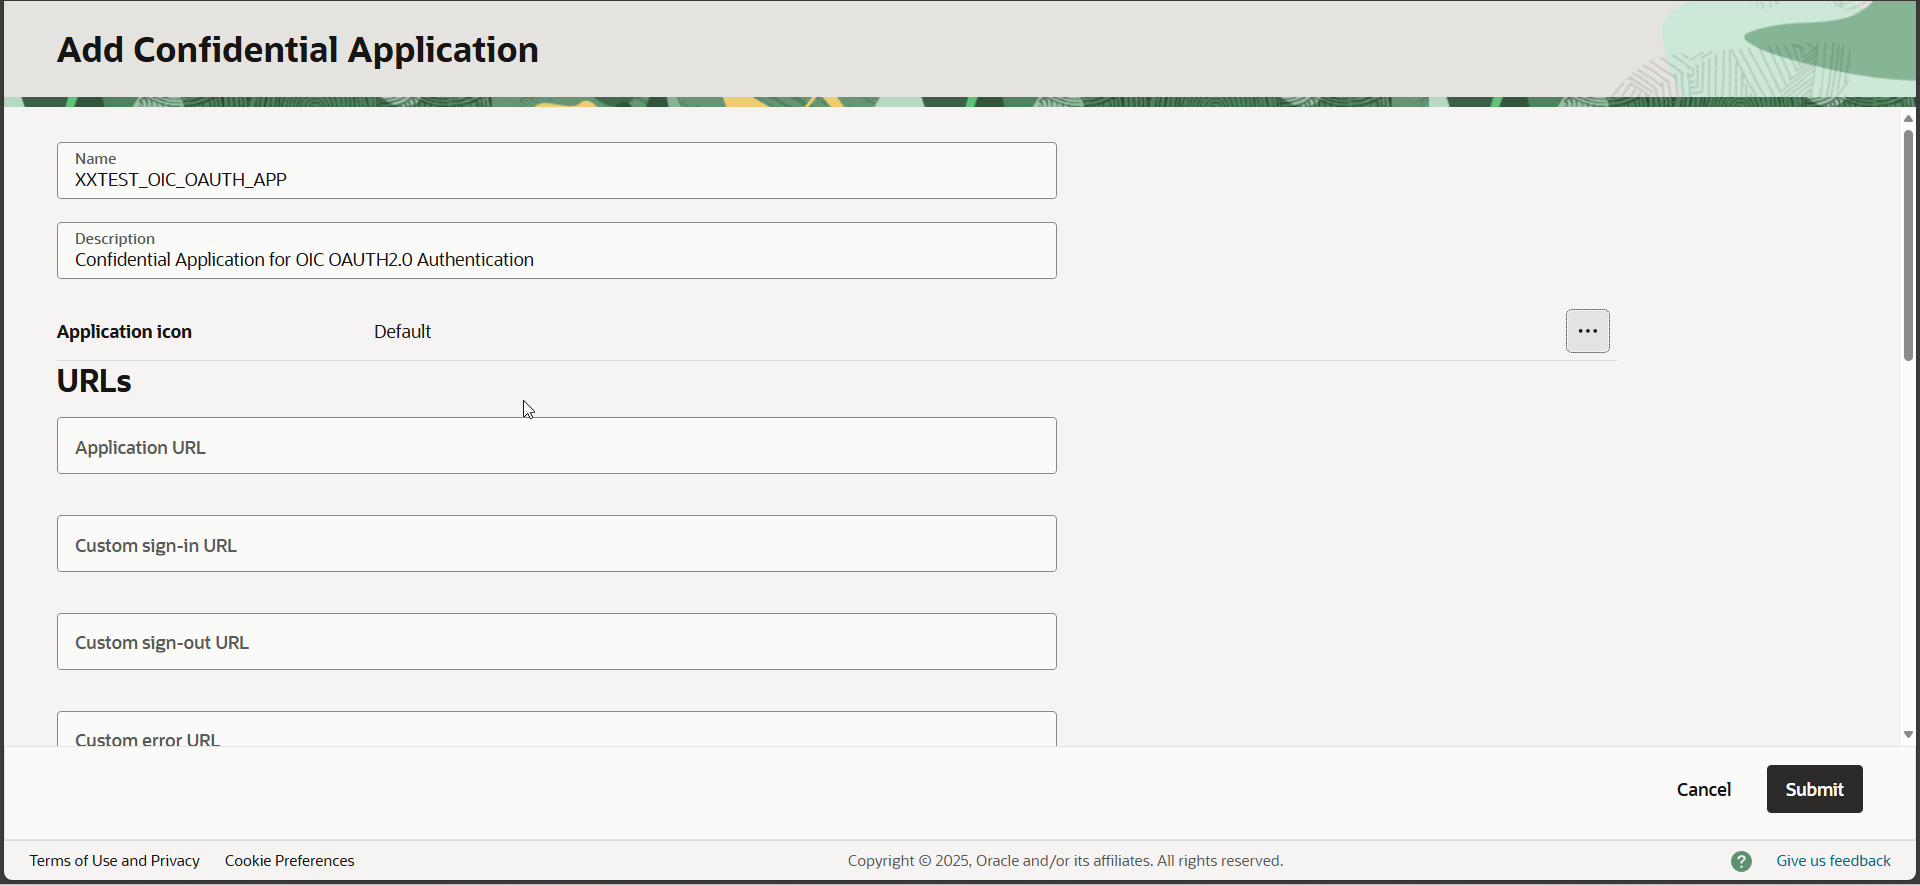
Provide Name for confidential application Click on Submit.
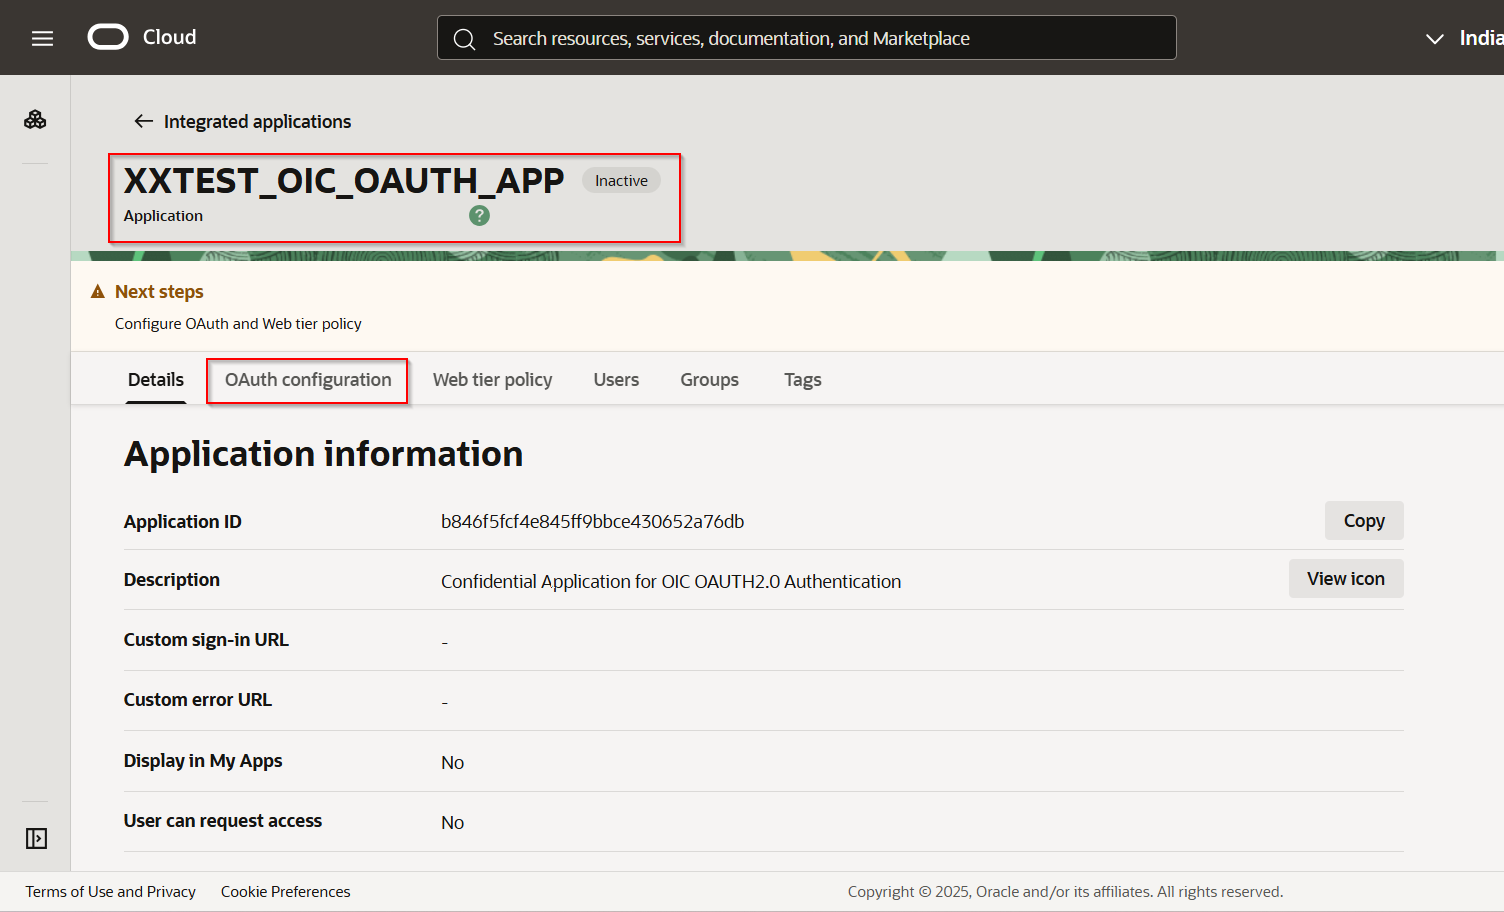
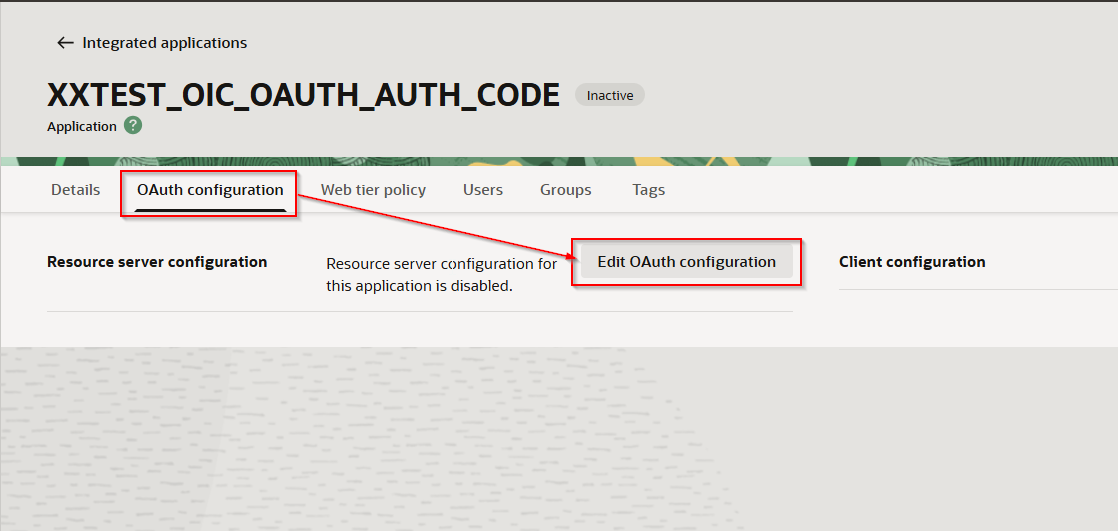
Once application is created, Select “OAuth Configuration”.
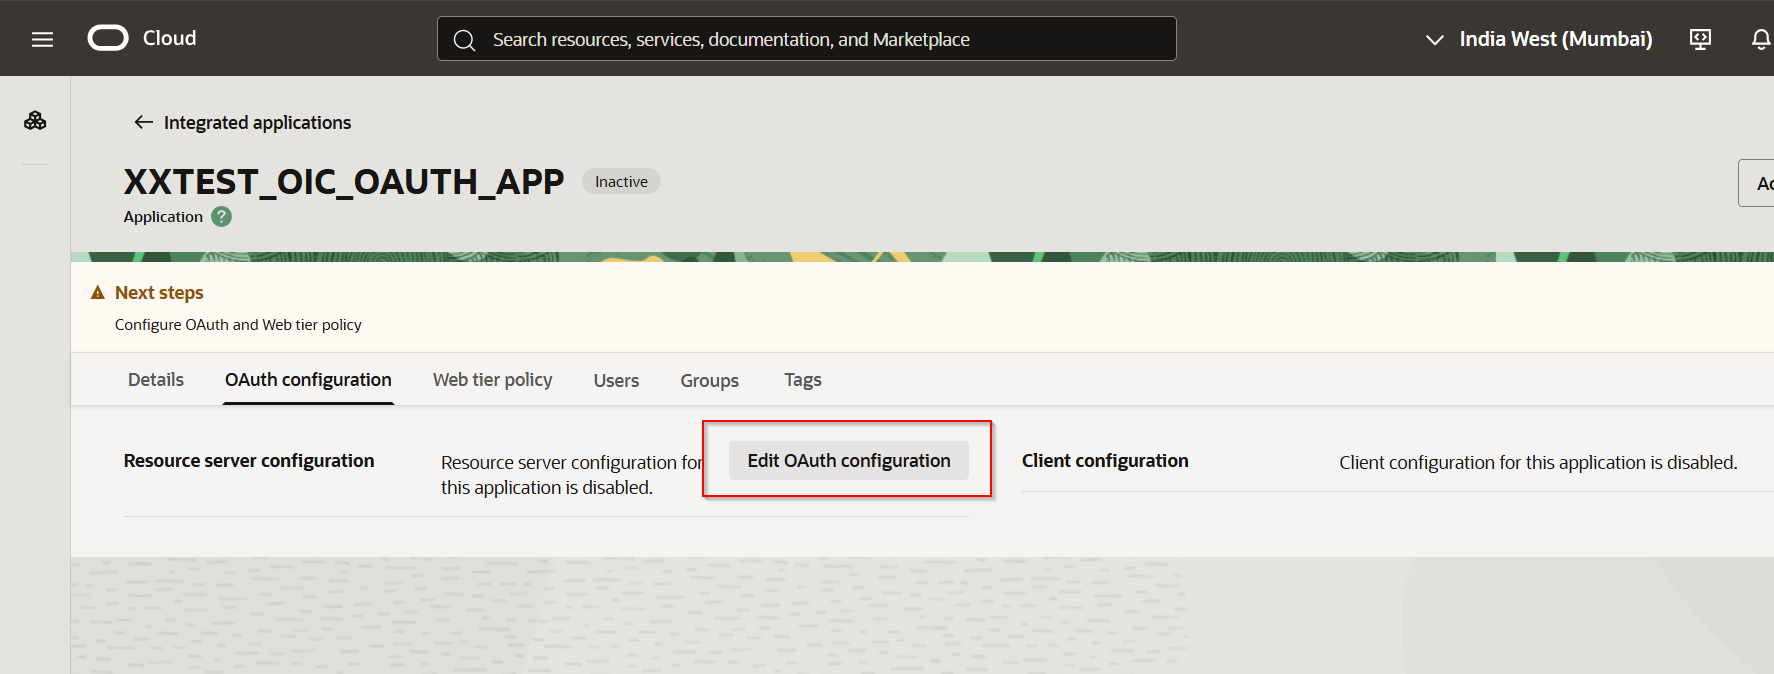
Click on “Edit OAuth Configuration”.

Select “Configure this application as a client now”.
Select checkbox for “Client credentials” and “Refresh token”.

Select Client IP address as “Anywhere”.
Enable toggle for Add resources.
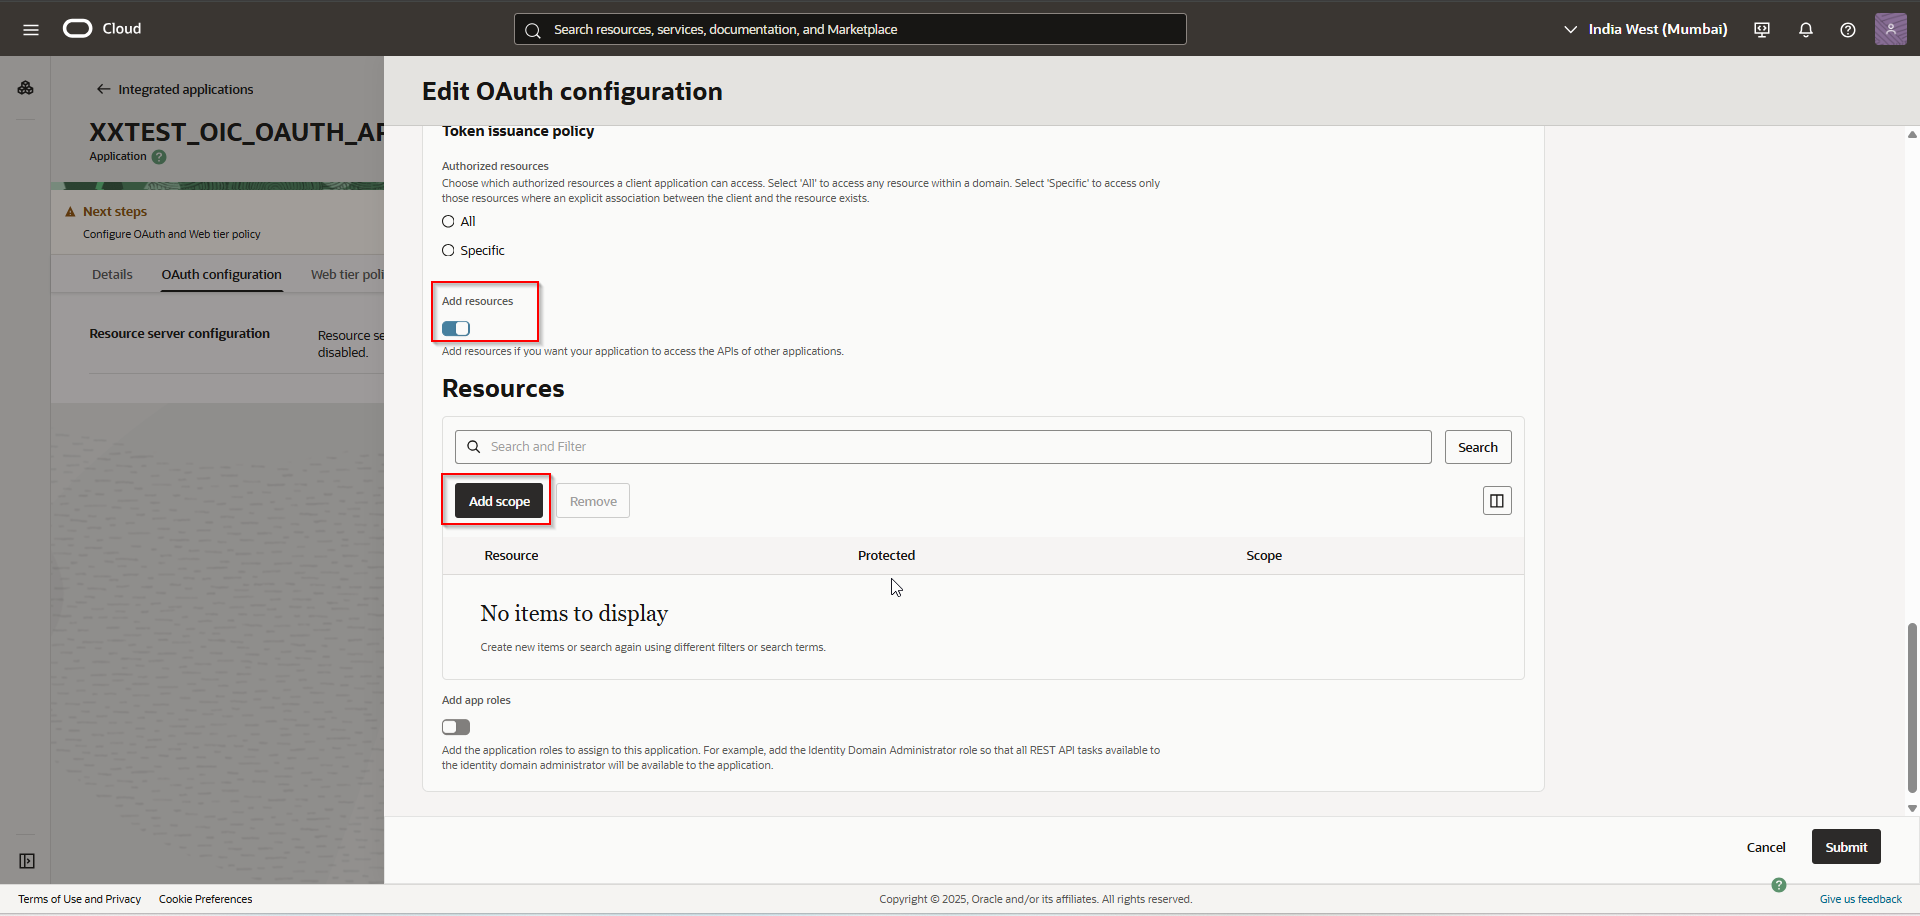
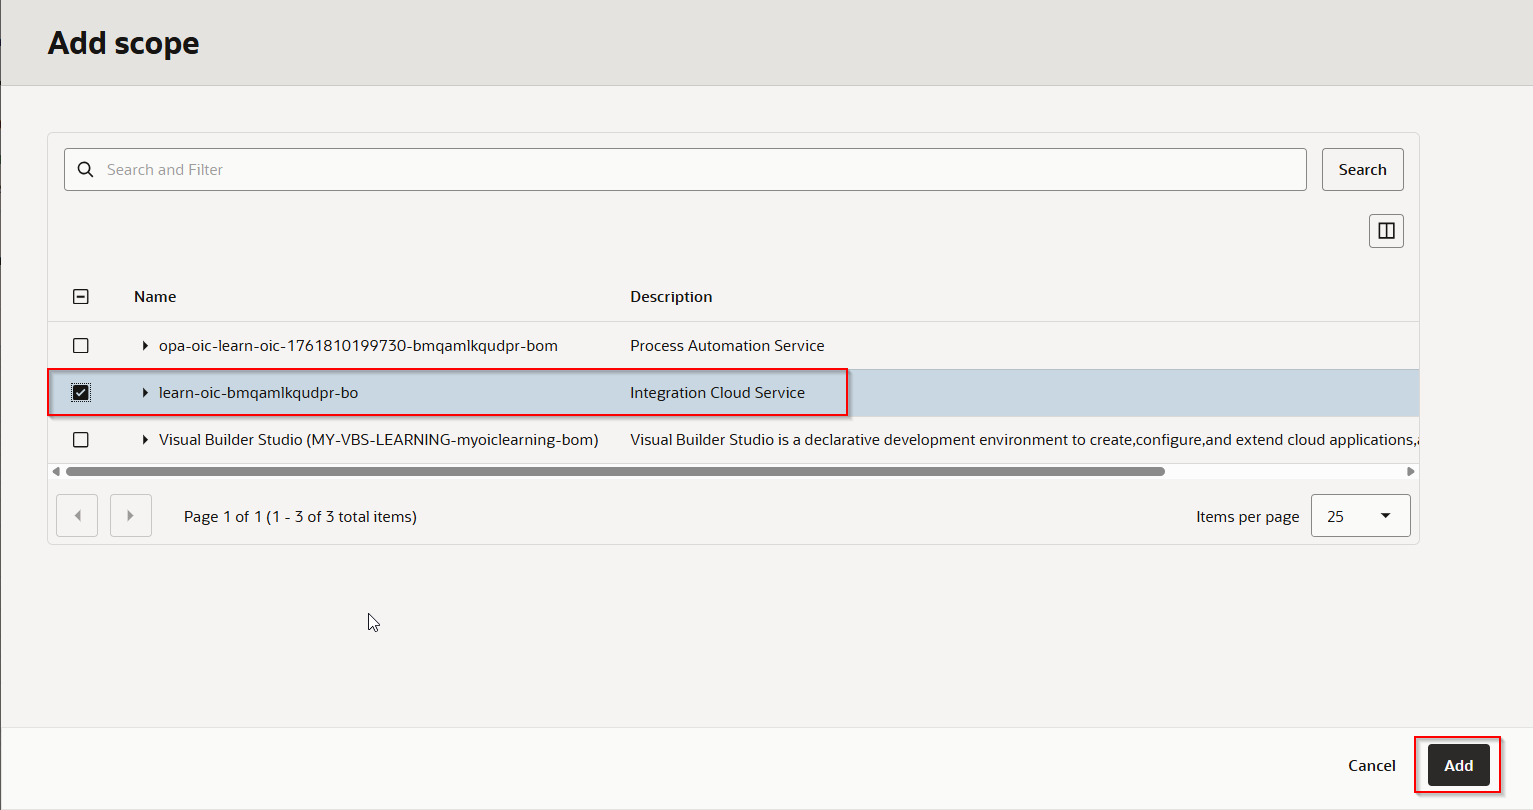
Click on “Add Scope”.
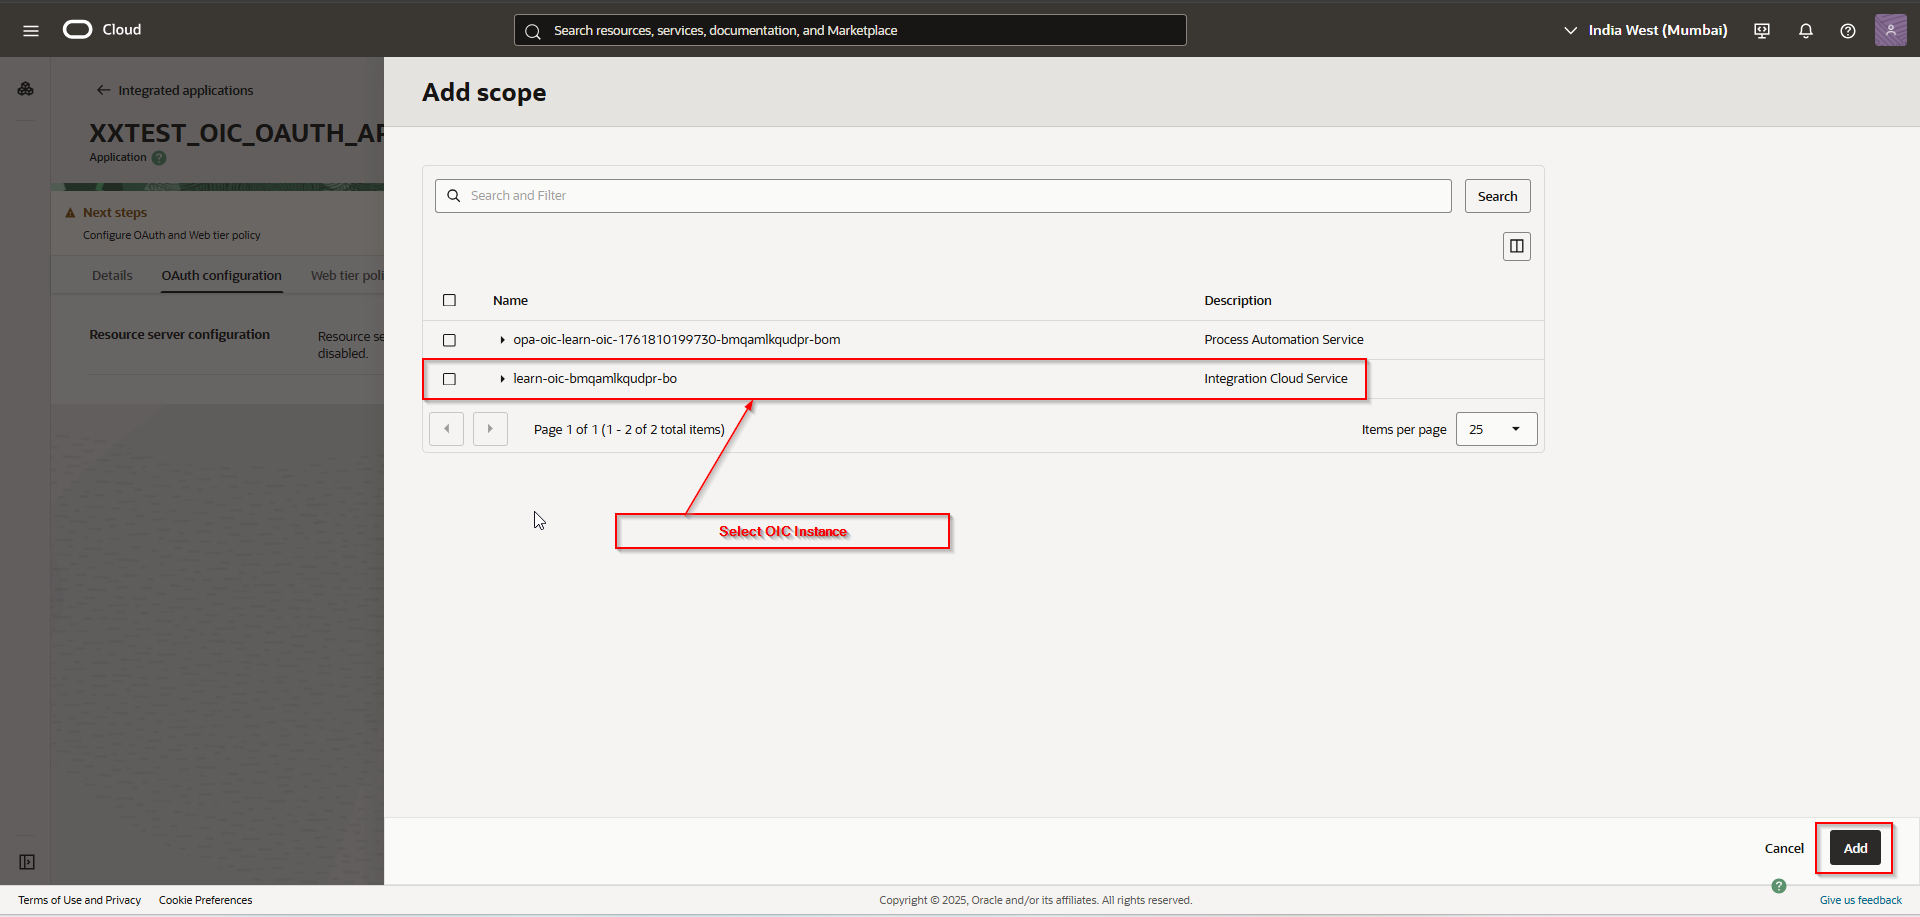
Select “Integrated Cloud Service” and Click on Add.
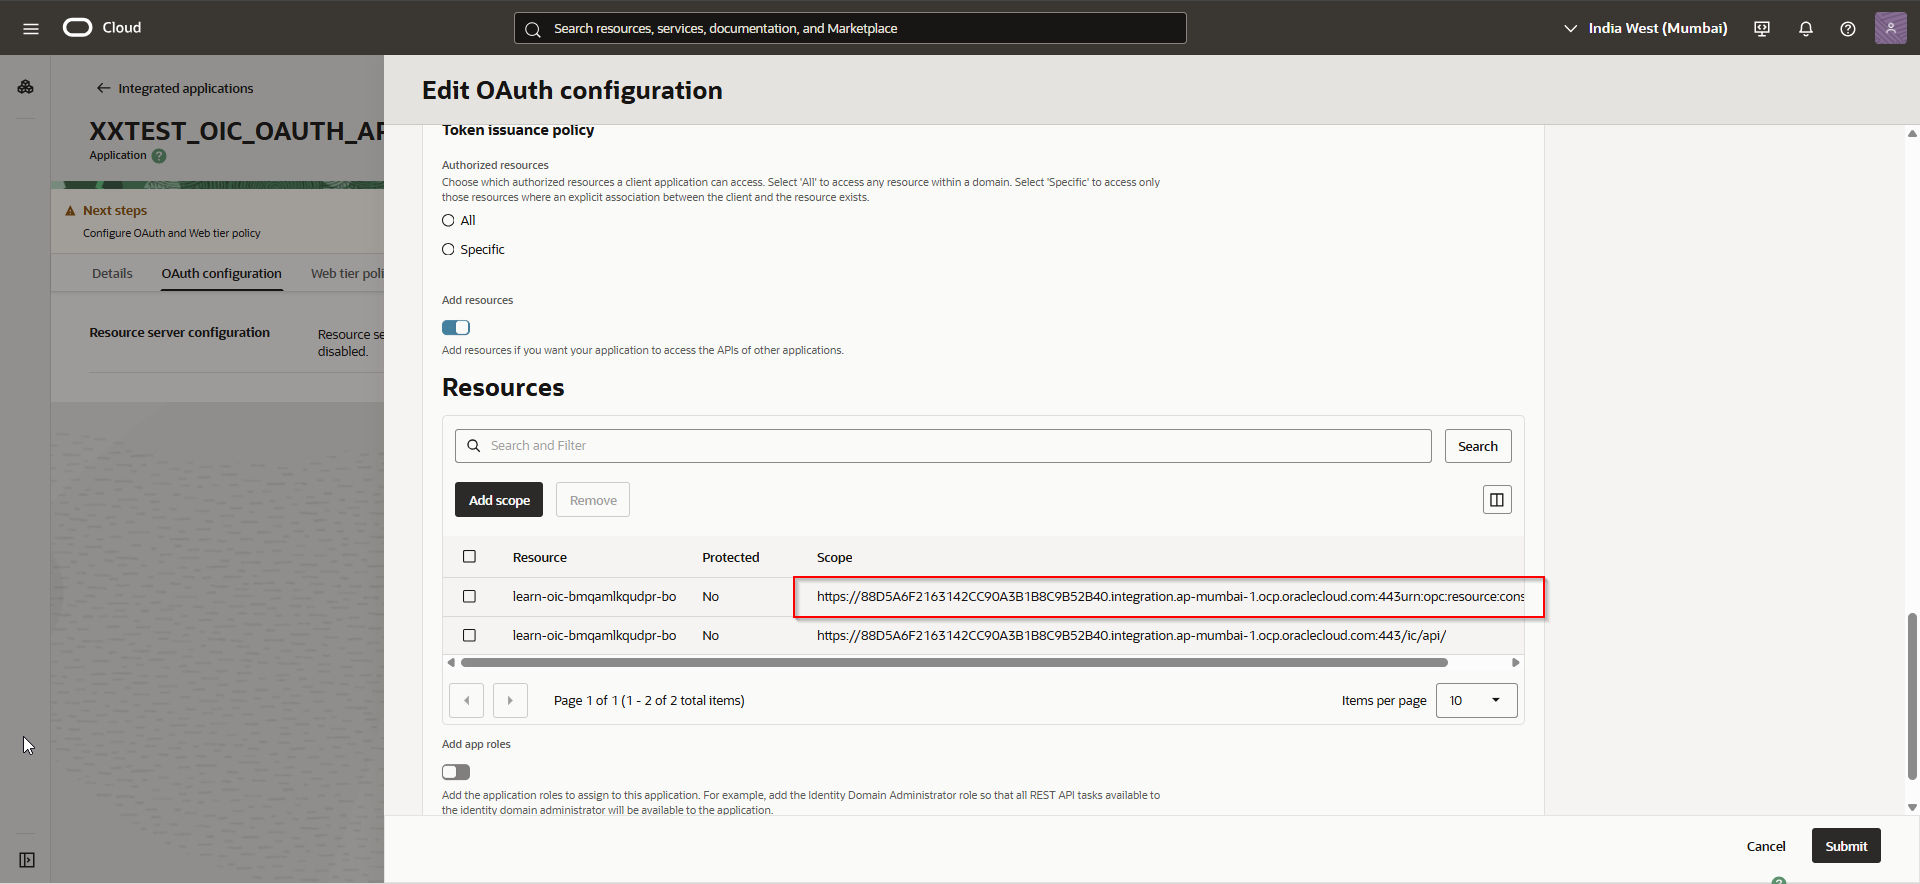
Make a note of scope URL.
Click on Submit.
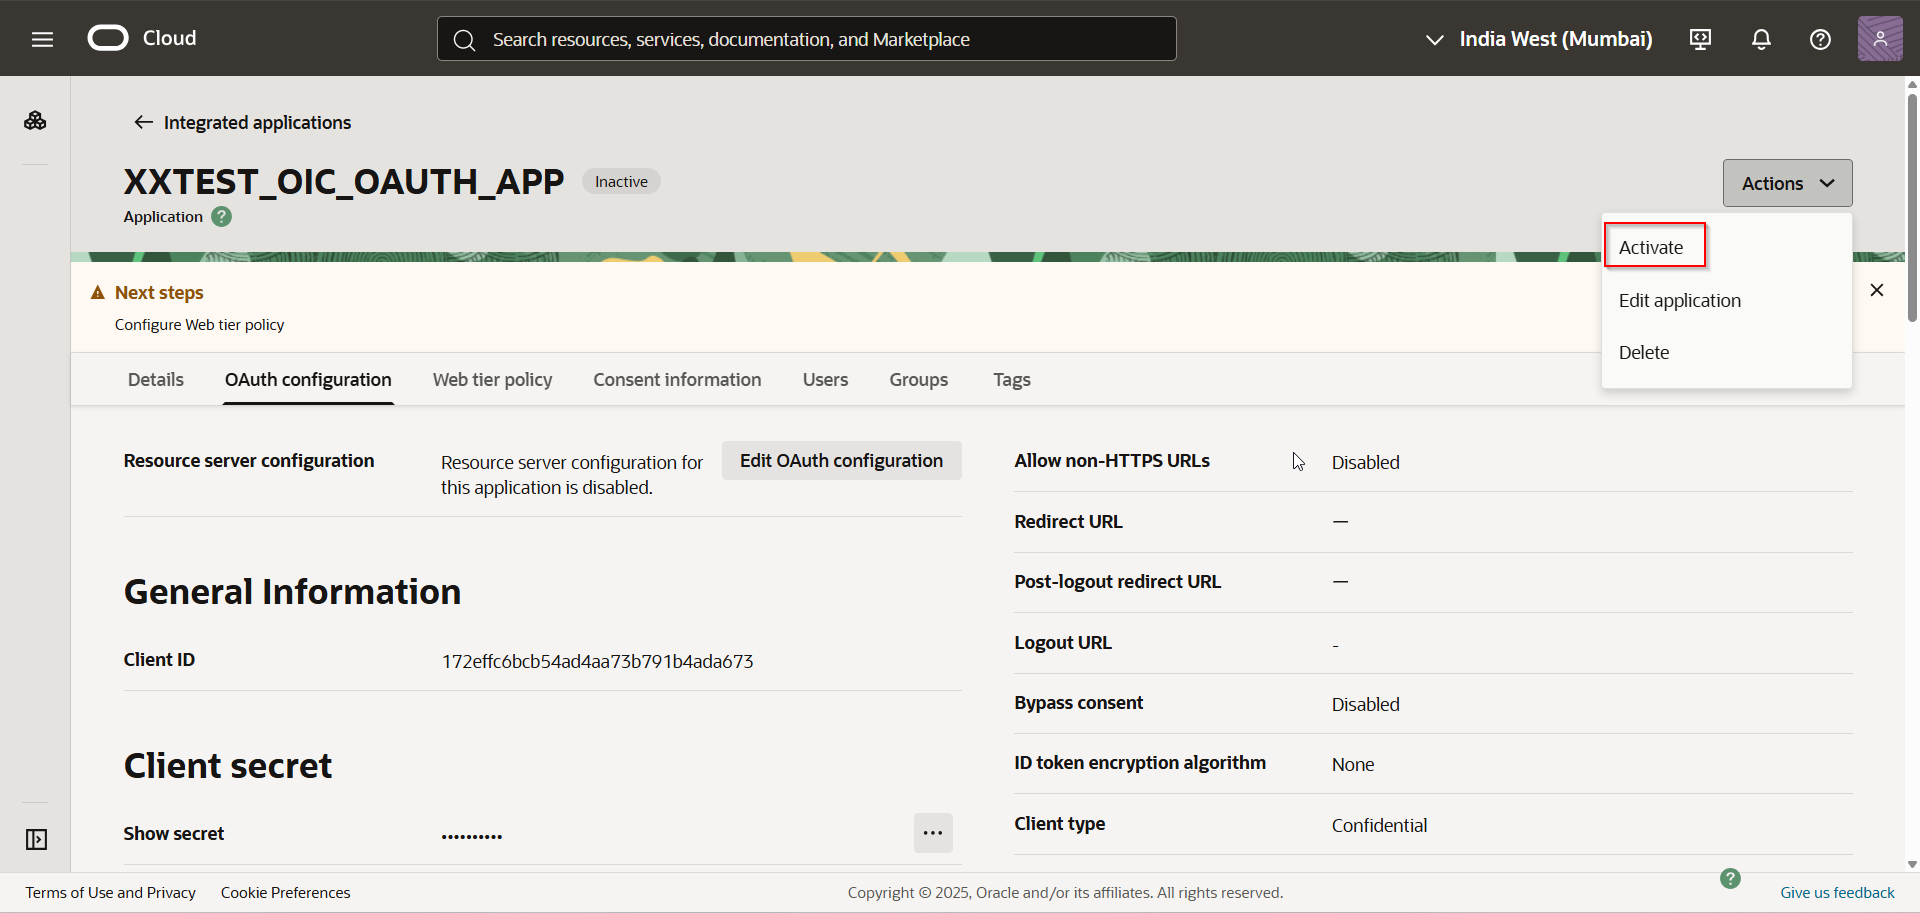
Click on “Activate” to activate this application.
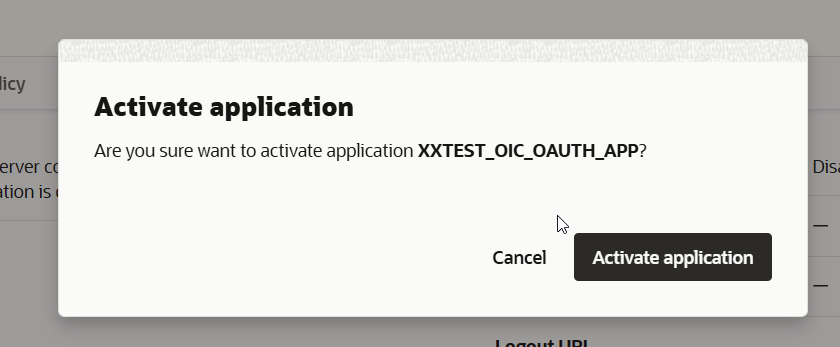

The application is activated now.
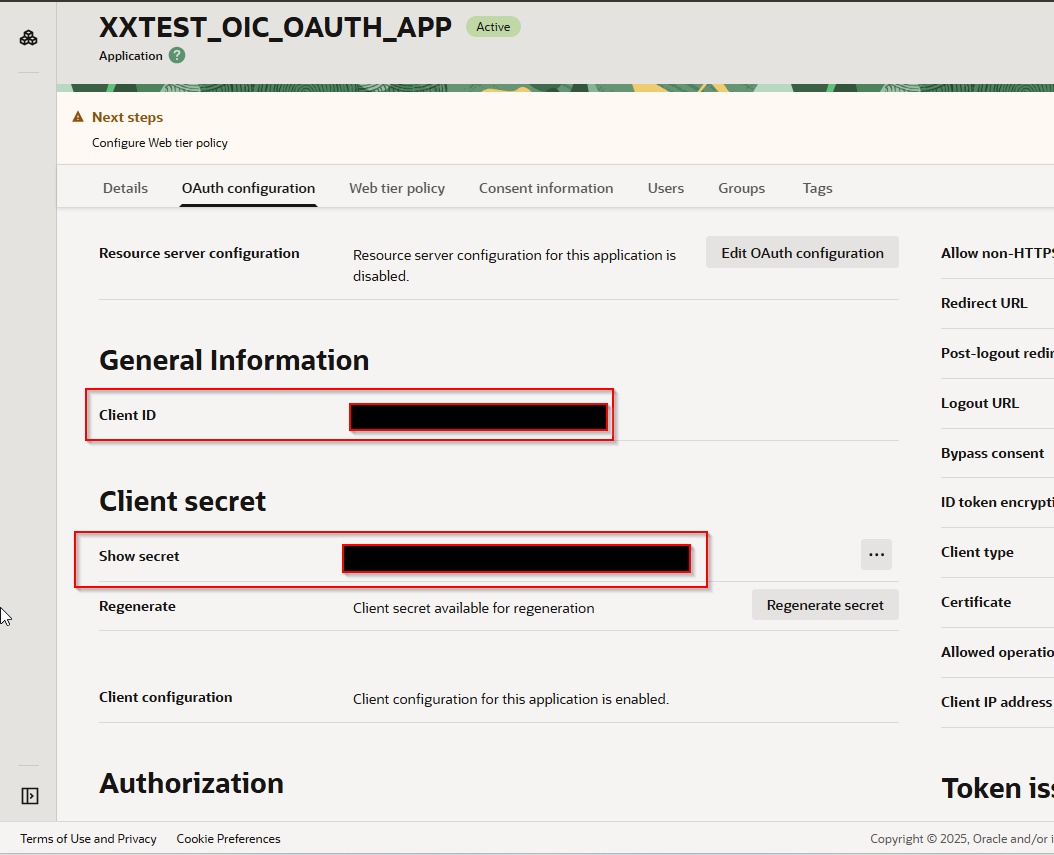
Make notes of client ID and Client Secret.
Let us add this confidential application to Service Developer role.
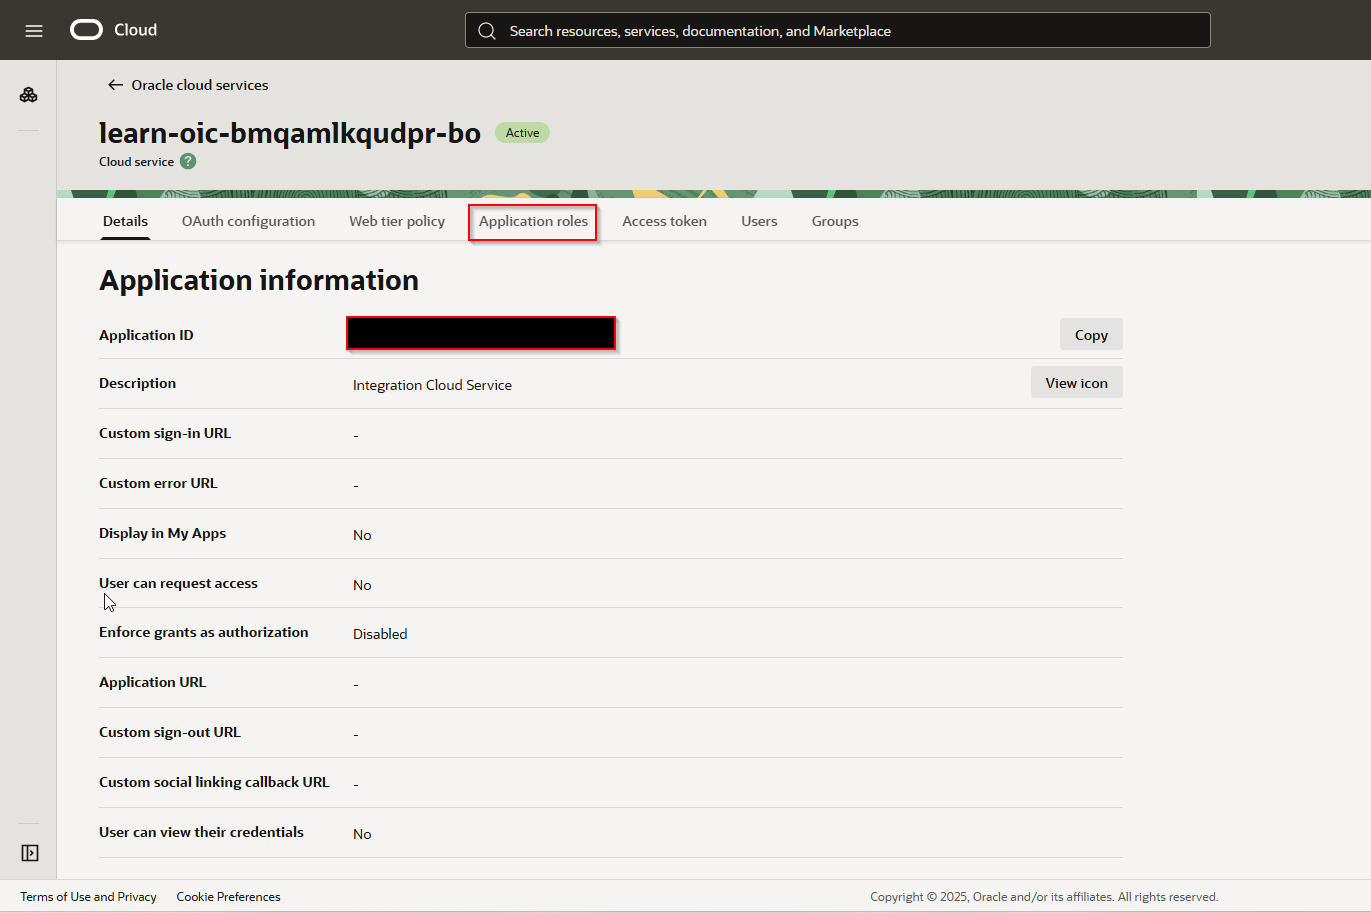
Click on Oracle Cloud Services —-> select integration service.
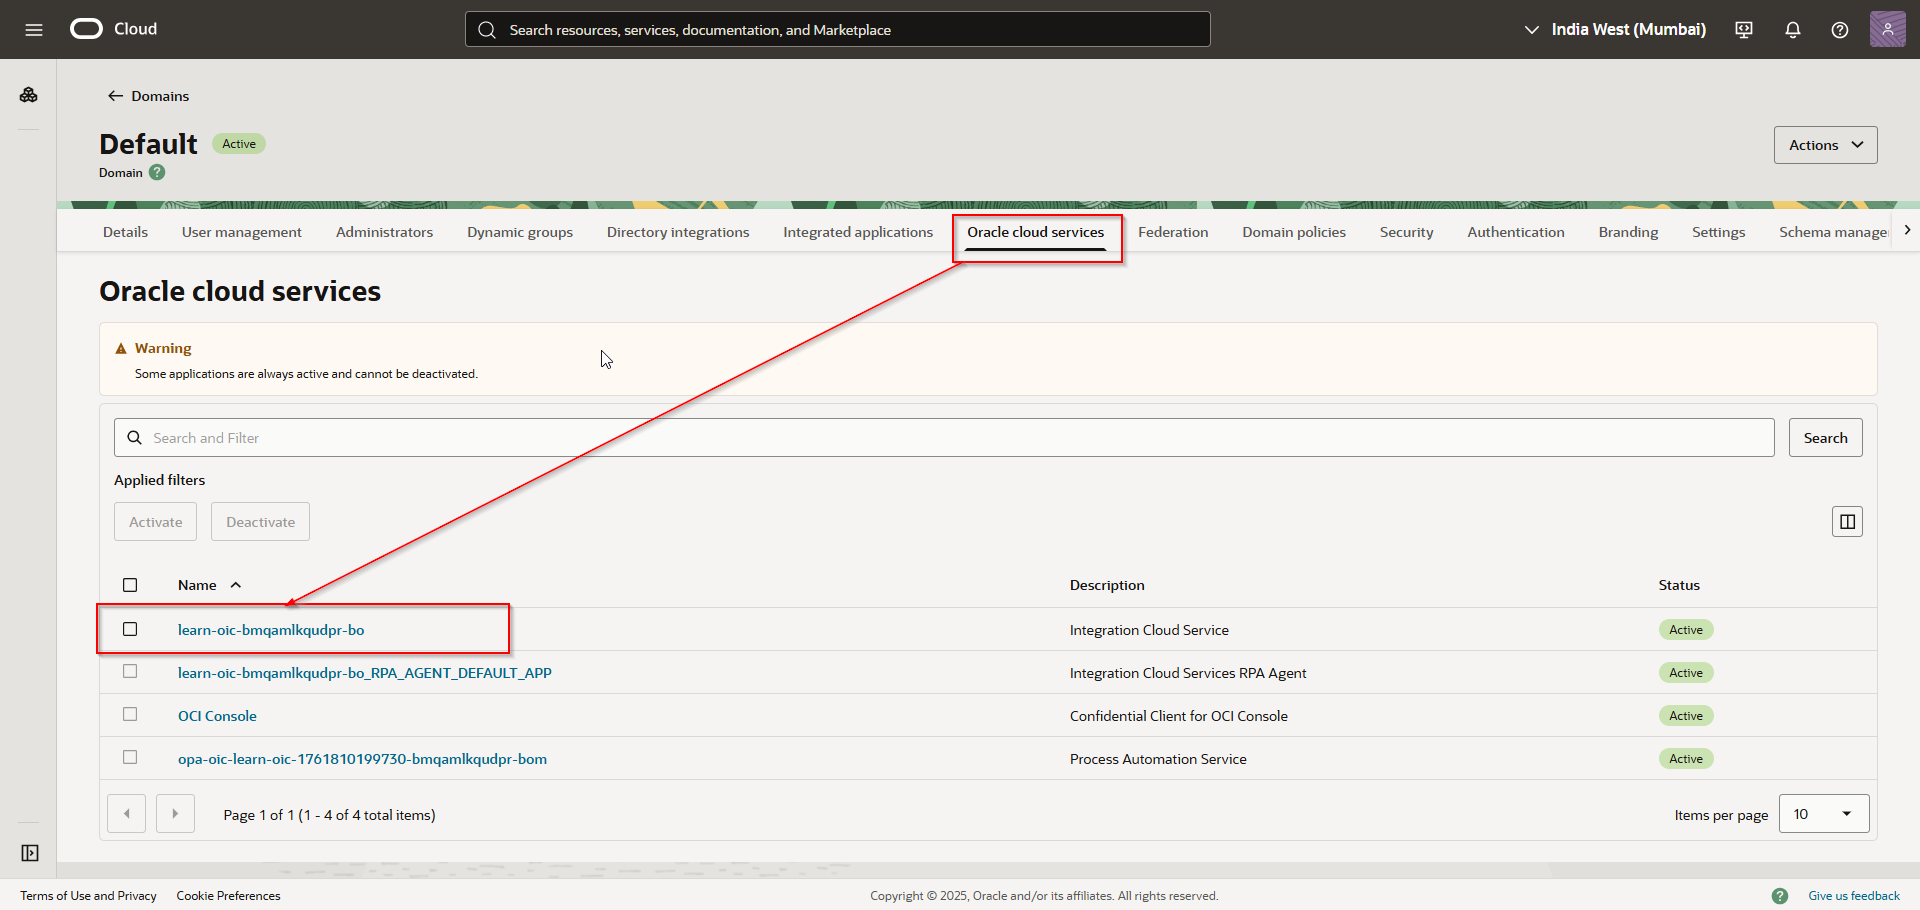
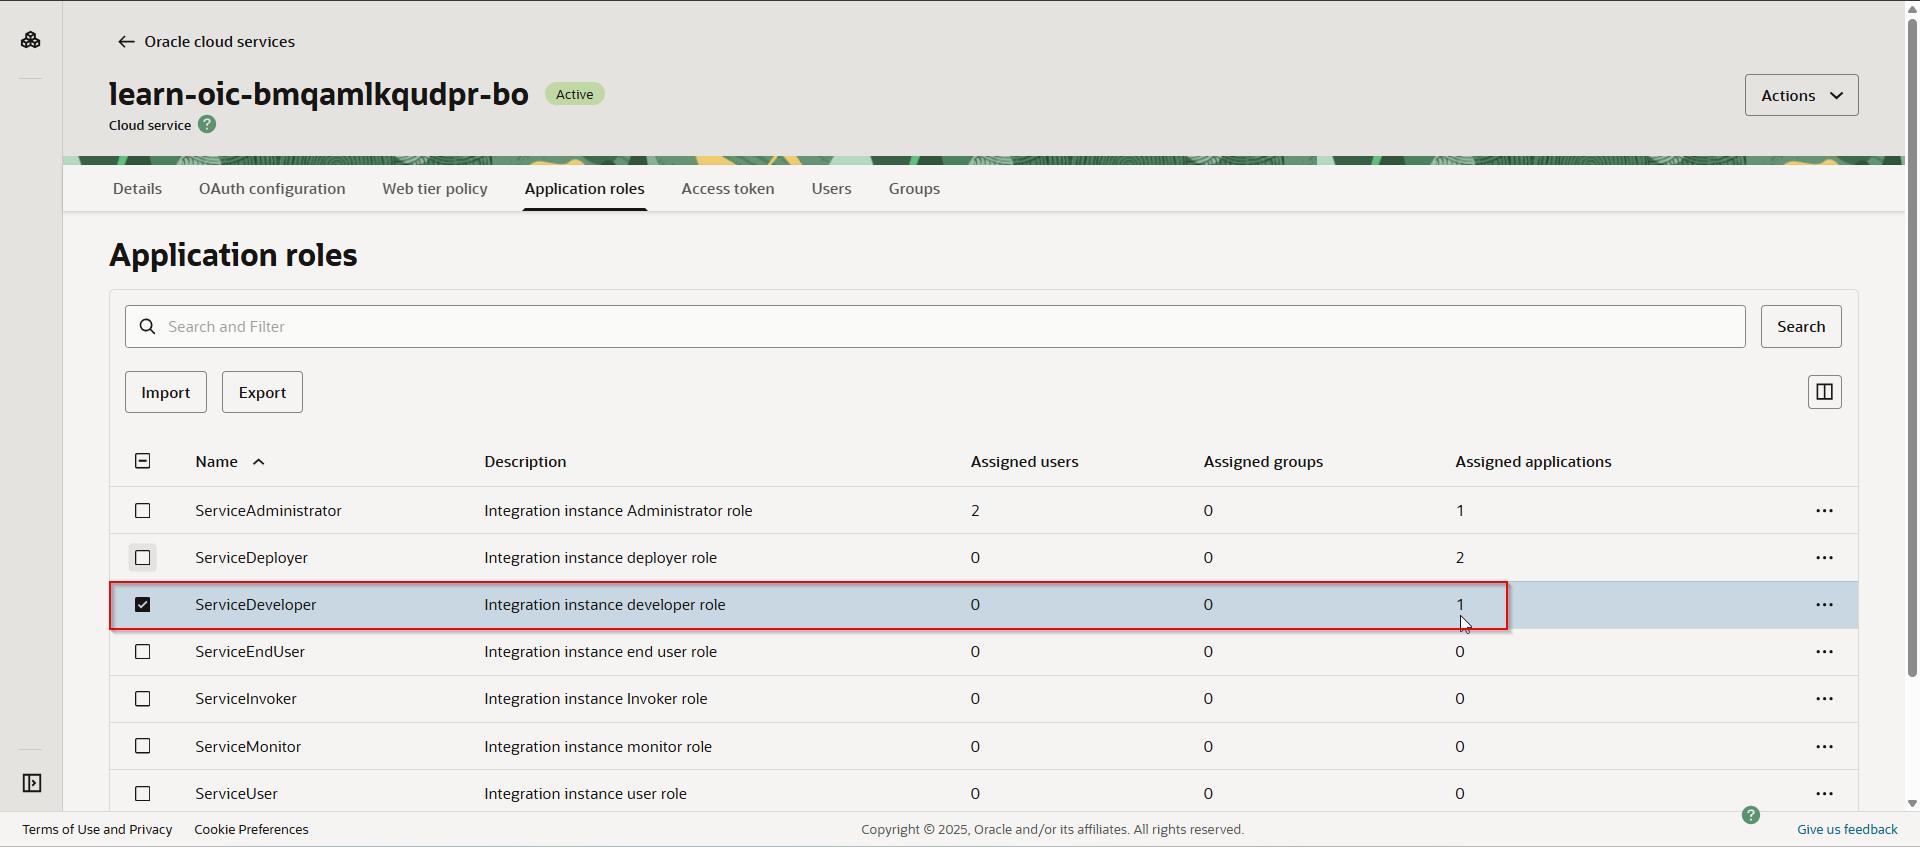
Click on Application Roles.

Select Manage applications under ServiceDeveloper.
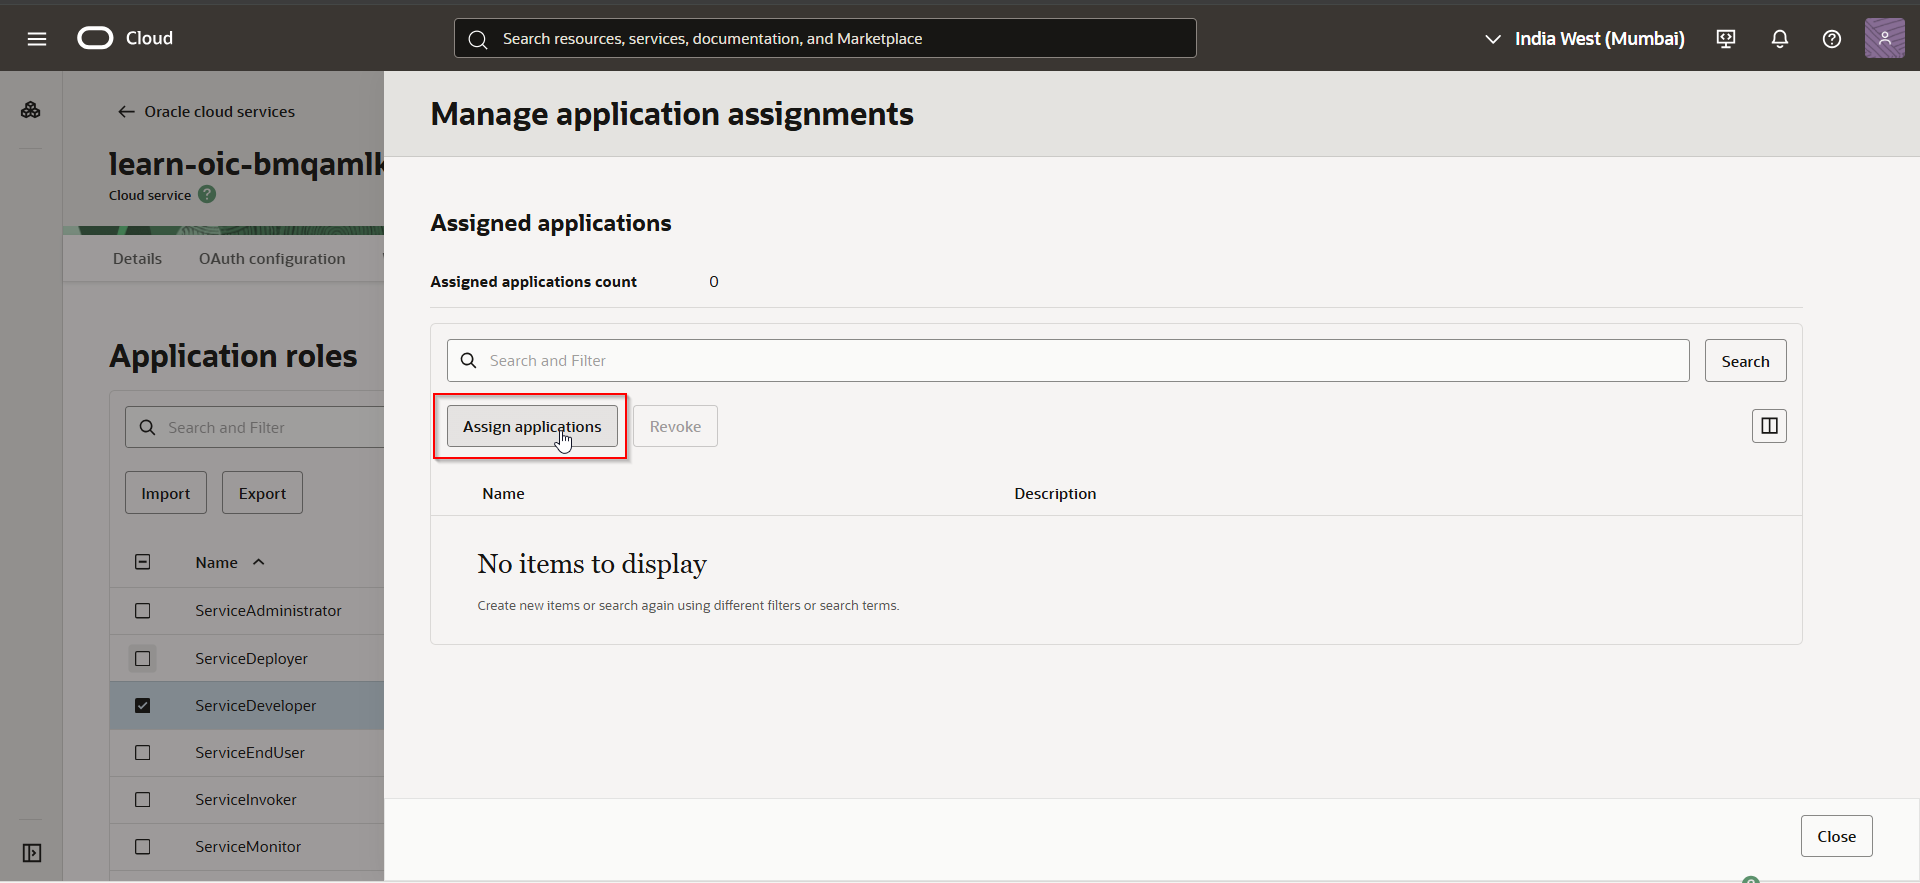
Click on Assign Applications.
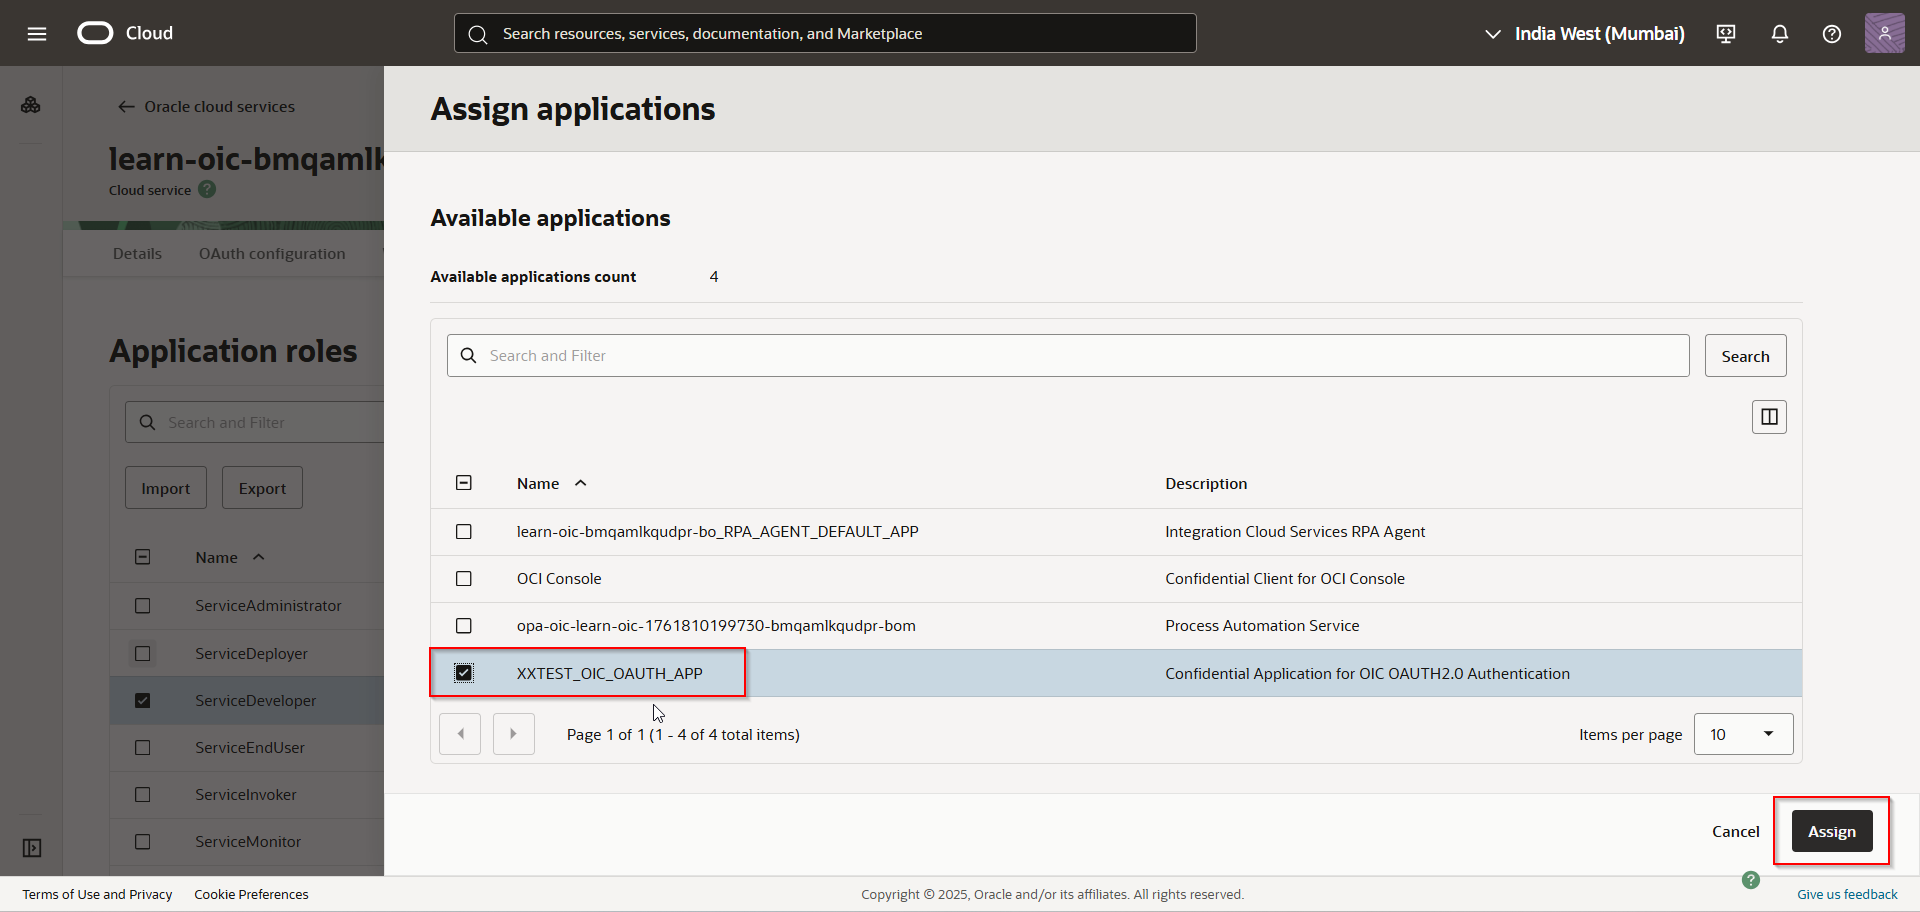
Select confidential application and Click on Assign.
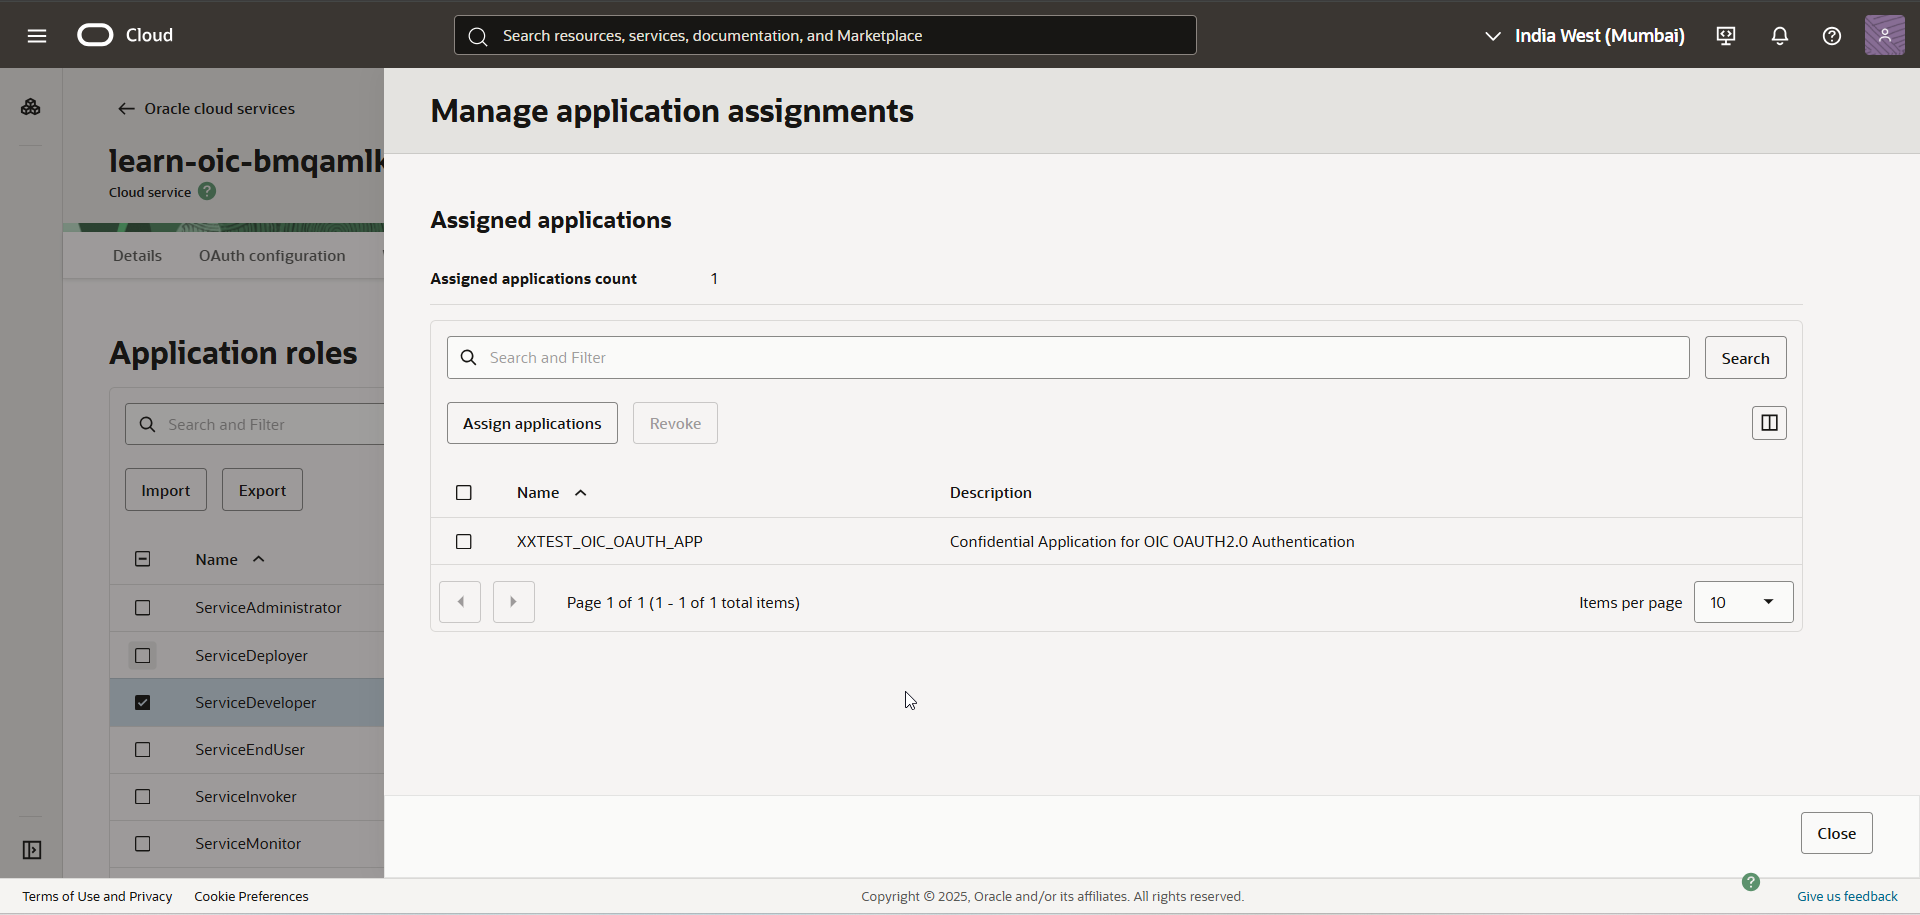
Click on Close.
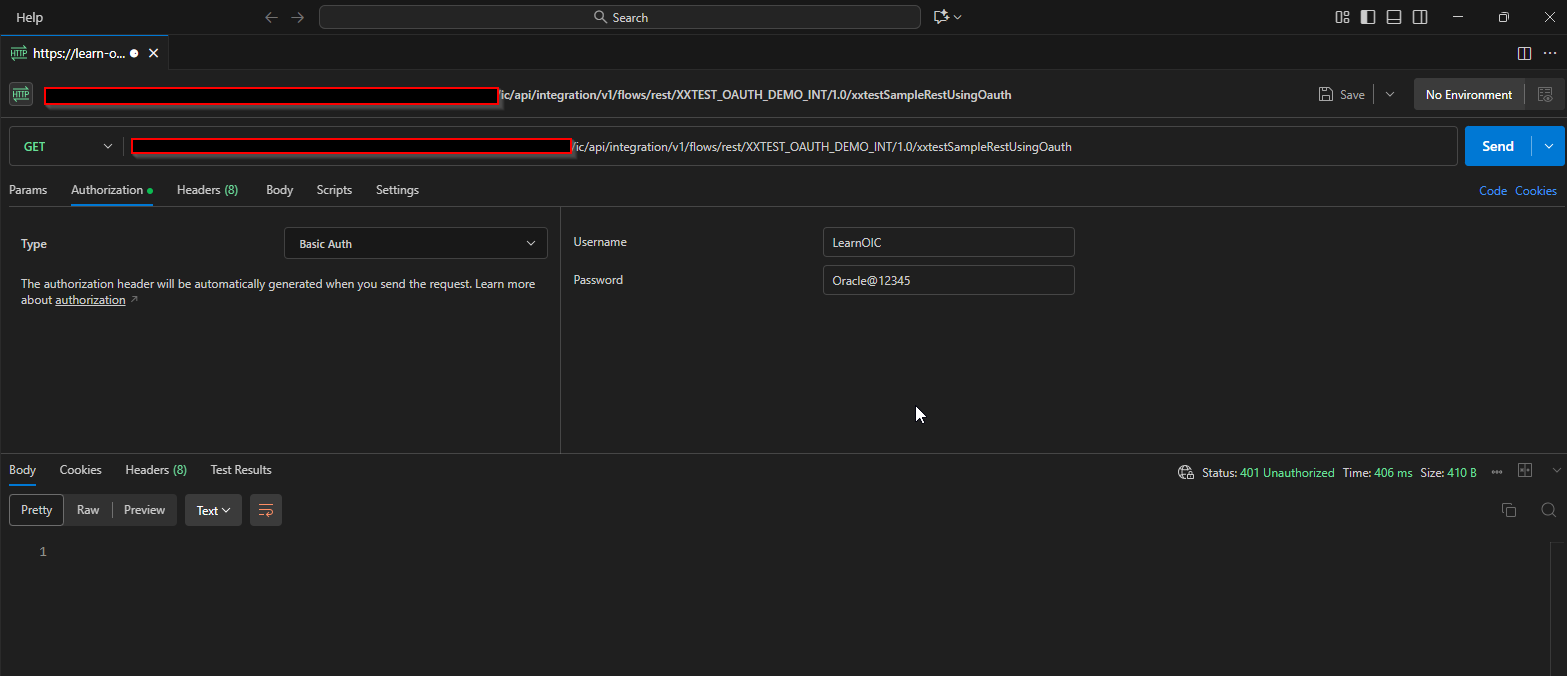
Now let us test OIC REST API from Postman again.
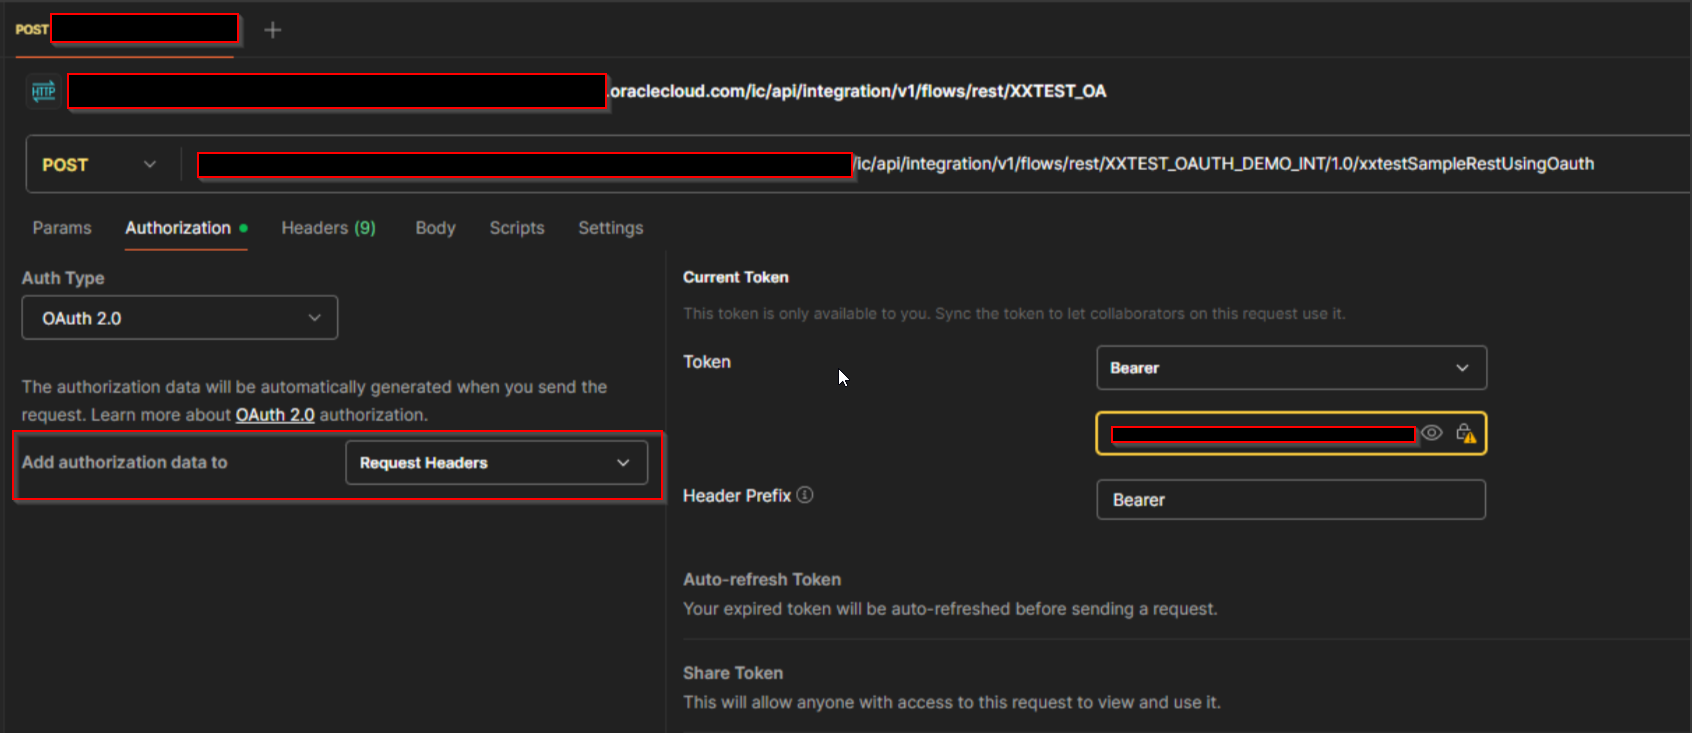
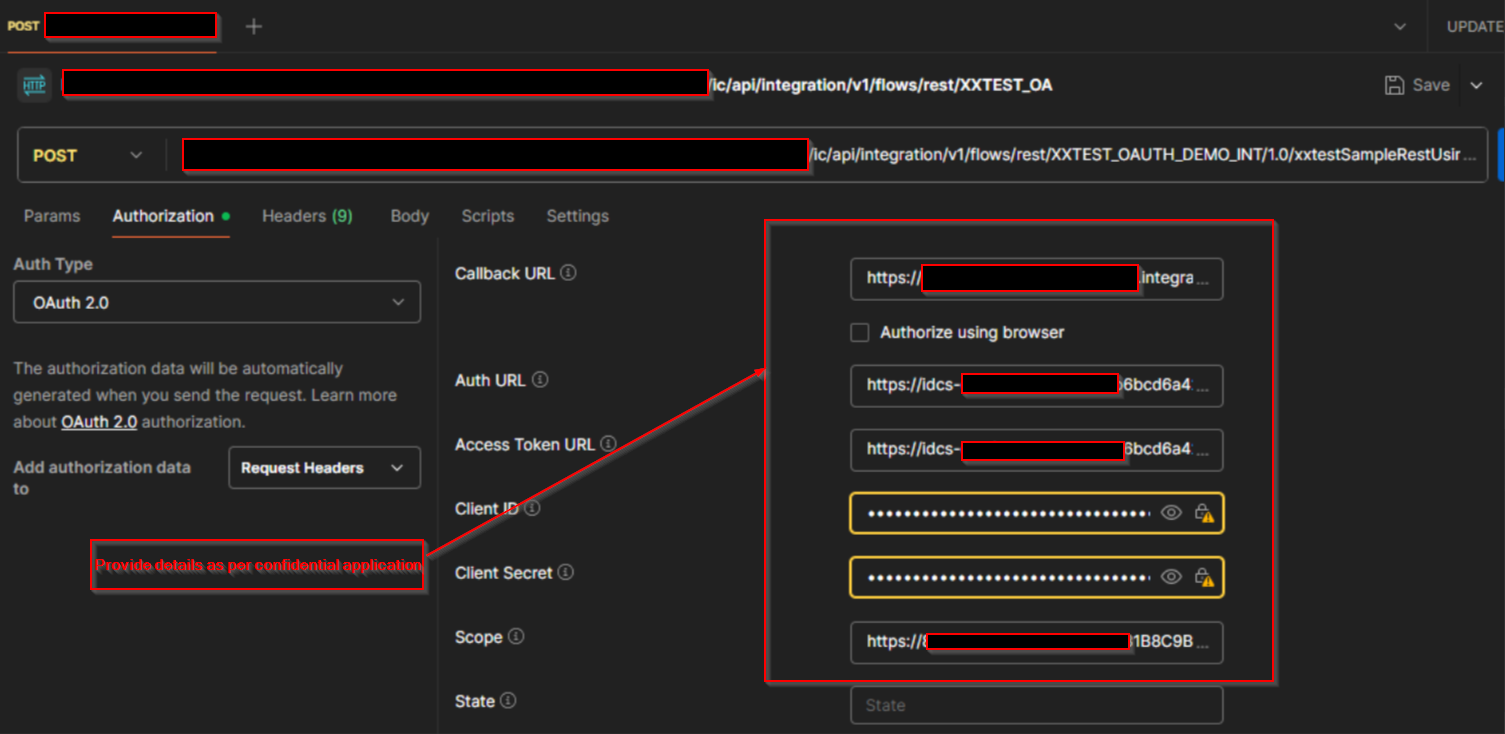
Select Authorization Type as “OAuth 2.0” and provide details as below which we got from confidential application.
Authorization Type | OAuth 2.0 |
Add authorization data to | Request Headers |
Grant Type | Client Credentials |
Access Token URL | https://idcs-XXXXXXXXXXXXXXXXXXXXXXXXXXXXXXX.identity.oraclecloud.com/oauth2/v1/token |
Client ID | Get from Confidential application |
Client Secret | Get from Confidential application |
Scope | |
Client Authentication | Send as Basic Auth headers |

Click on Generate Access Token

We got message as “Authentication successful”.
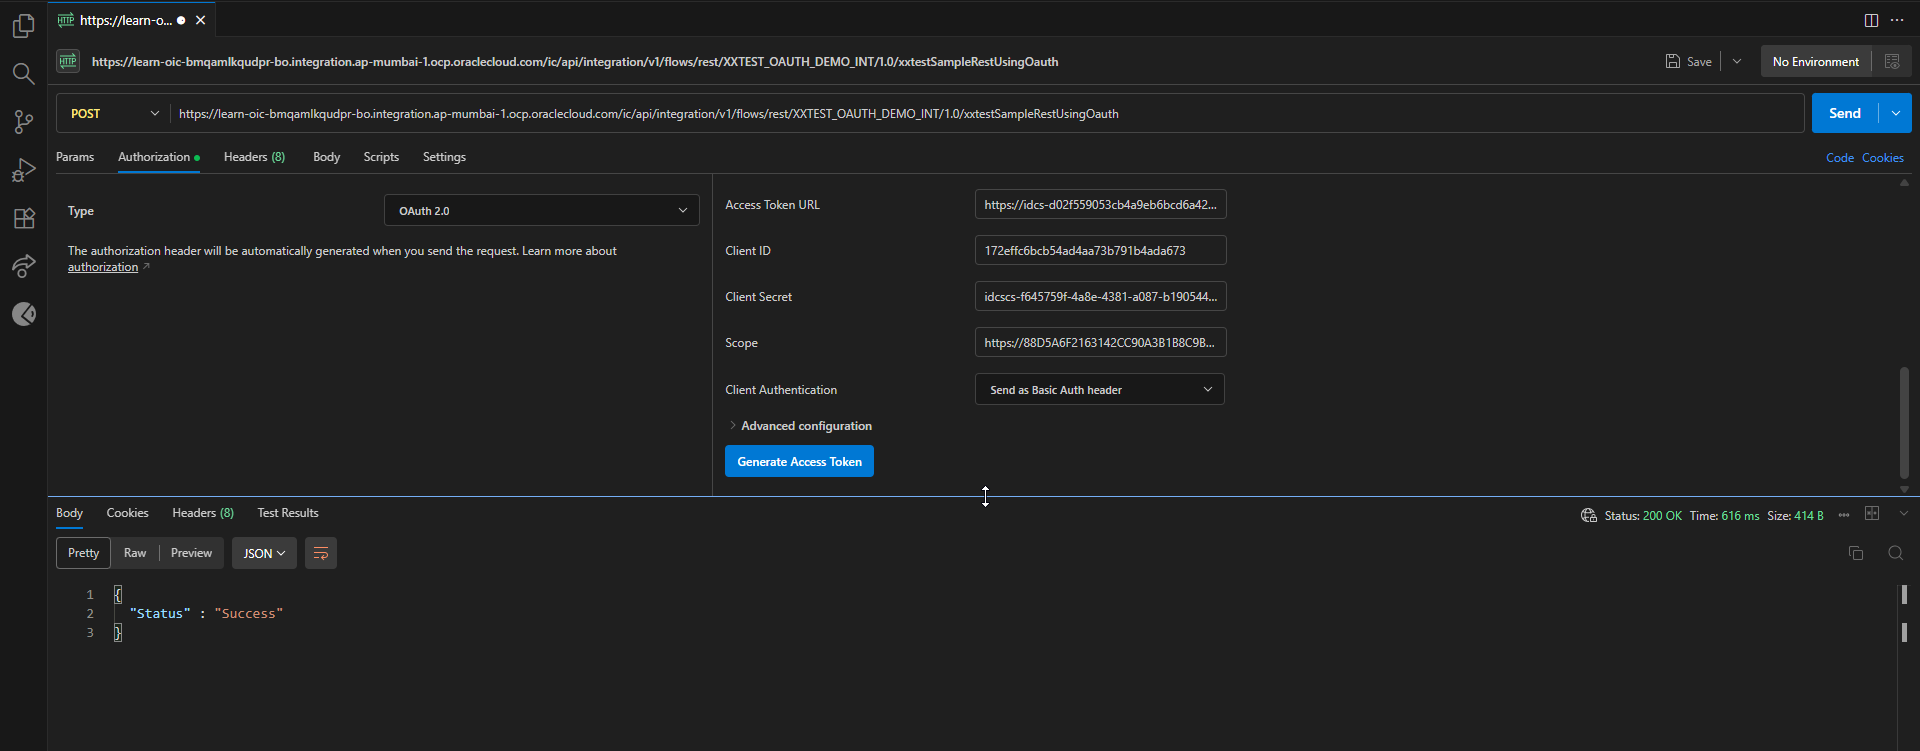
Click on Send.
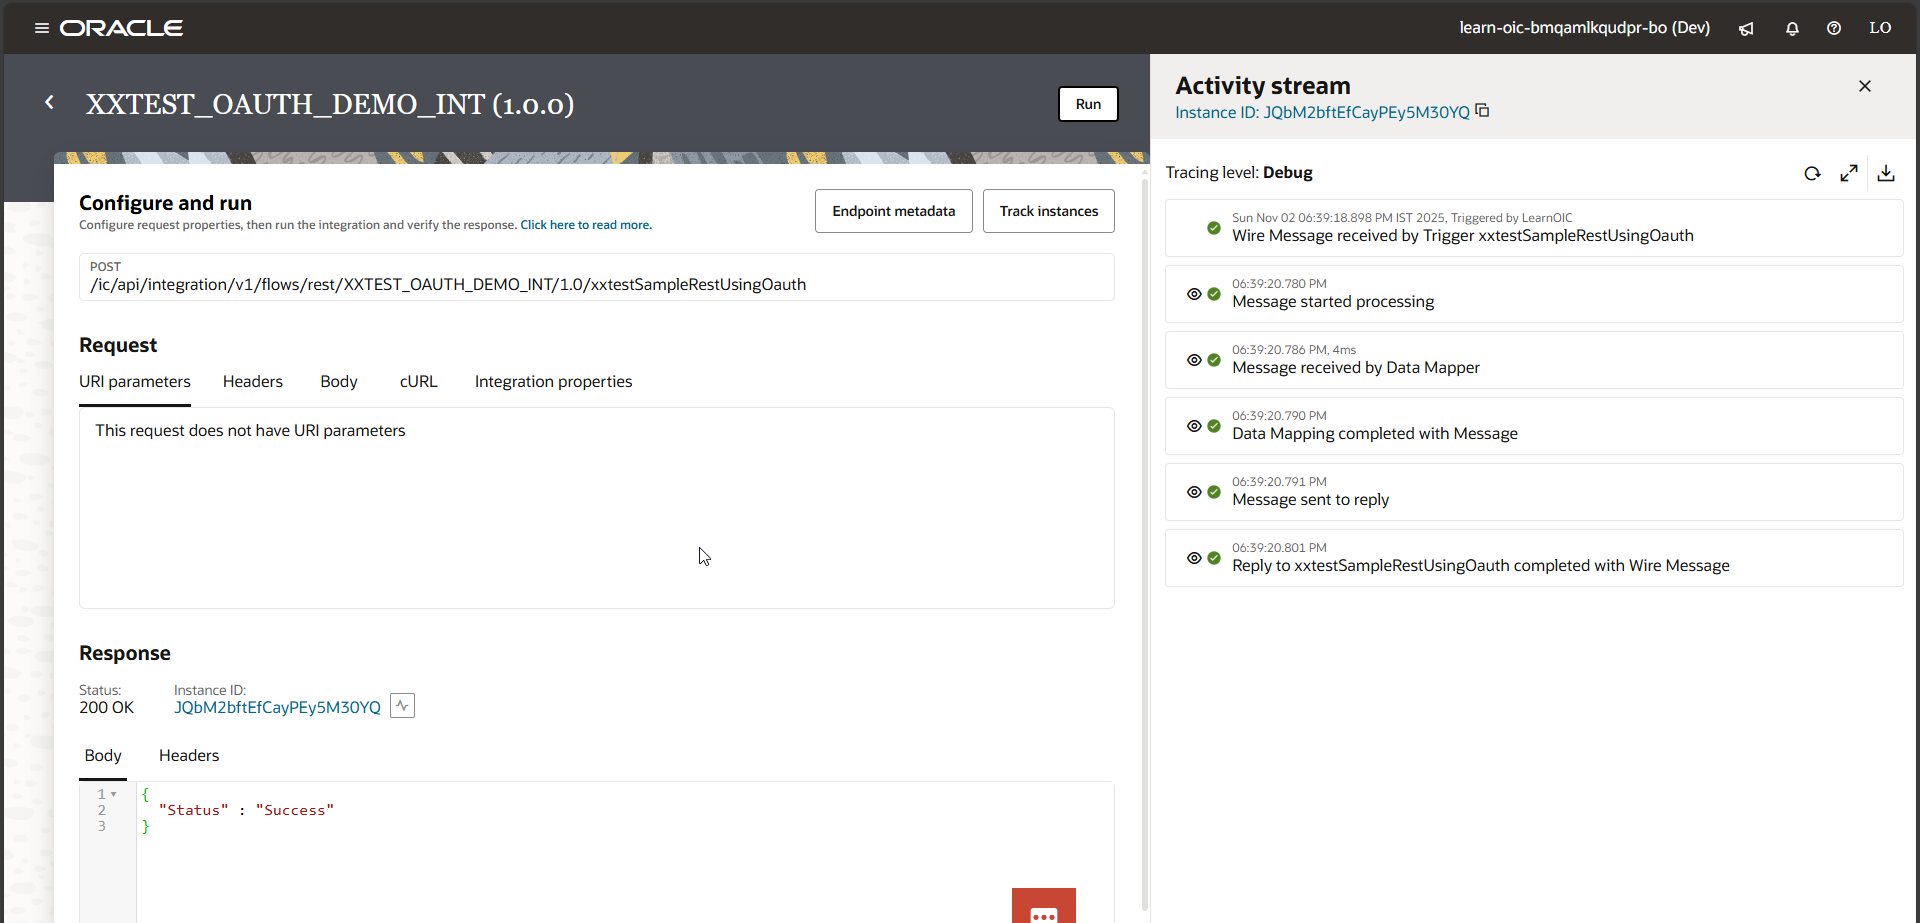
We got Json response, and we also got OIC instance as shown below:

Step3: Create Confidential Application for Authorization code flow.
Let us create new confidential application for Authorization code flow.
Login to OCI Console.
Navigate to Identity & Security —>Domains.
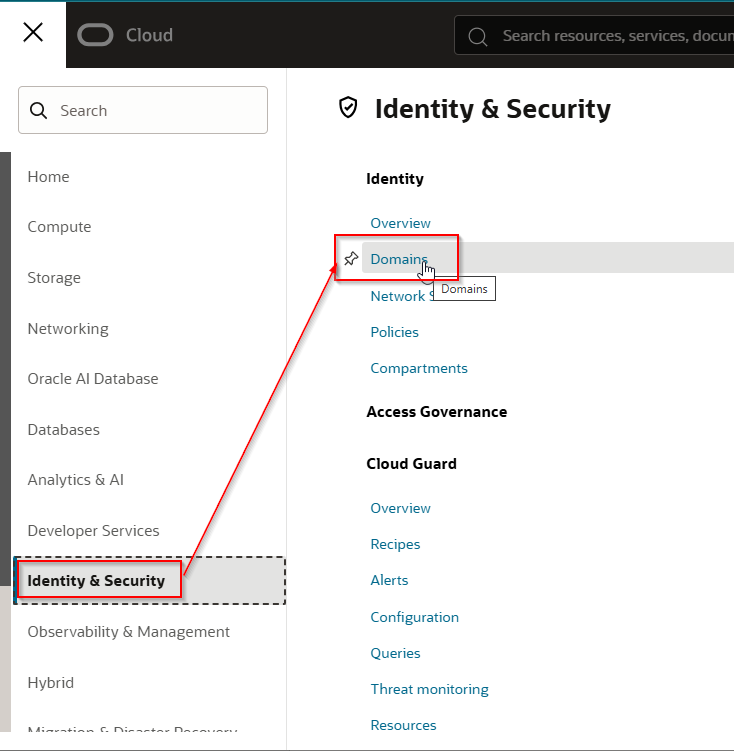
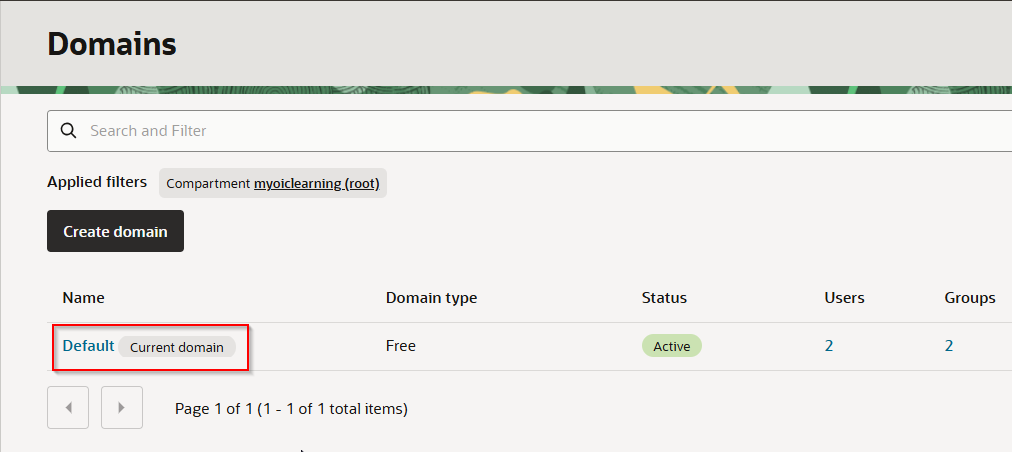
Select Compartment and click on Default domain.

Navigate to Integrated Application —> Add Application
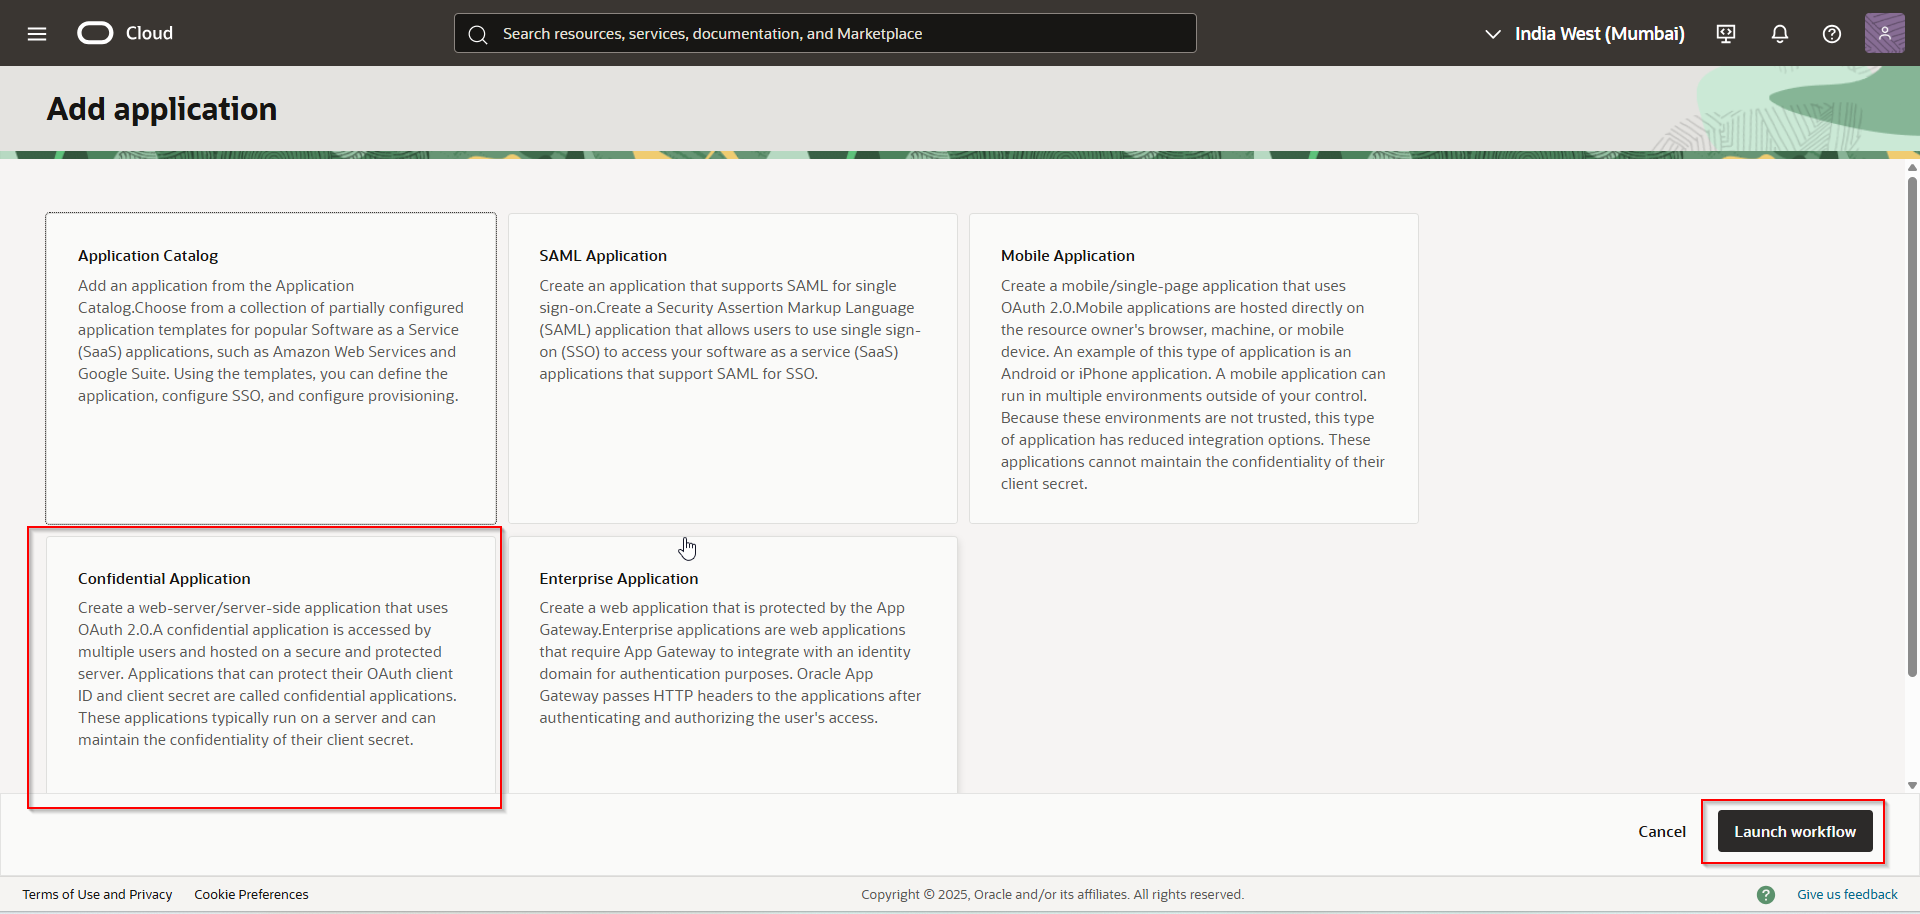
Select “Confidential Application” and Click on Launch workflow.

Provide Application name and click on Submit.
Confidential application is created now.
Navigate to OAuth configuration —>Edit OAuth configuration.

Select “Configure this application as a client now”.
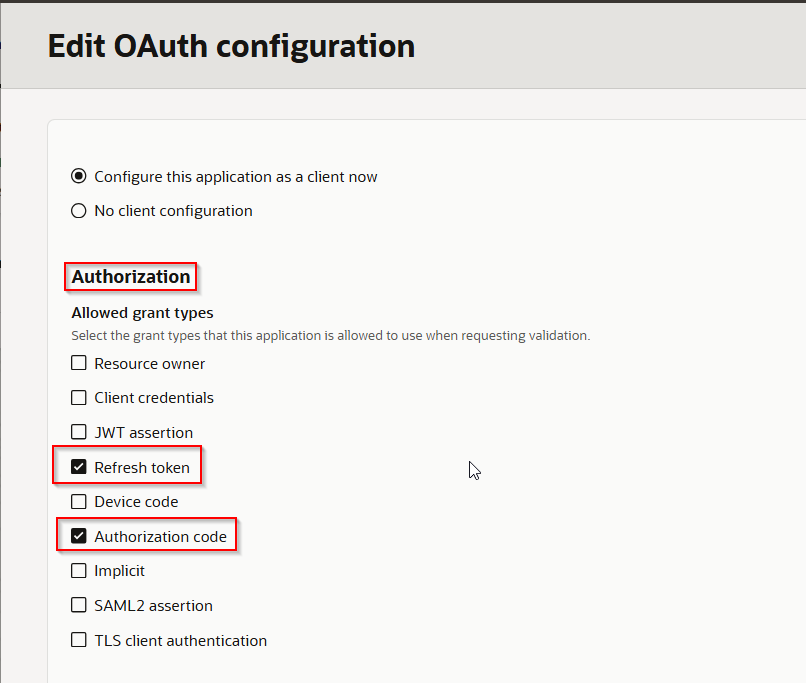
Select “Authorization code” and “Refresh token” under Authorization.
Get OIC Runtime URL from OIC console:

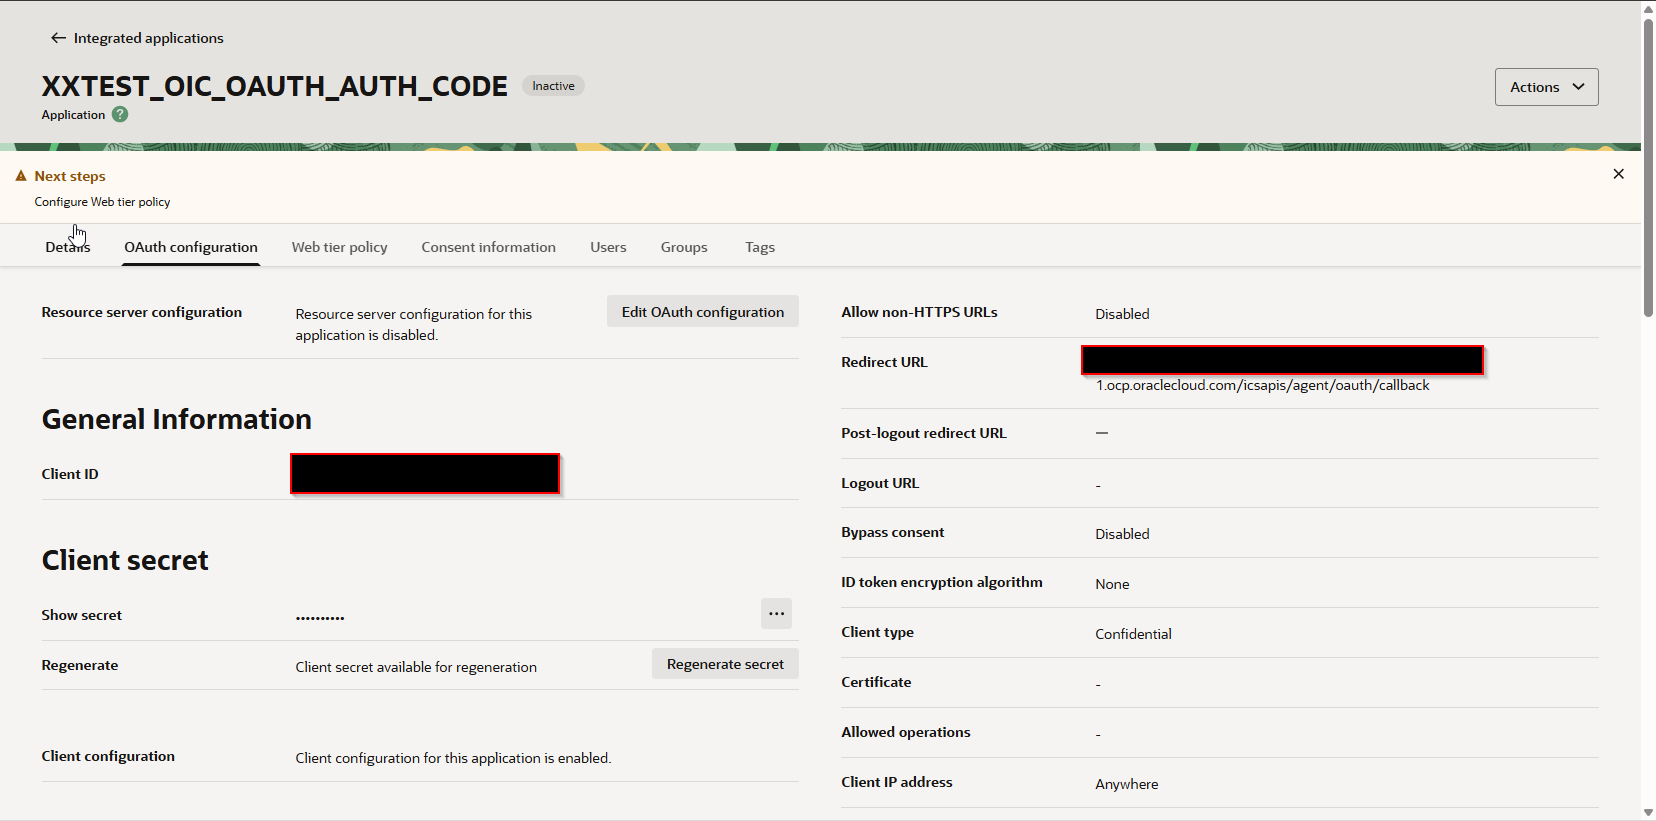
Prepare Redirect URL using OIC runtime URL as:
provide this URL under Redirect URL for confidential application.

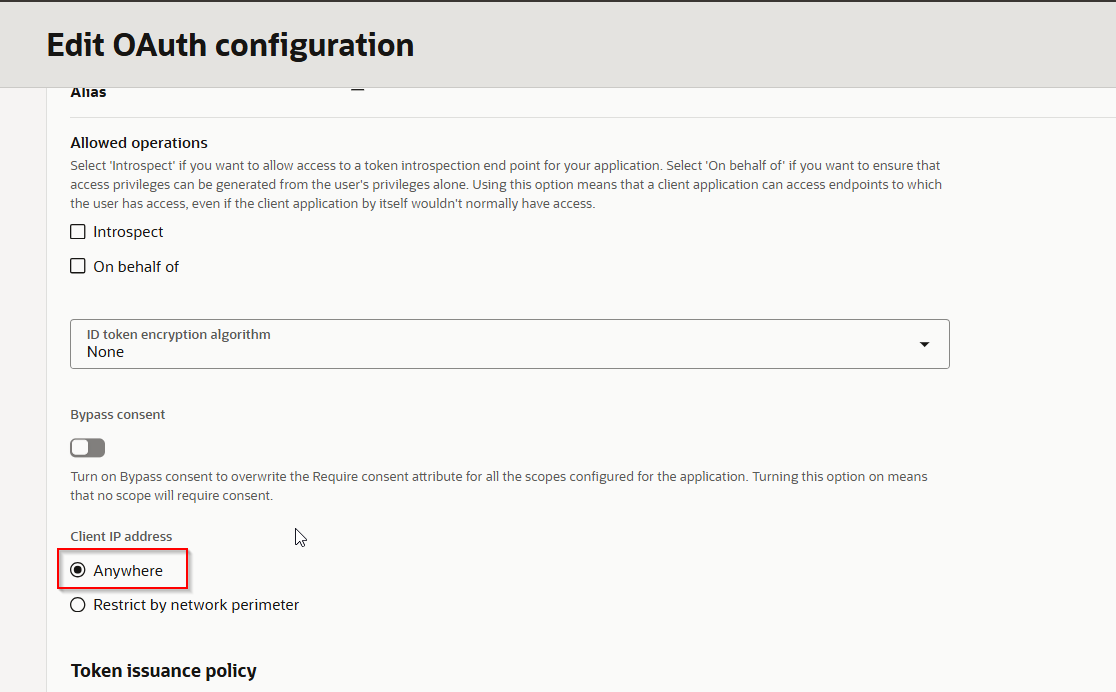
Select Client IP address as “Anywhere”.
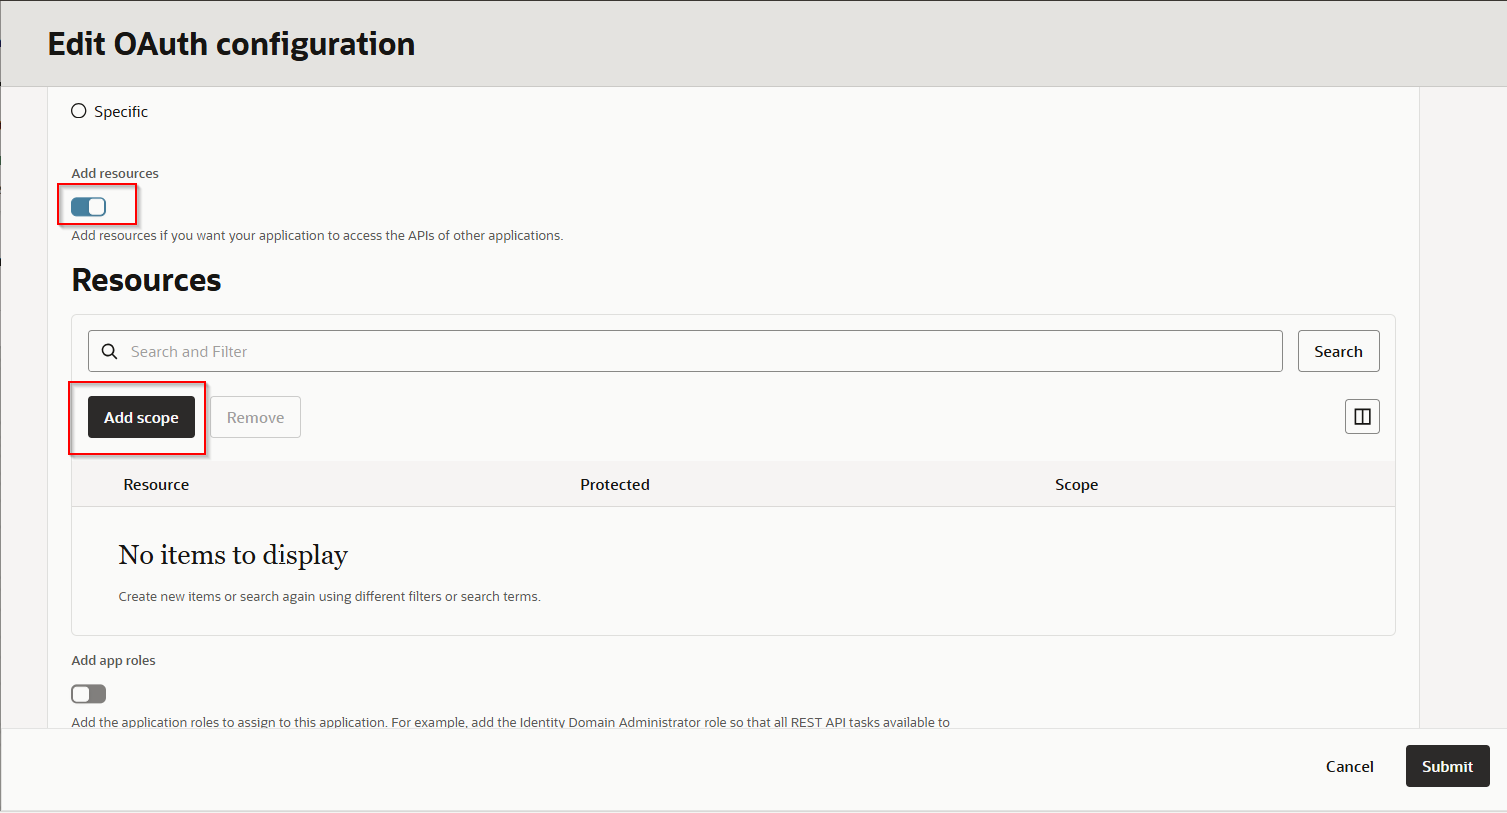
Enable “Add resource” and click on “Add Scope.
Select “Integration Cloud Service” and Click on Add.
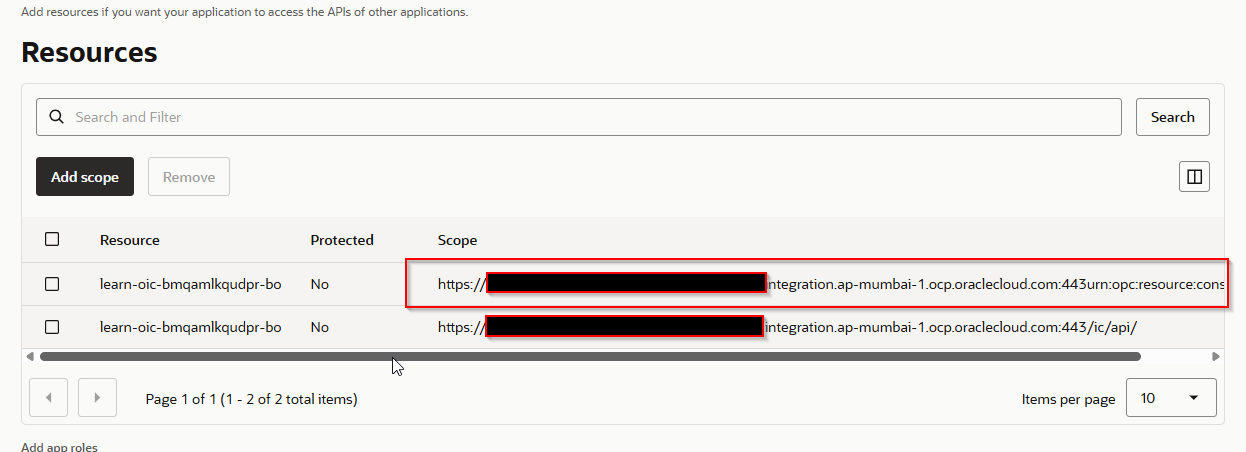
Make note of scope URL.
Click on Submit.
Confidential application is created now.
Let us activate this integration.
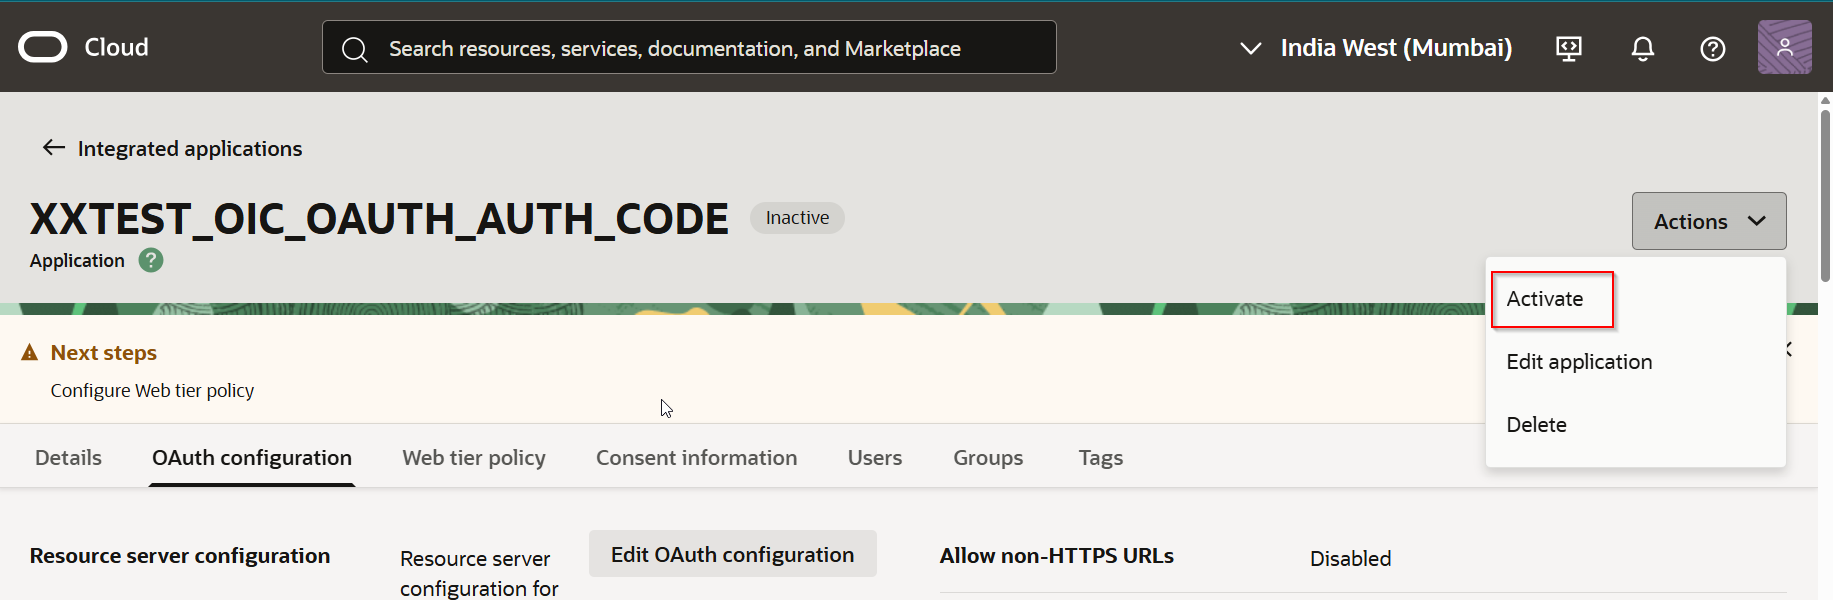
Click on “Activate”.

Click on “Activate Application”.

Application is active now.
Make note of Client id and client secret.
Now let us test OIC REST API from Postman again.
Select Authorization Type as “OAuth 2.0” and provide details as below which we got from confidential application.
Authorization Type | OAuth 2.0 |
Add authorization data to | Request Headers |
Grant Type | Authorization Code |
Callback URL | https://<OIC URL>/icsapis/agent/oauth/callback |
Access Token URL | https://idcs-XXXXXXXXXXXXXXXXXXXXXXXXXXXXXXX.identity.oraclecloud.com/oauth2/v1/token |
Client ID | Get from Confidential application |
Client Secret | Get from Confidential application |
Scope | |
Client Authentication | Send as Basic Auth headers |
Select Add authorization data to “Request Headers”.
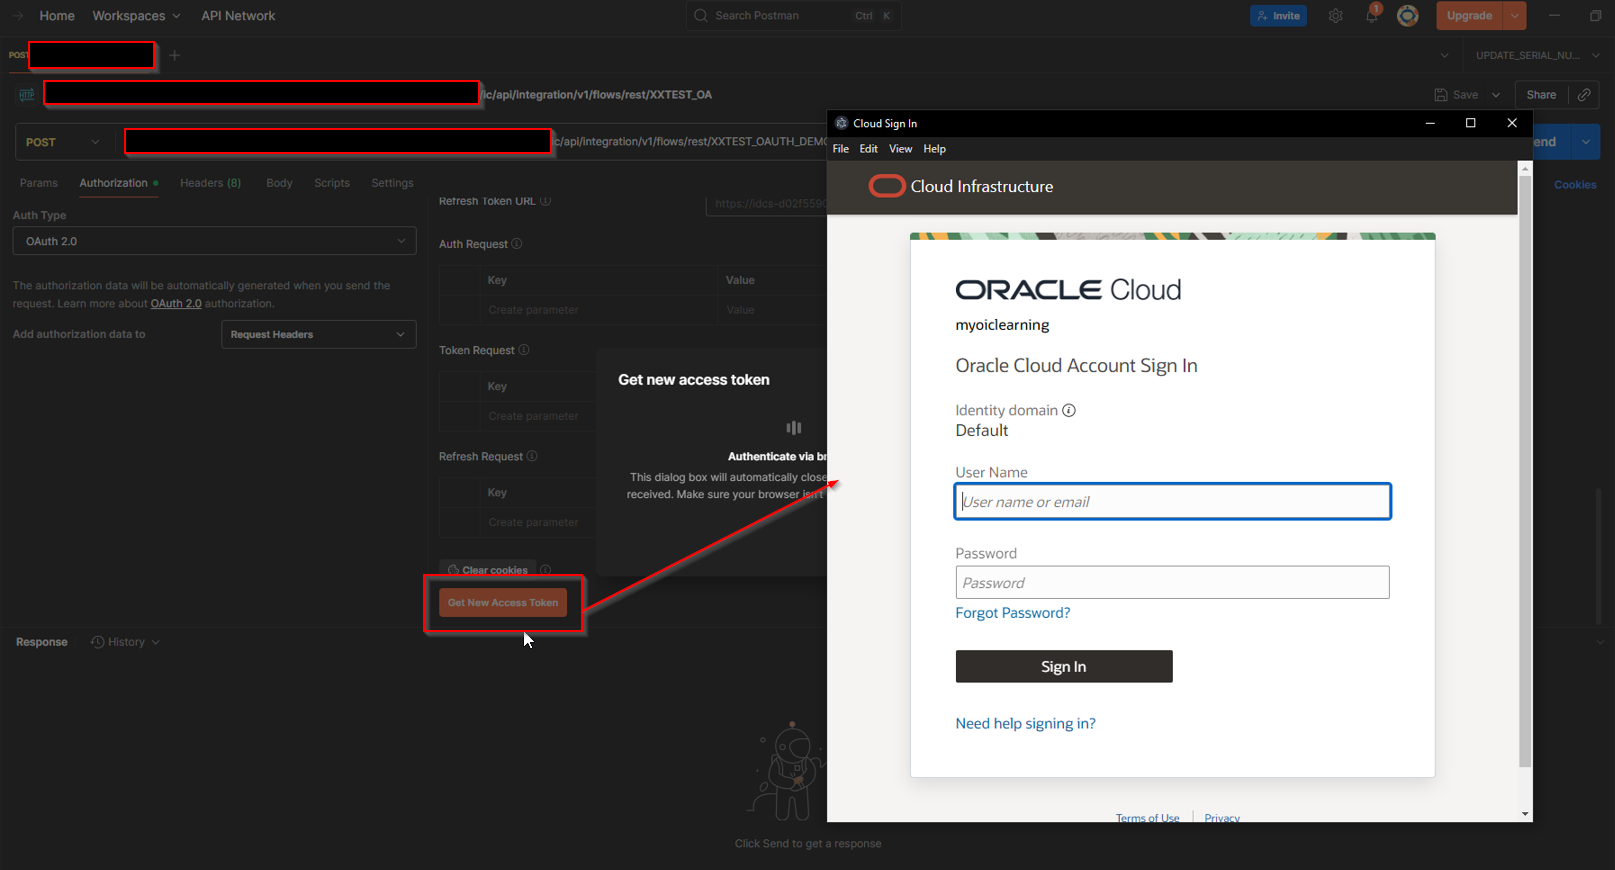
Click on “Get New Access Token”.
Provide OIC credentials and then Click on Sign In.
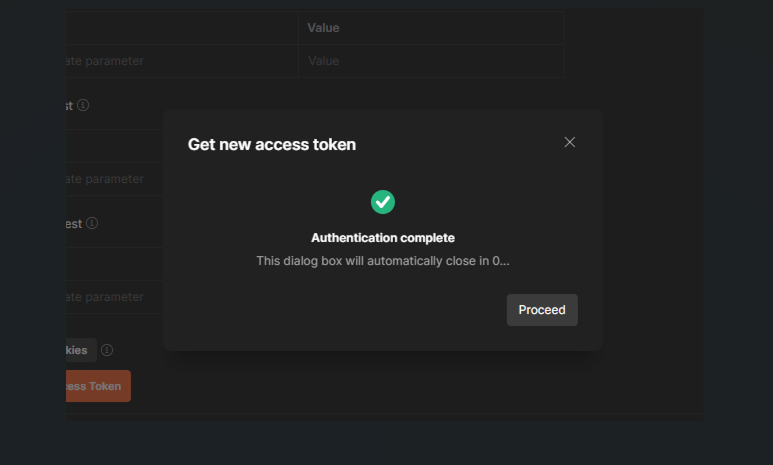
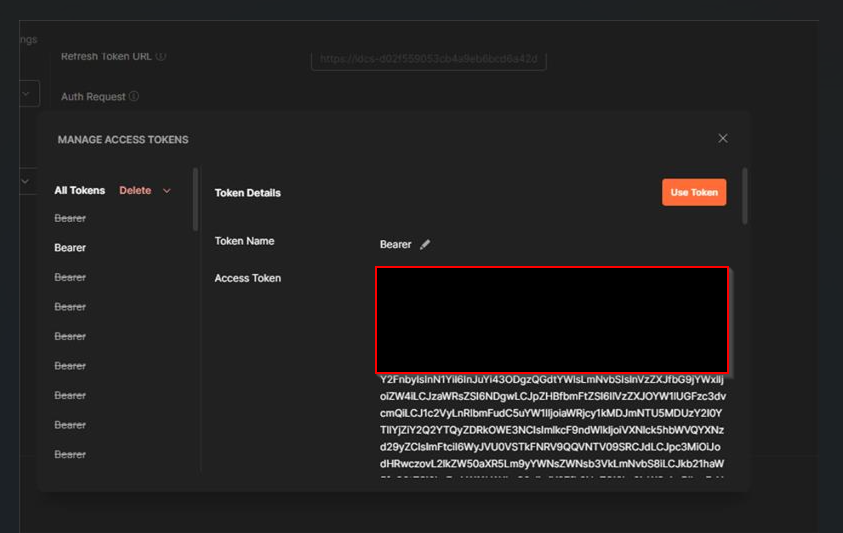
Click on “Use Token”.
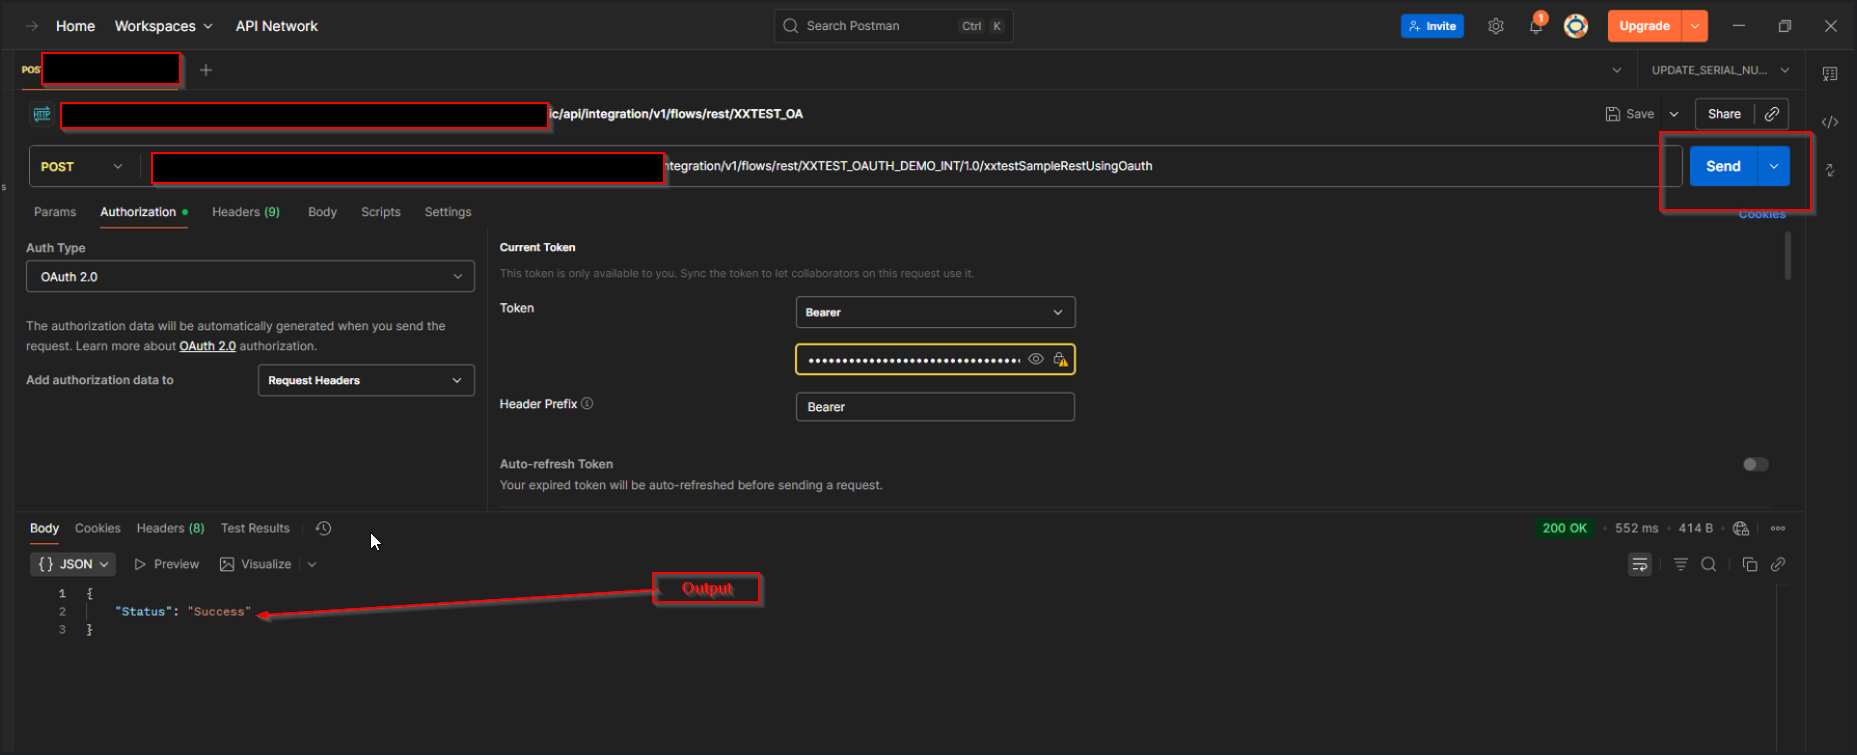
Click on Send.
Here we can see Output is showing.