In the Last post, we have seen how to download and install ORDS with XE database.
In this post, we will see how to enable ORDS for schema.
Step1: Create New User/New Custom schema.
Login to XE database with SYS user.
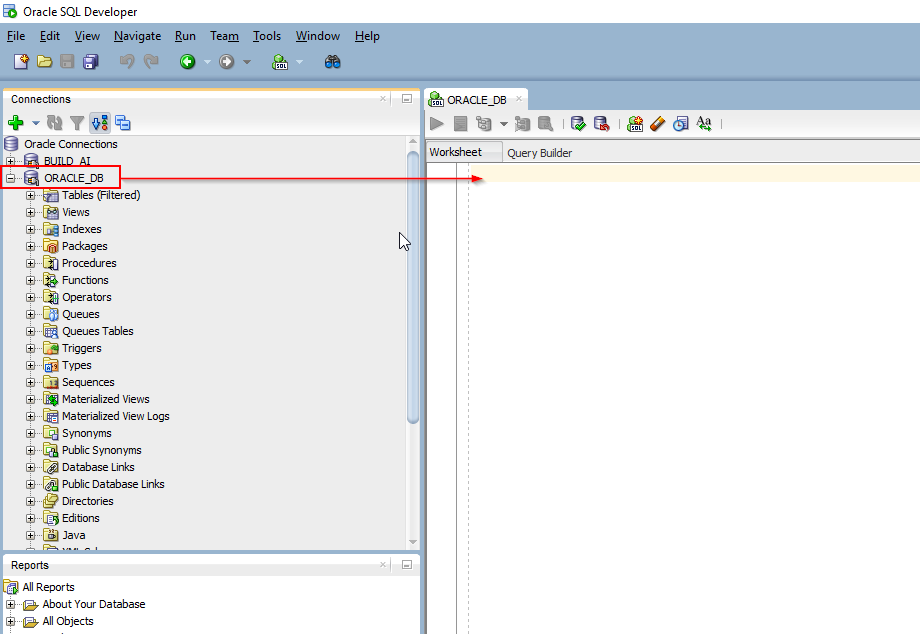
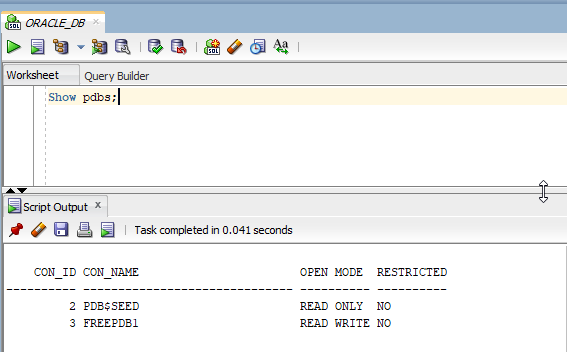
Check all pluggable databases.
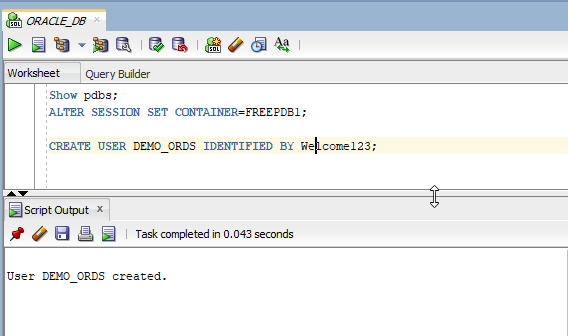
- Show pdbs;
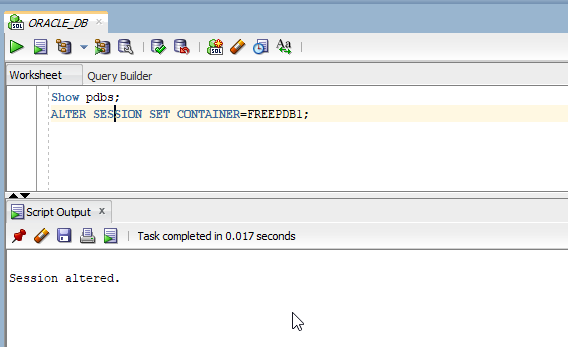
Alter session to FREEPDB1:
- ALTER SESSION SET CONTAINER=FREEPDB1;
Create new User/schema with username as “DEMO_ORDS”
- CREATE USER DEMO_ORDS IDENTIFIED BY Welcome123;
Verify user using below SQL statement:
- select username,account_status from dba_users where username='DEMO_ORDS';
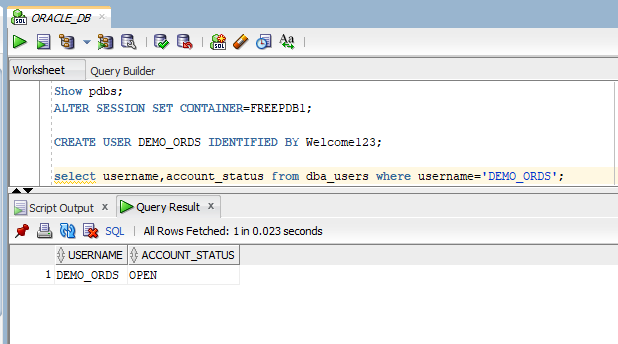
Please make sure, ACCOUNT_STATUS is OPEN.
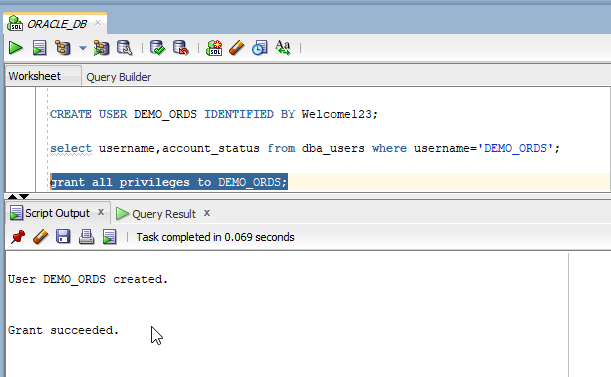
Grant privilege to this new user.
- grant all privileges to DEMO_ORDS;
Connect to this new schema in SQL developer.
Navigate to Connection—>New Database Connection.
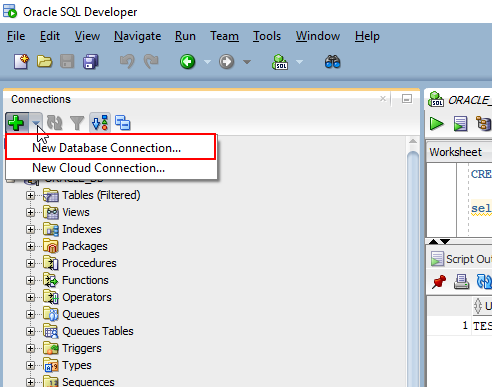
Provide connection details as shown below and click on Test.

Once it is successful, click on save and then click on connect.
Step2: Create Sample Table and insert sample data in custom schema.
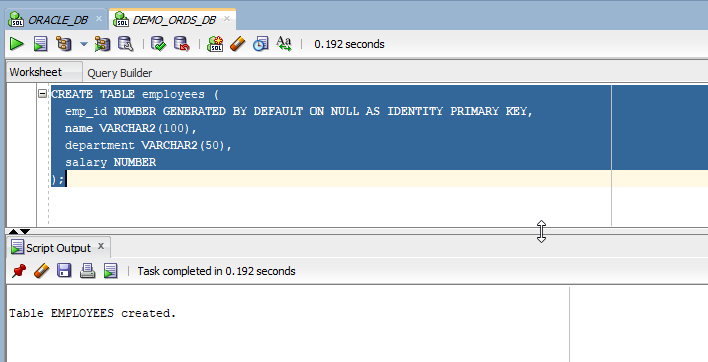
Let us create a new EMPLOYEES table.
- CREATE TABLE employees (
- emp_id NUMBER GENERATED BY DEFAULT ON NULL AS IDENTITY PRIMARY KEY,
- name VARCHAR2(100),
- department VARCHAR2(50),
- salary NUMBER
- );
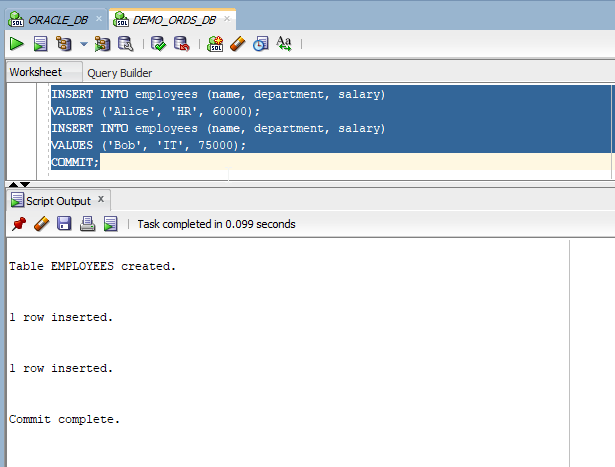
Add some sample data into this table.
- INSERT INTO employees (name, department, salary)
- VALUES ('Alice', 'HR', 60000);
- INSERT INTO employees (name, department, salary)
- VALUES ('Bob', 'IT', 75000);
- COMMIT;
Step3: Enabling ORDS for schema.
We can enable ORDS for schema using ORDS Database API. ORDS Database API is a database management and monitoring REST API embedded into Oracle REST Data Services. By default, the ORDS database API feature is disabled when you install ORDS for the first time.
To enable ORDS Database API:
Navigate to path where ORDS is installed and open command prompt.
Run below java command:
java -jar ords.war set-property database.api.enabled true |
|---|

Connect to DEMO_ORDS schema.
Execute SQL statement in SQL developer.
- BEGIN
- ORDS.ENABLE_SCHEMA(
- p_enabled => TRUE,
- p_schema => 'DEMO_ORDS',
- p_url_mapping_type => 'BASE_PATH',
- p_url_mapping_pattern => 'hr',
- p_auto_rest_auth => FALSE
- );
- COMMIT;
- END;
- /
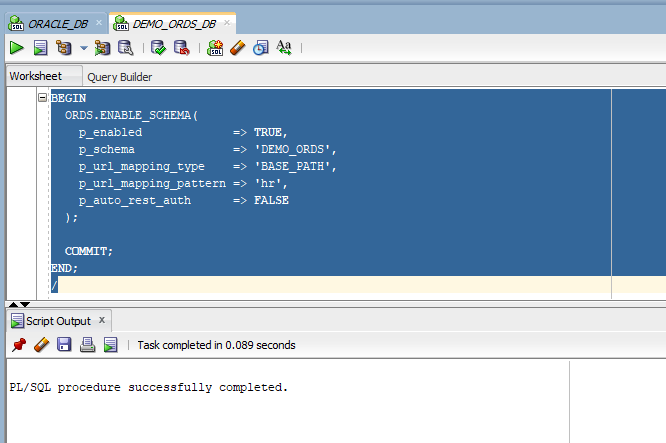
This will enable ORDS for DEMO_ORDS schema and we can use it for REST.
Our base REST URL for this scheme is:
http://localhost:8080/ords/hr/
Step4: Enable ORDS for DB Objects.
Let us now enable ORDS for employees table created earlier.
- BEGIN
- ORDS.enable_object (
- p_enabled => TRUE, -- Default { TRUE | FALSE }
- p_schema => 'DEMO_ORDS',
- p_object => 'EMPLOYEES',
- p_object_type => 'TABLE', -- Default { TABLE | VIEW }
- p_object_alias => 'EMP'
- );
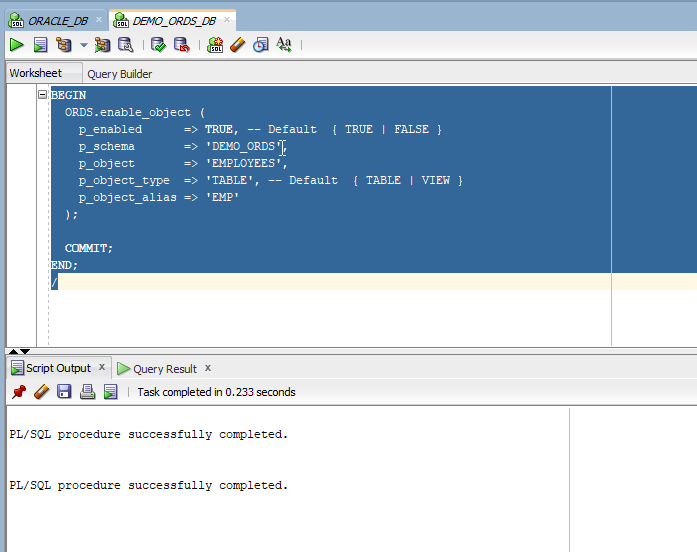
Rest Endpoint URL for this DB object will be:
http://localhost:8080/ords/hr/EMP/
This will create below Endpoints:
Operation | Rest Endpoint URL | Purpose |
|---|---|---|
GET | Get all Employees | |
GET | Get employee by ID | |
POST | Create Employee | |
PUT | Update Employee | |
DELETE | Delete Employee |
Let us verify operations:
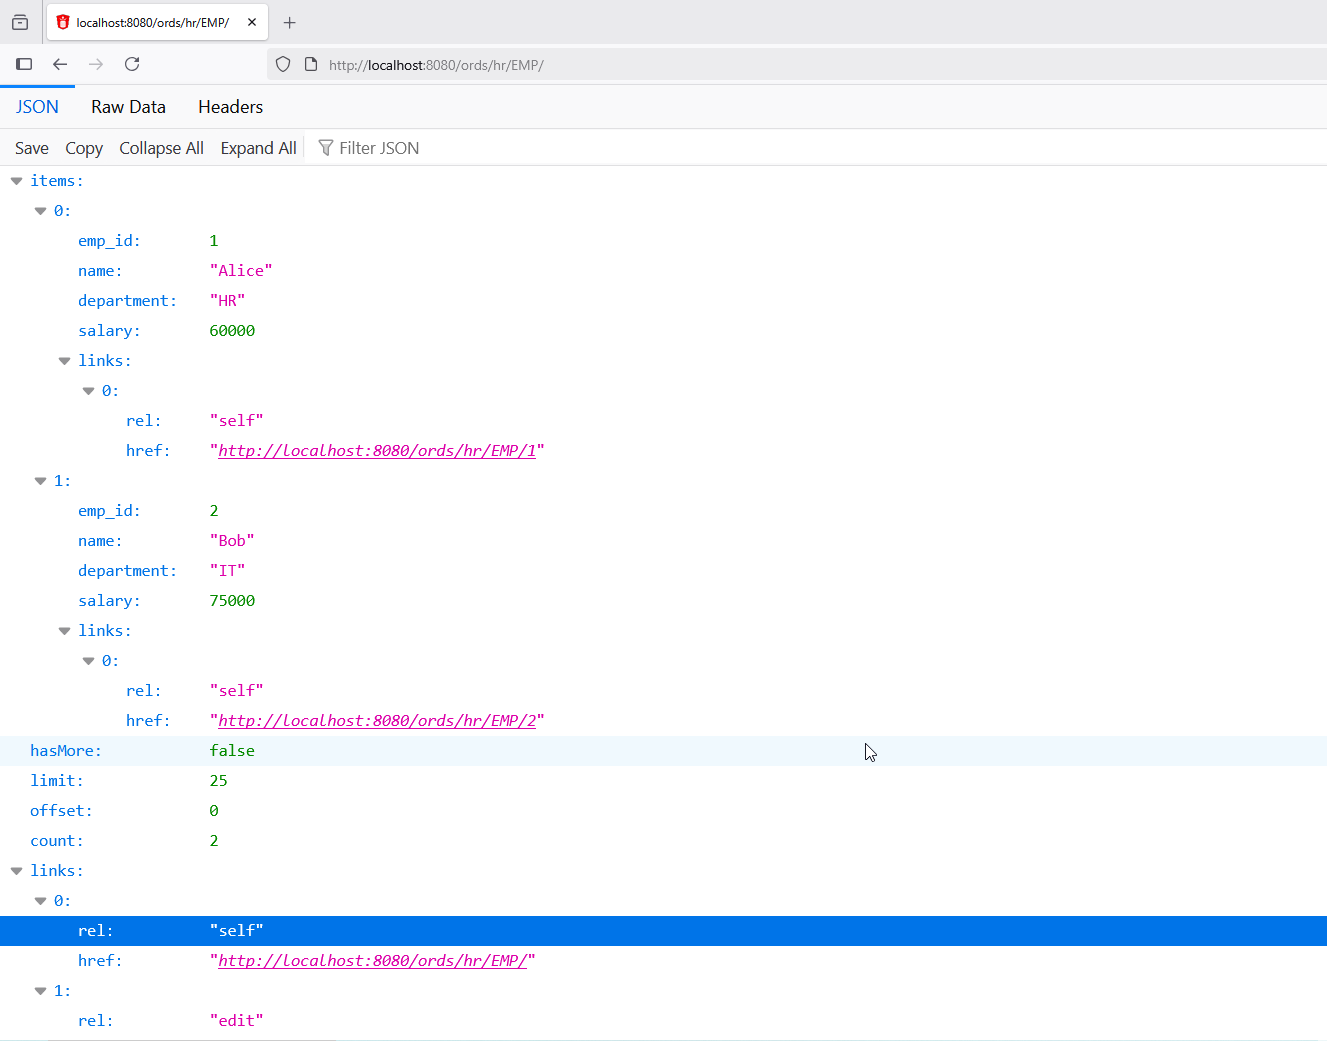
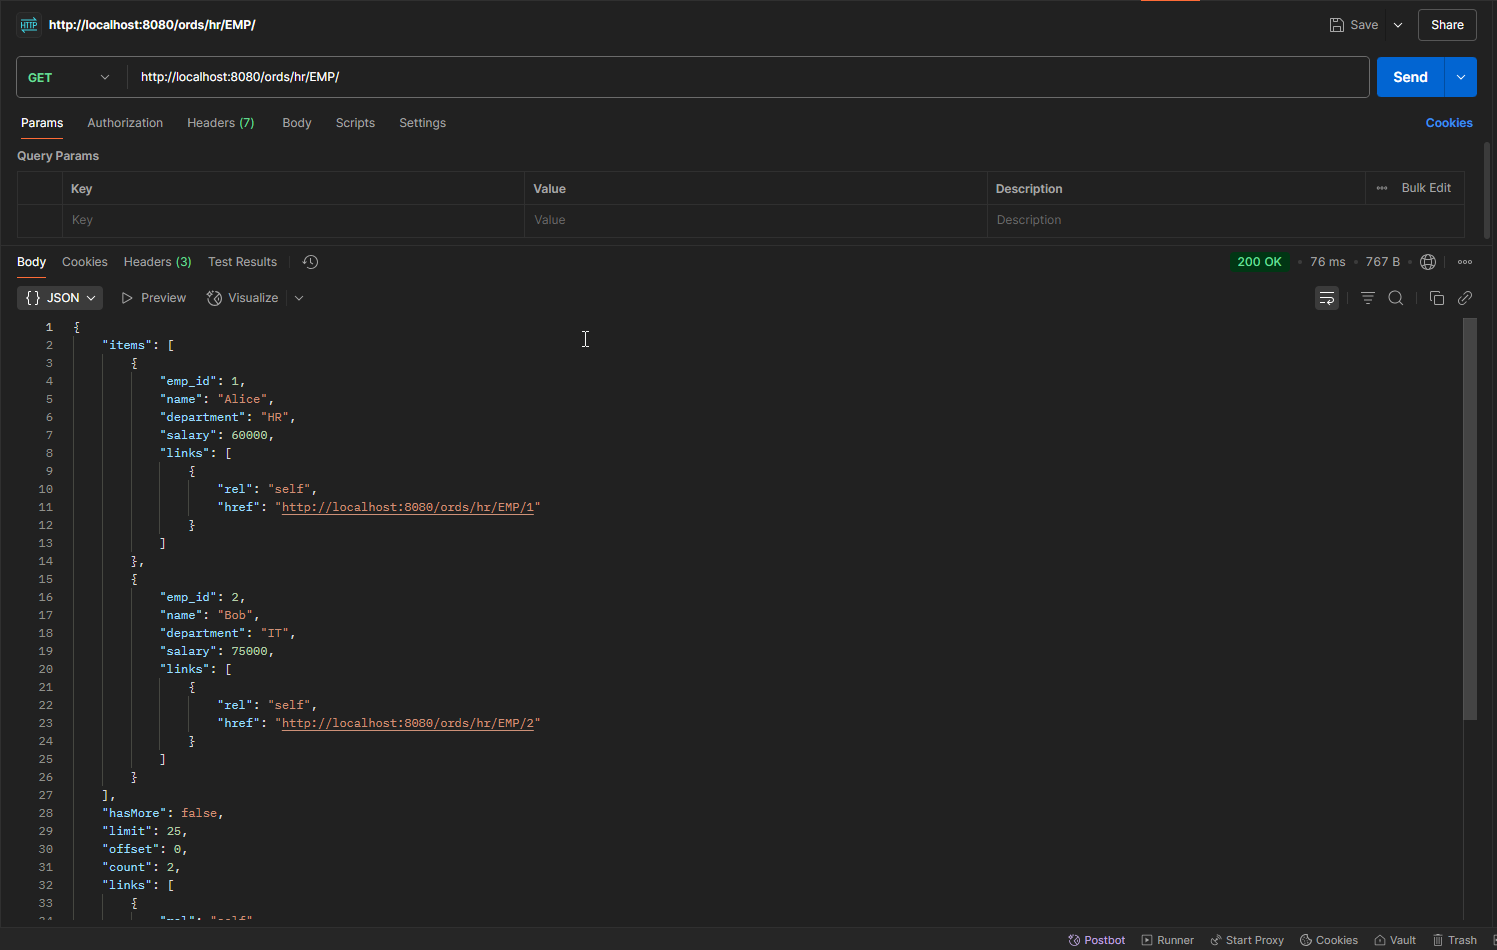
GET:
Endpoint URL: http://localhost:8080/ords/hr/EMP/
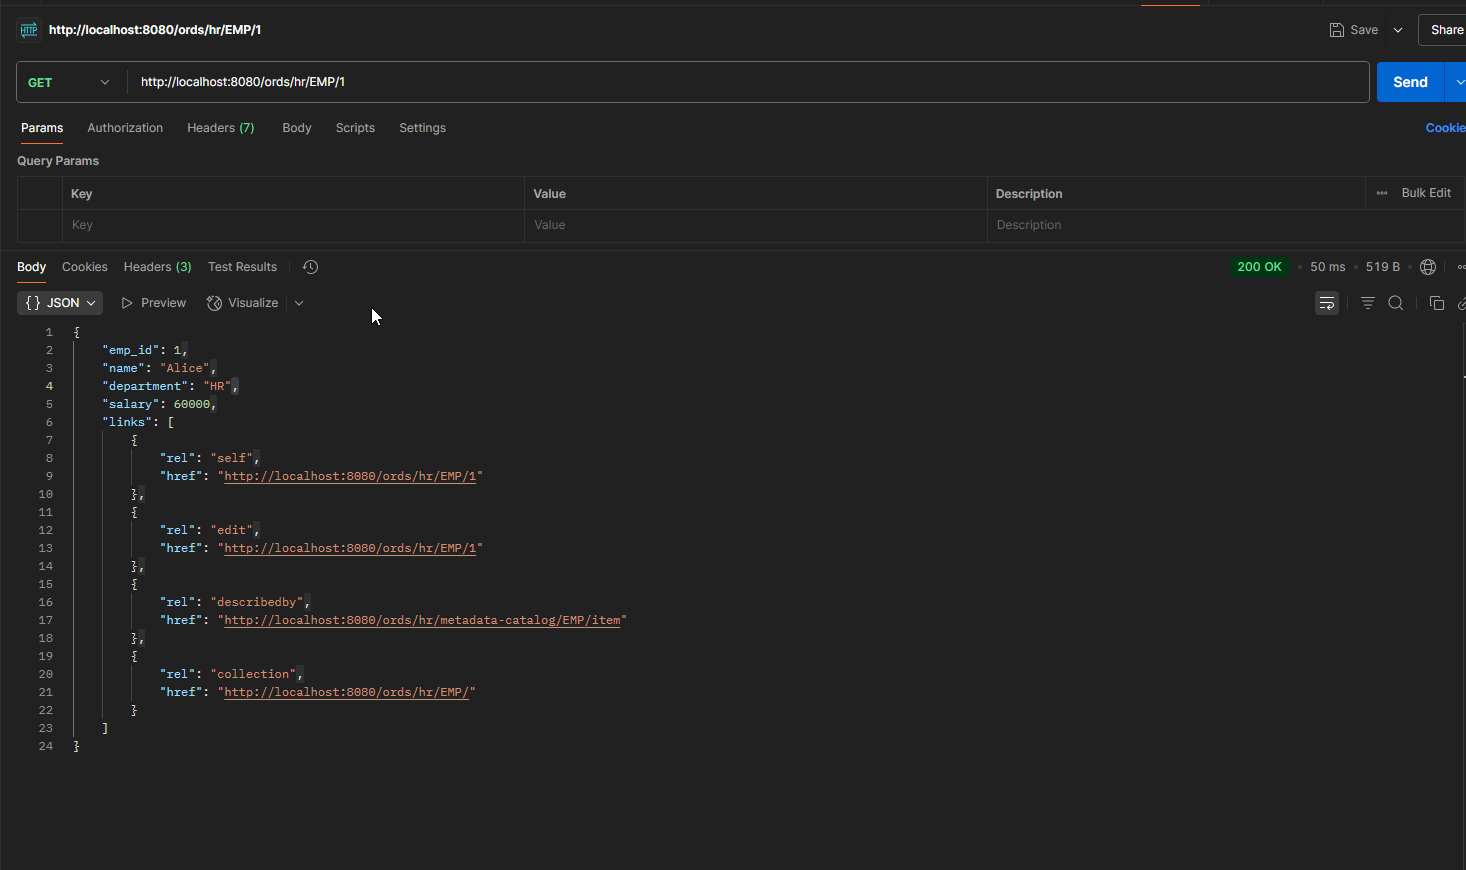
GET by Employee ID:
Endpoint URL: http://localhost:8080/ords/hr/EMP/:id
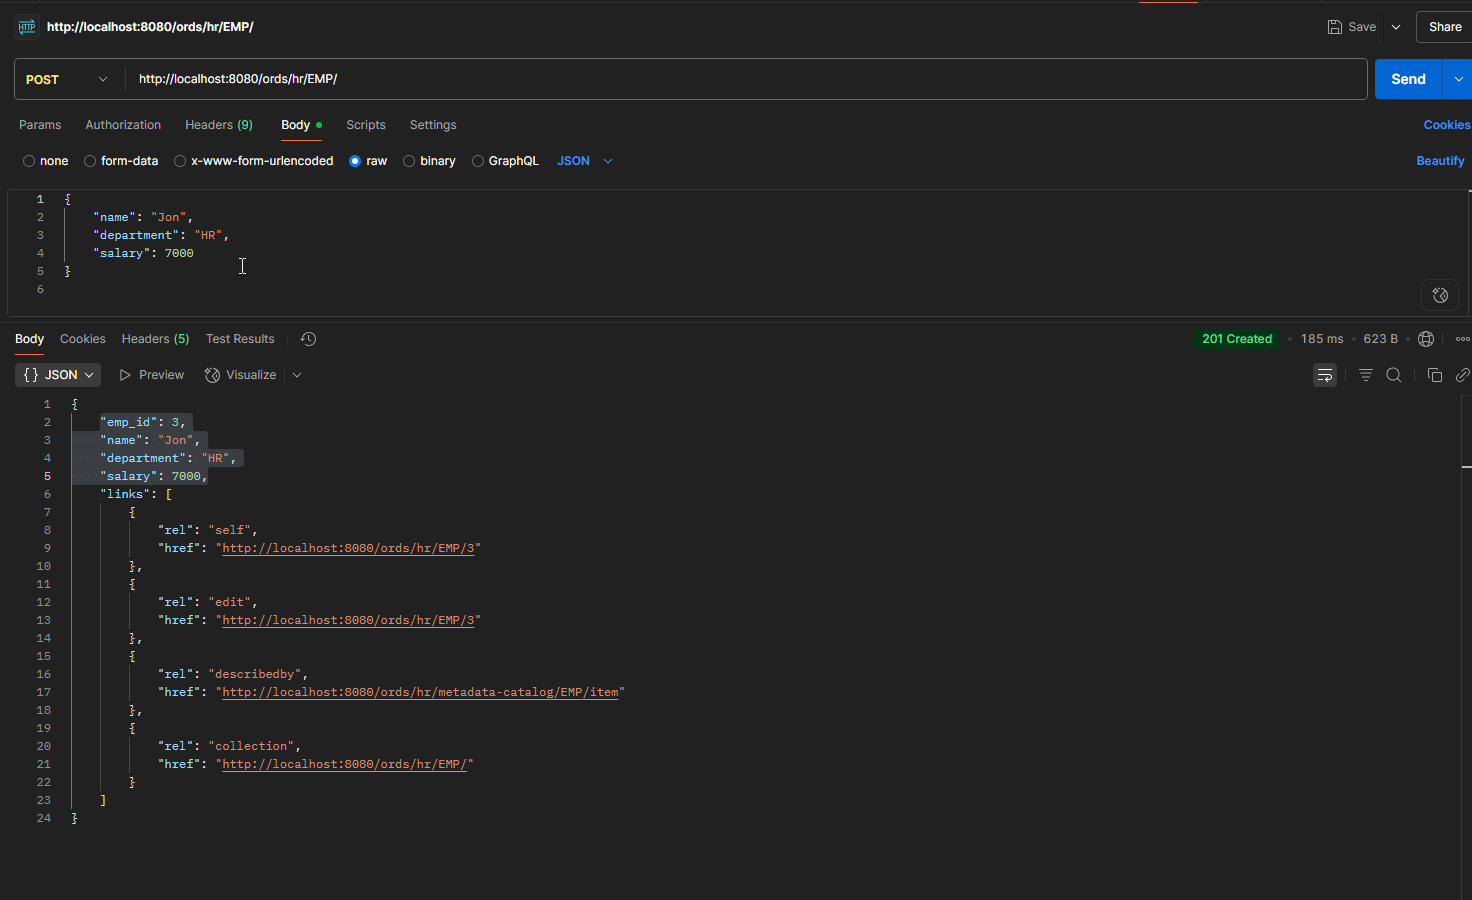
POST:
Endpoint URL: http://localhost:8080/ords/hr/EMP/
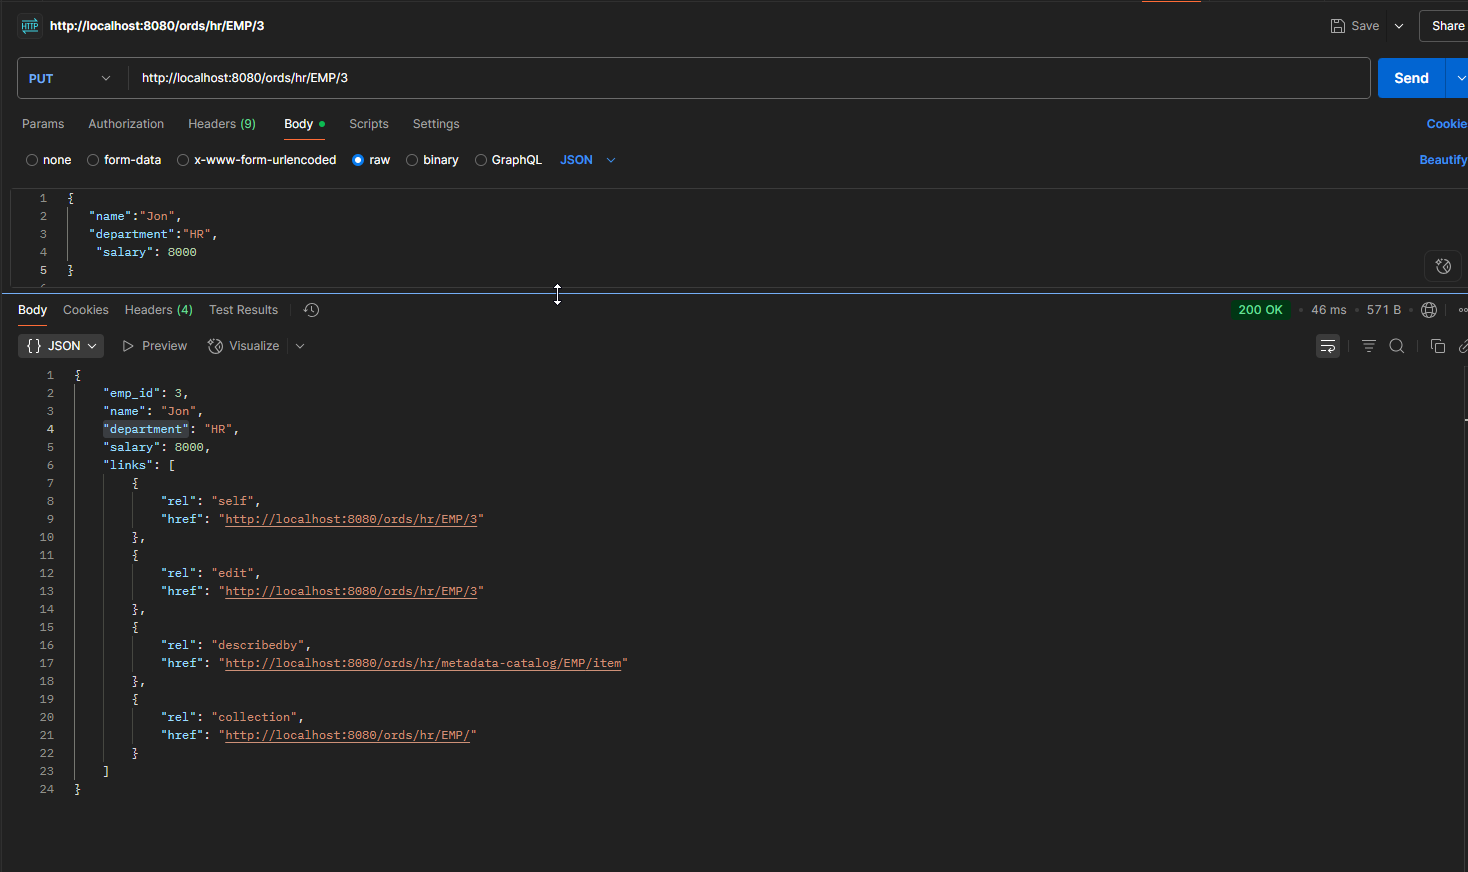
PUT:
Endpoint URL: http://localhost:8080/ords/hr/EMP/:id
Let us change salary of Jon from 7000 to 8000.
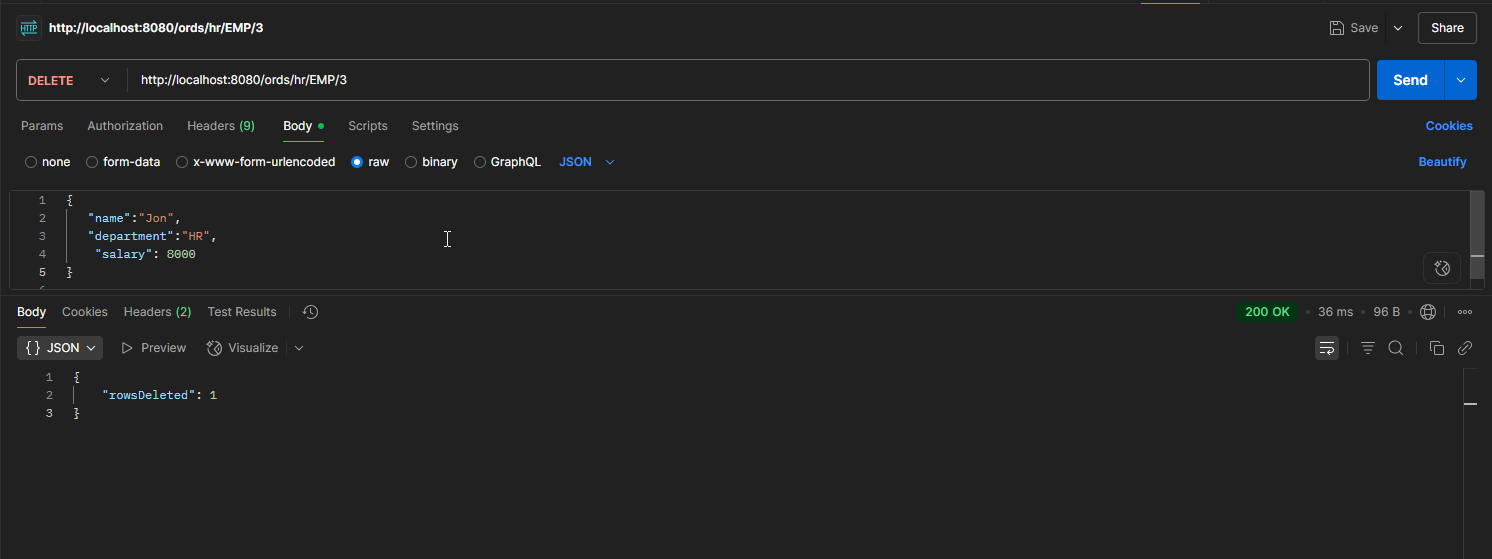
DELETE:
Let us delete Jon’s account.
In this post, we have enabled custom schema and DB objects for ORDS. We have also tested different Rest endpoints for DB objects from postman.